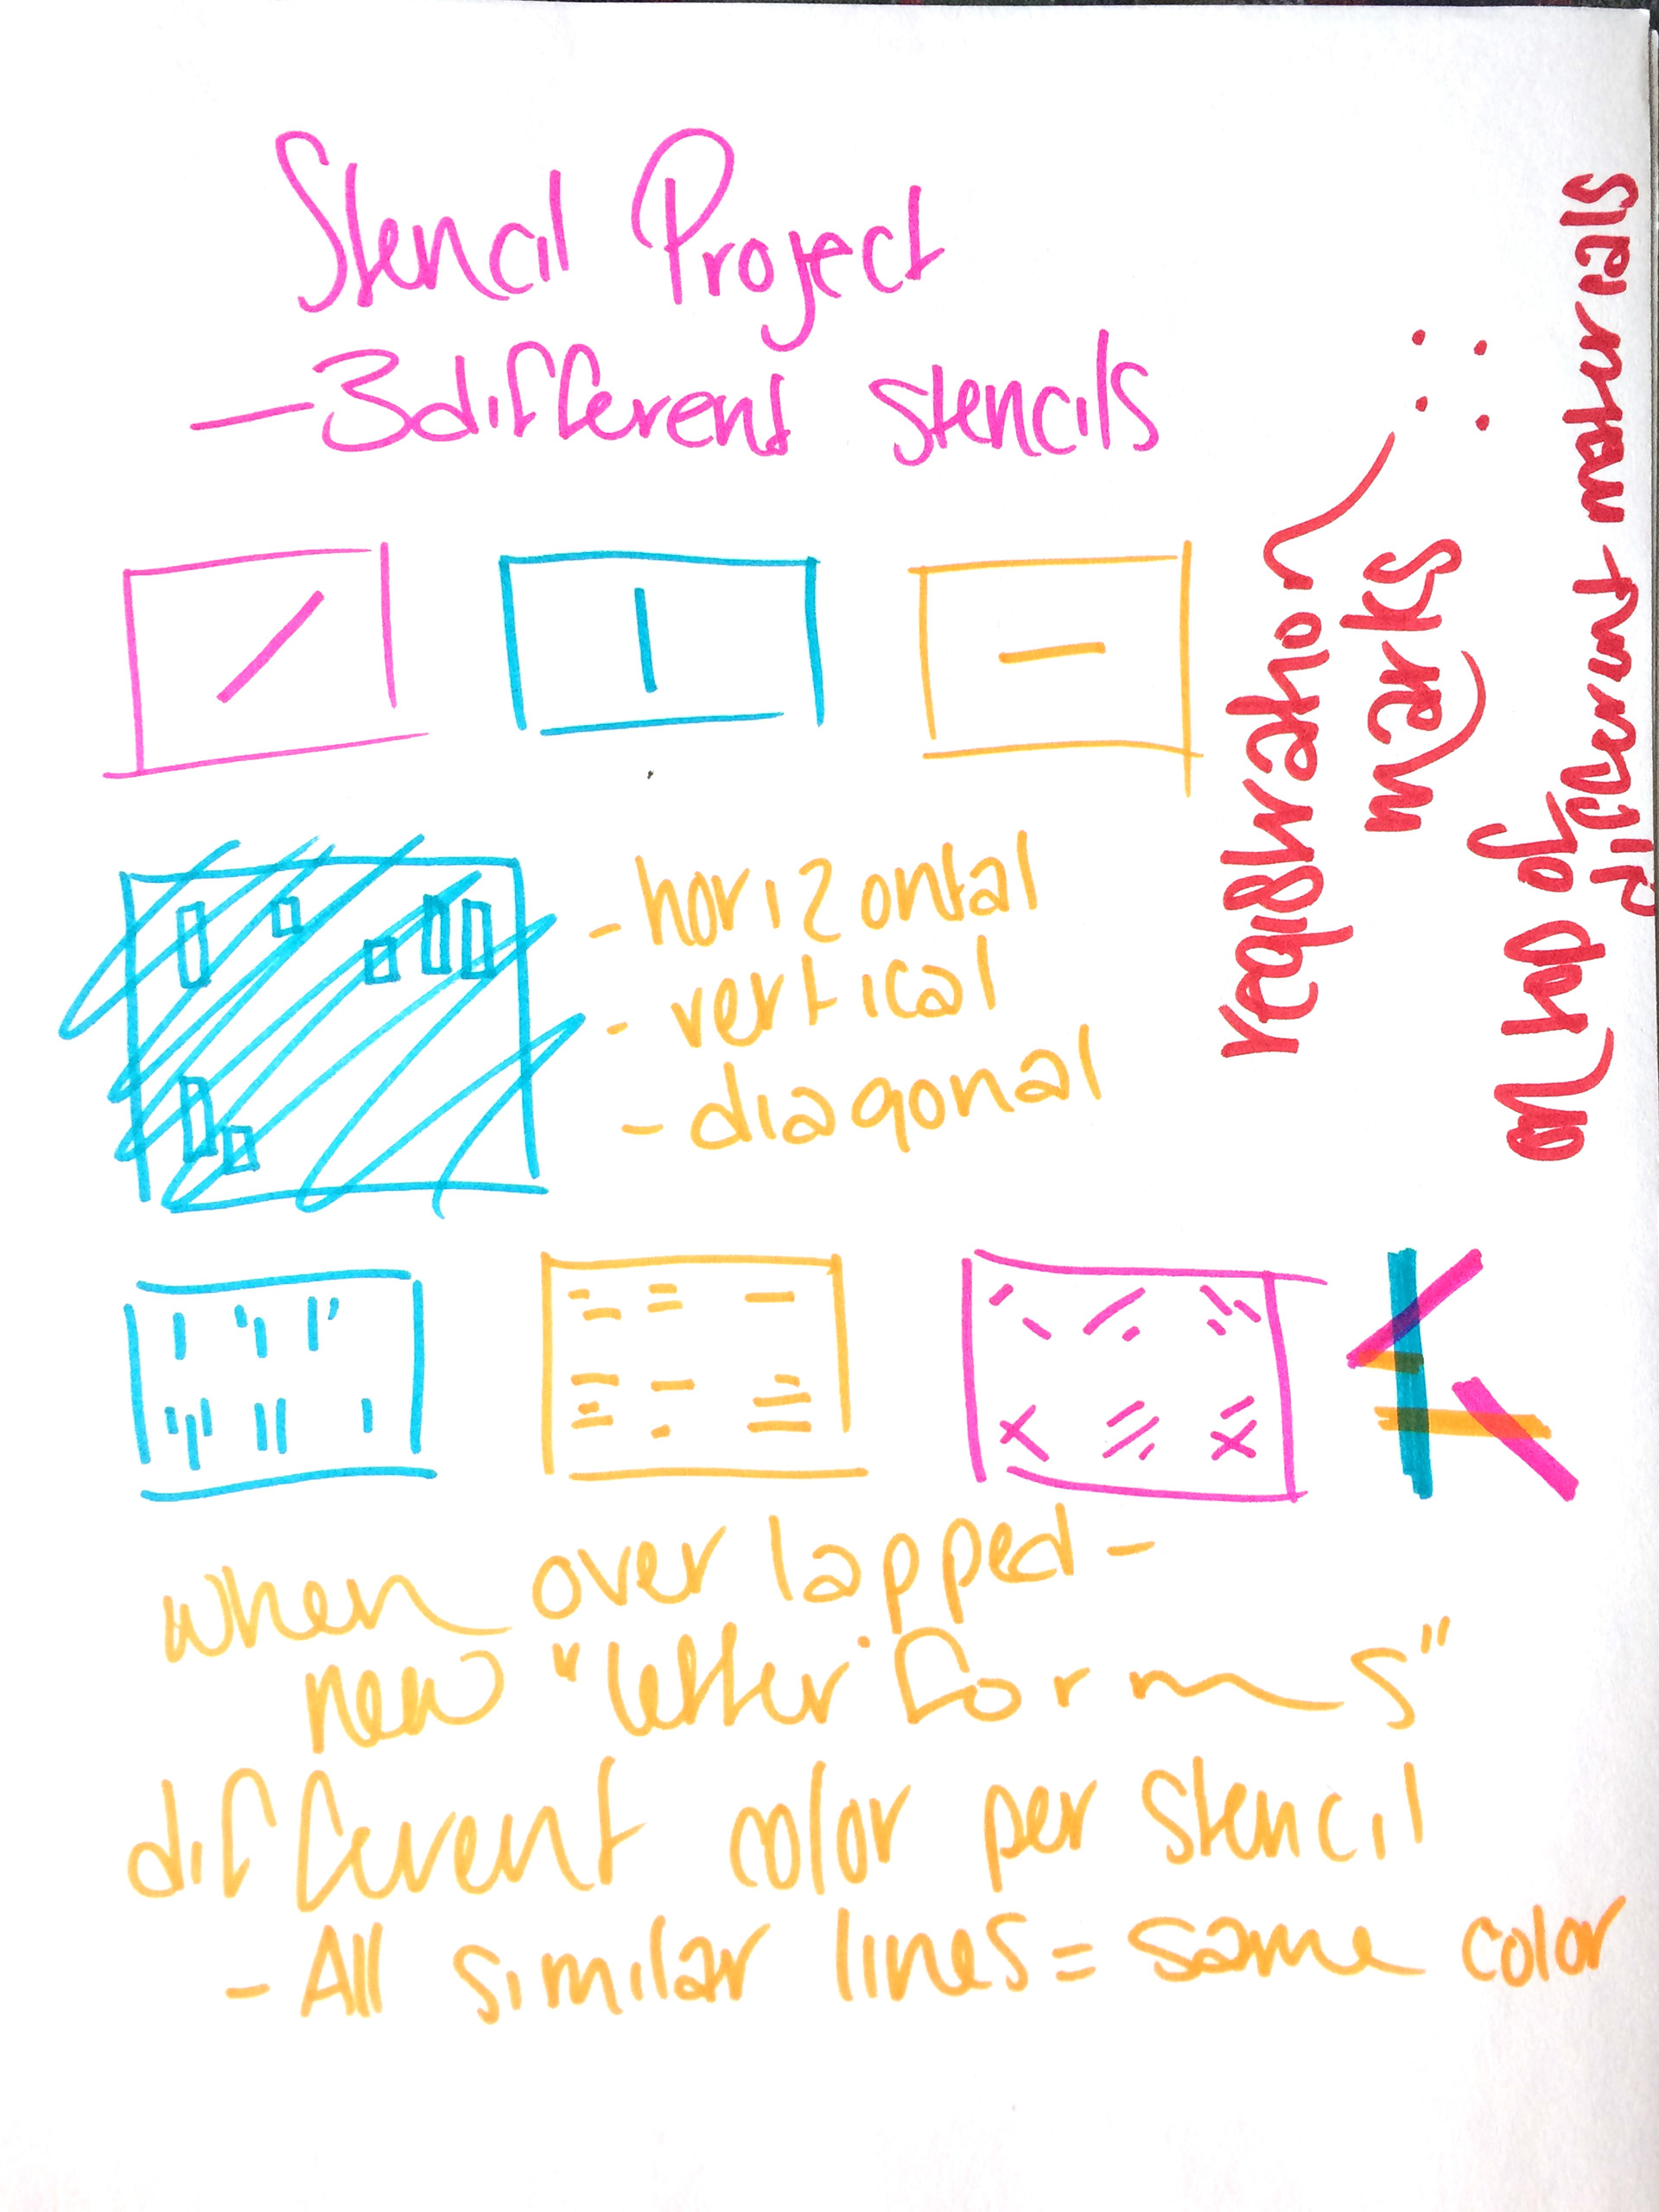

Natalie Burns, Liam Wall, and myself, collaborated to create abstract letterforms using a stencil system. The goal of this project was to create a stencil system that we could use to create new letterforms with endless possibilities.
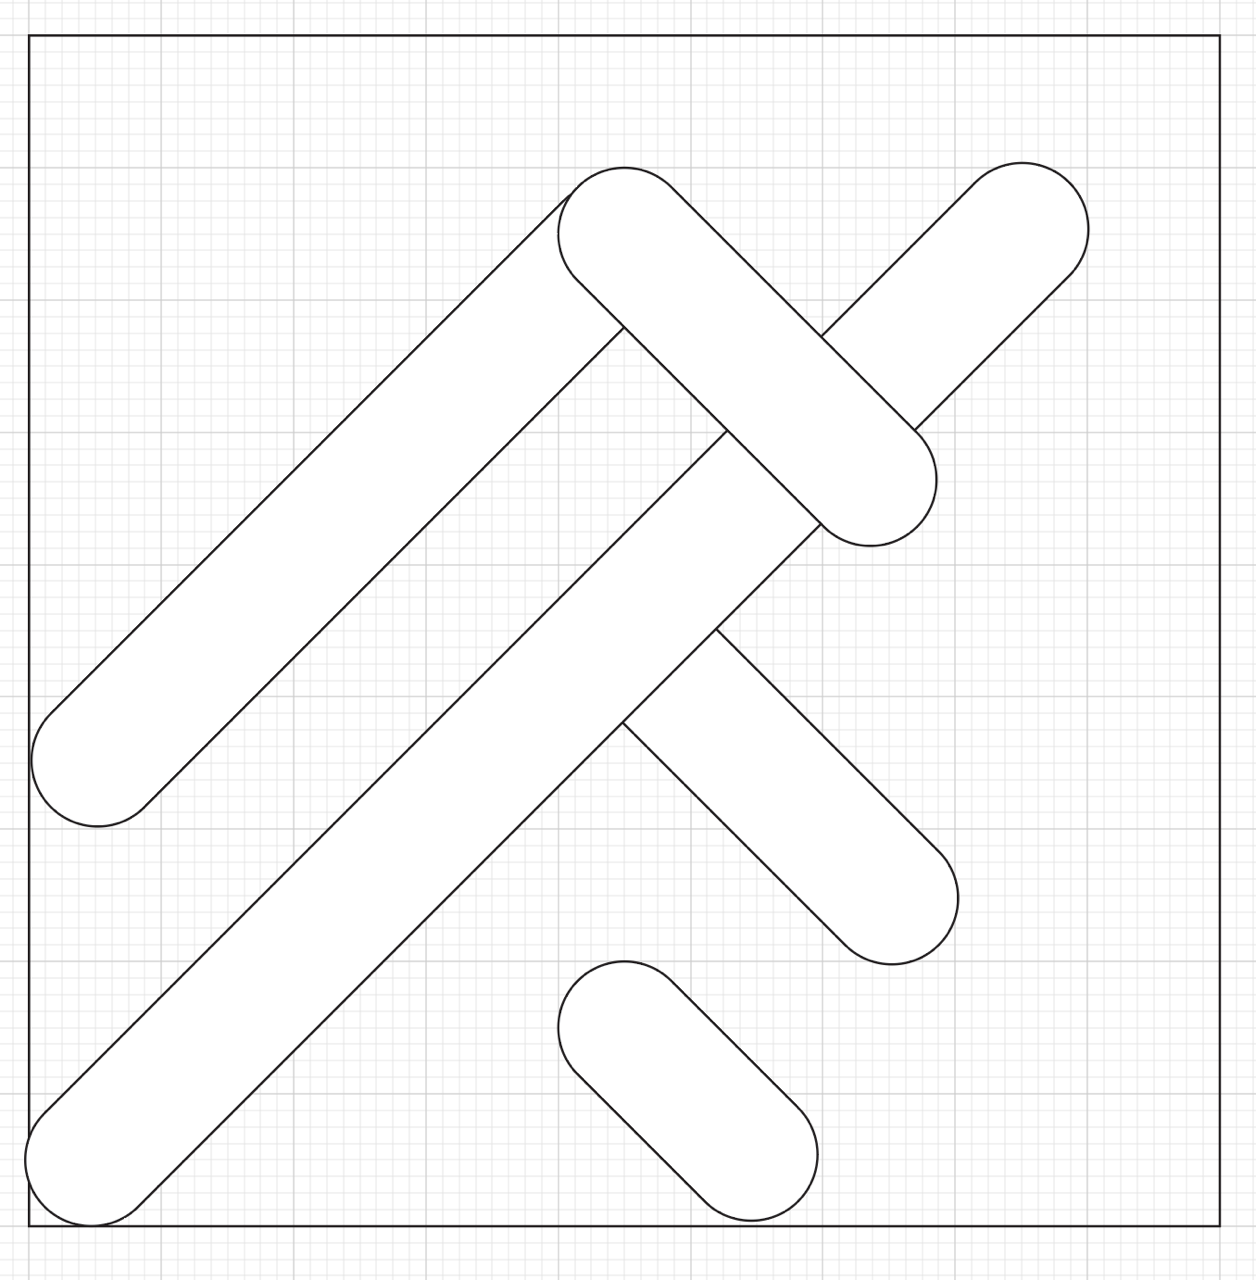
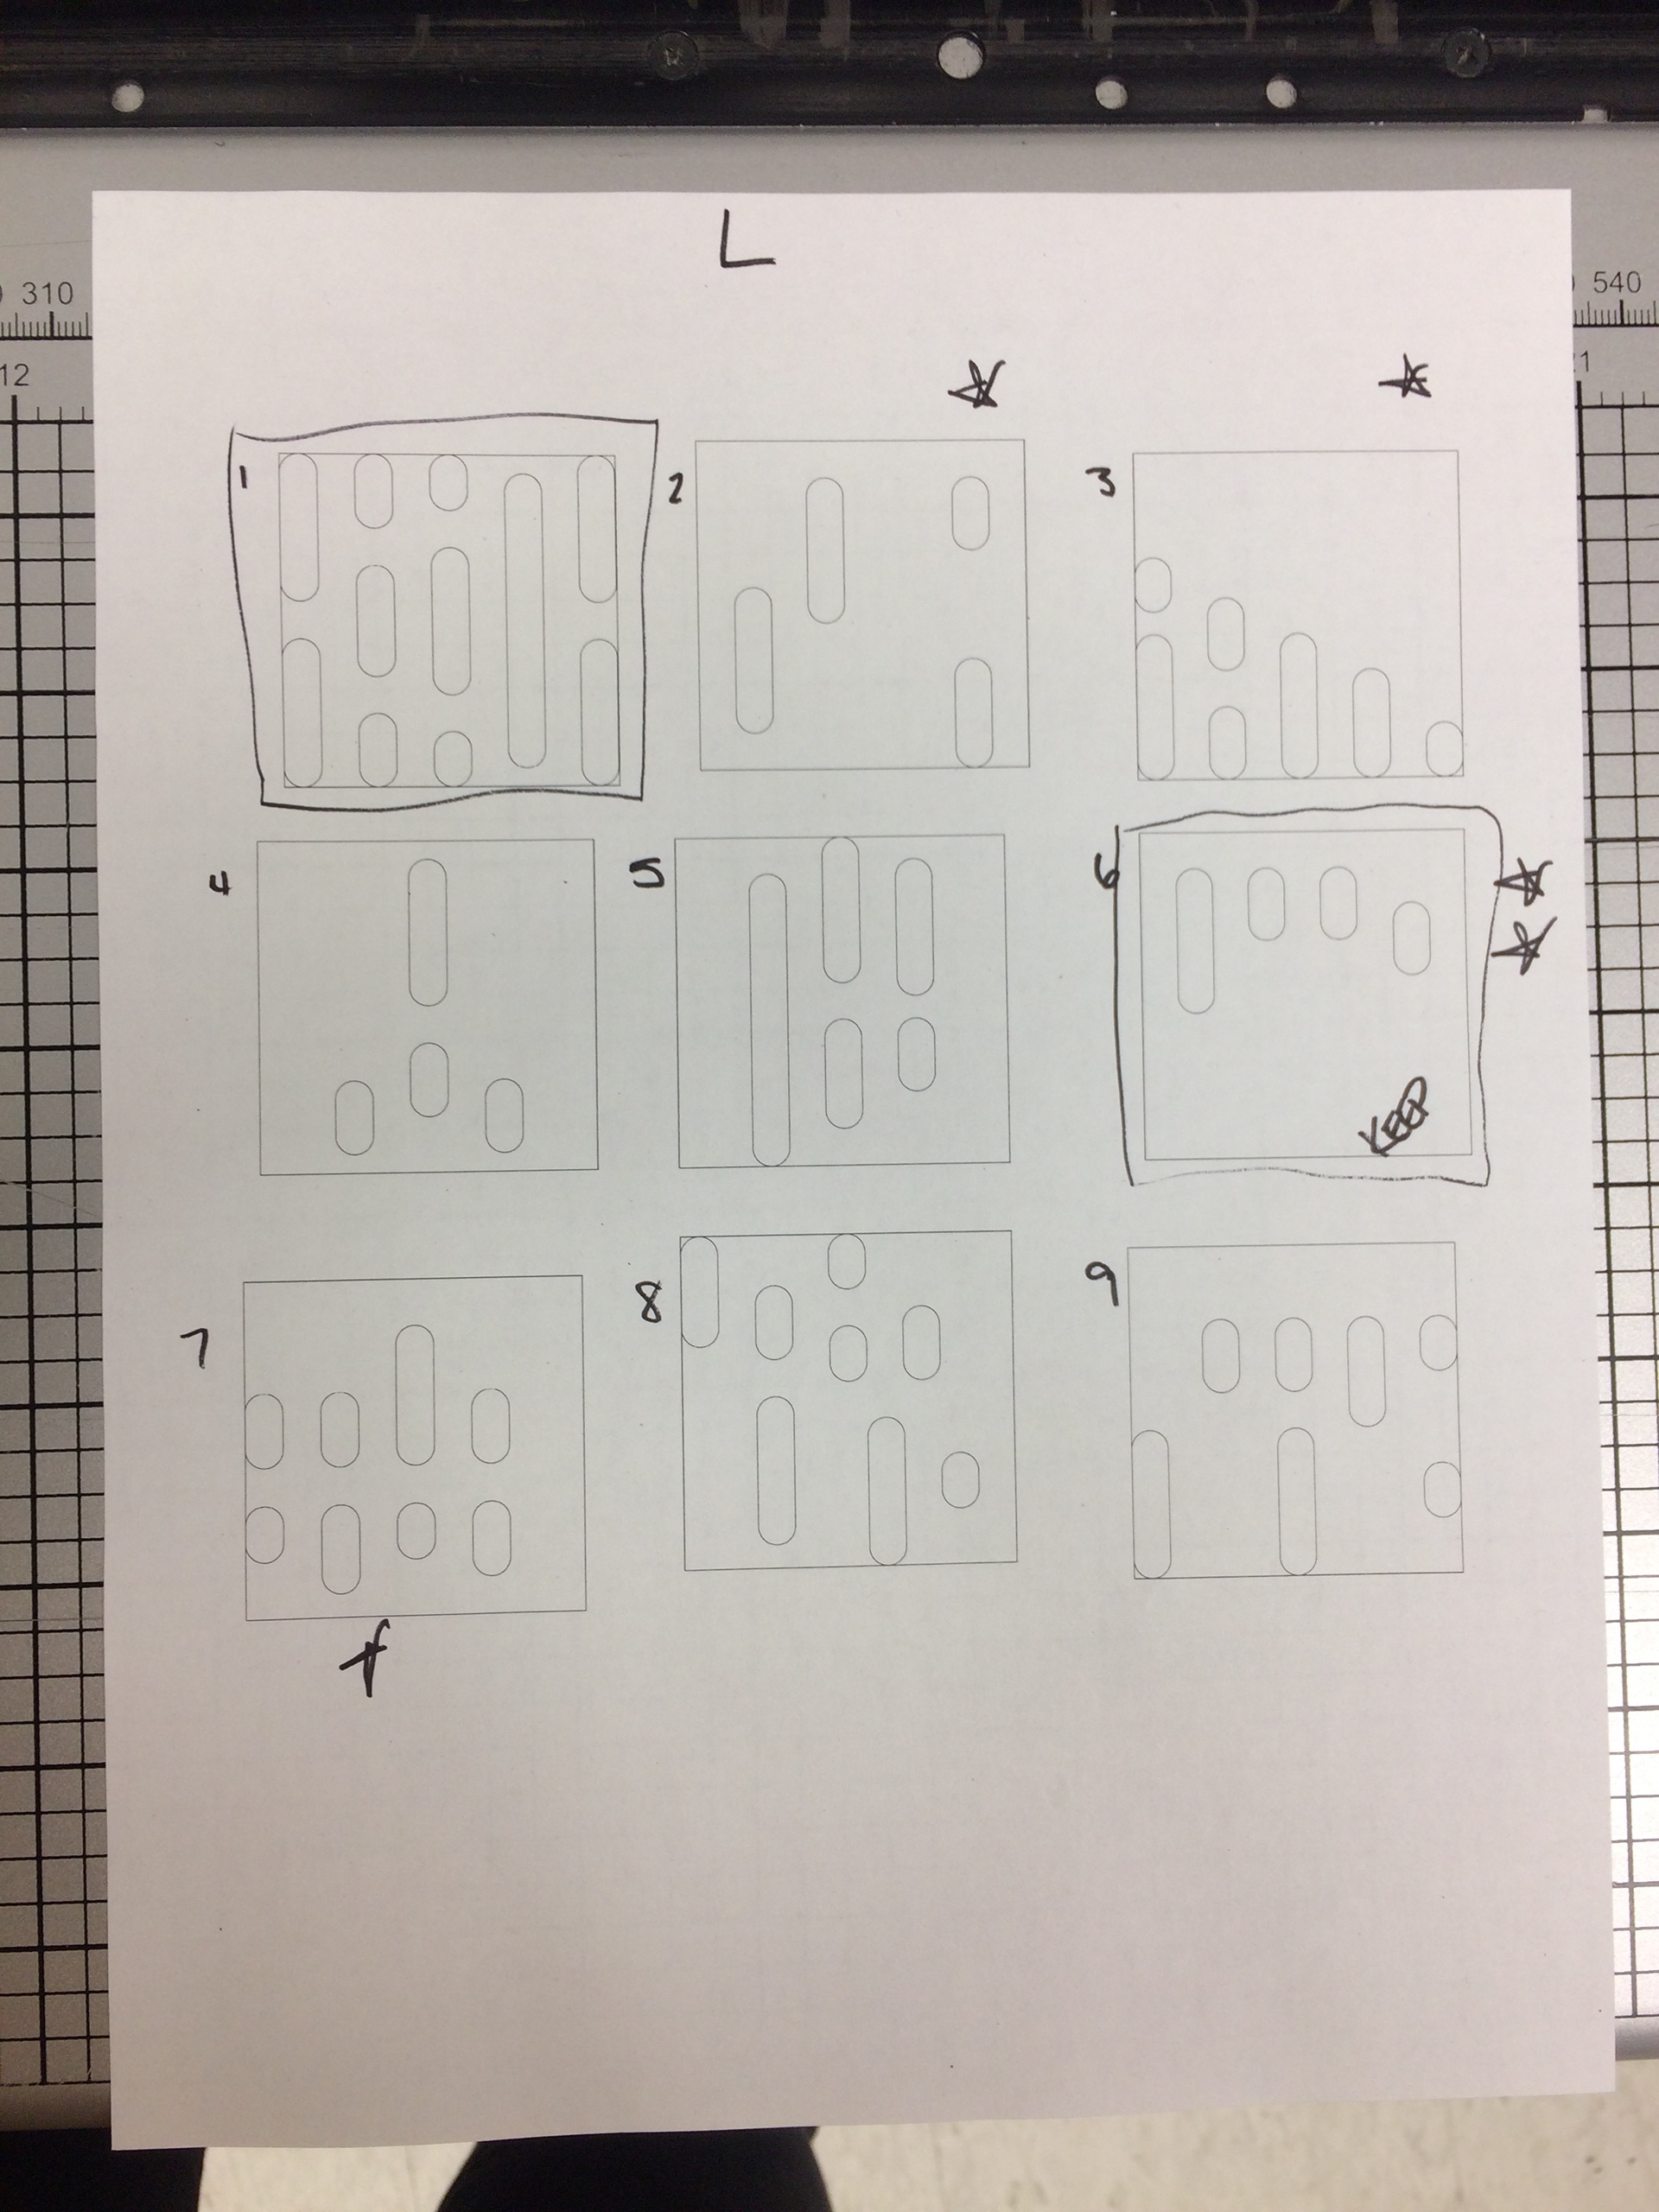
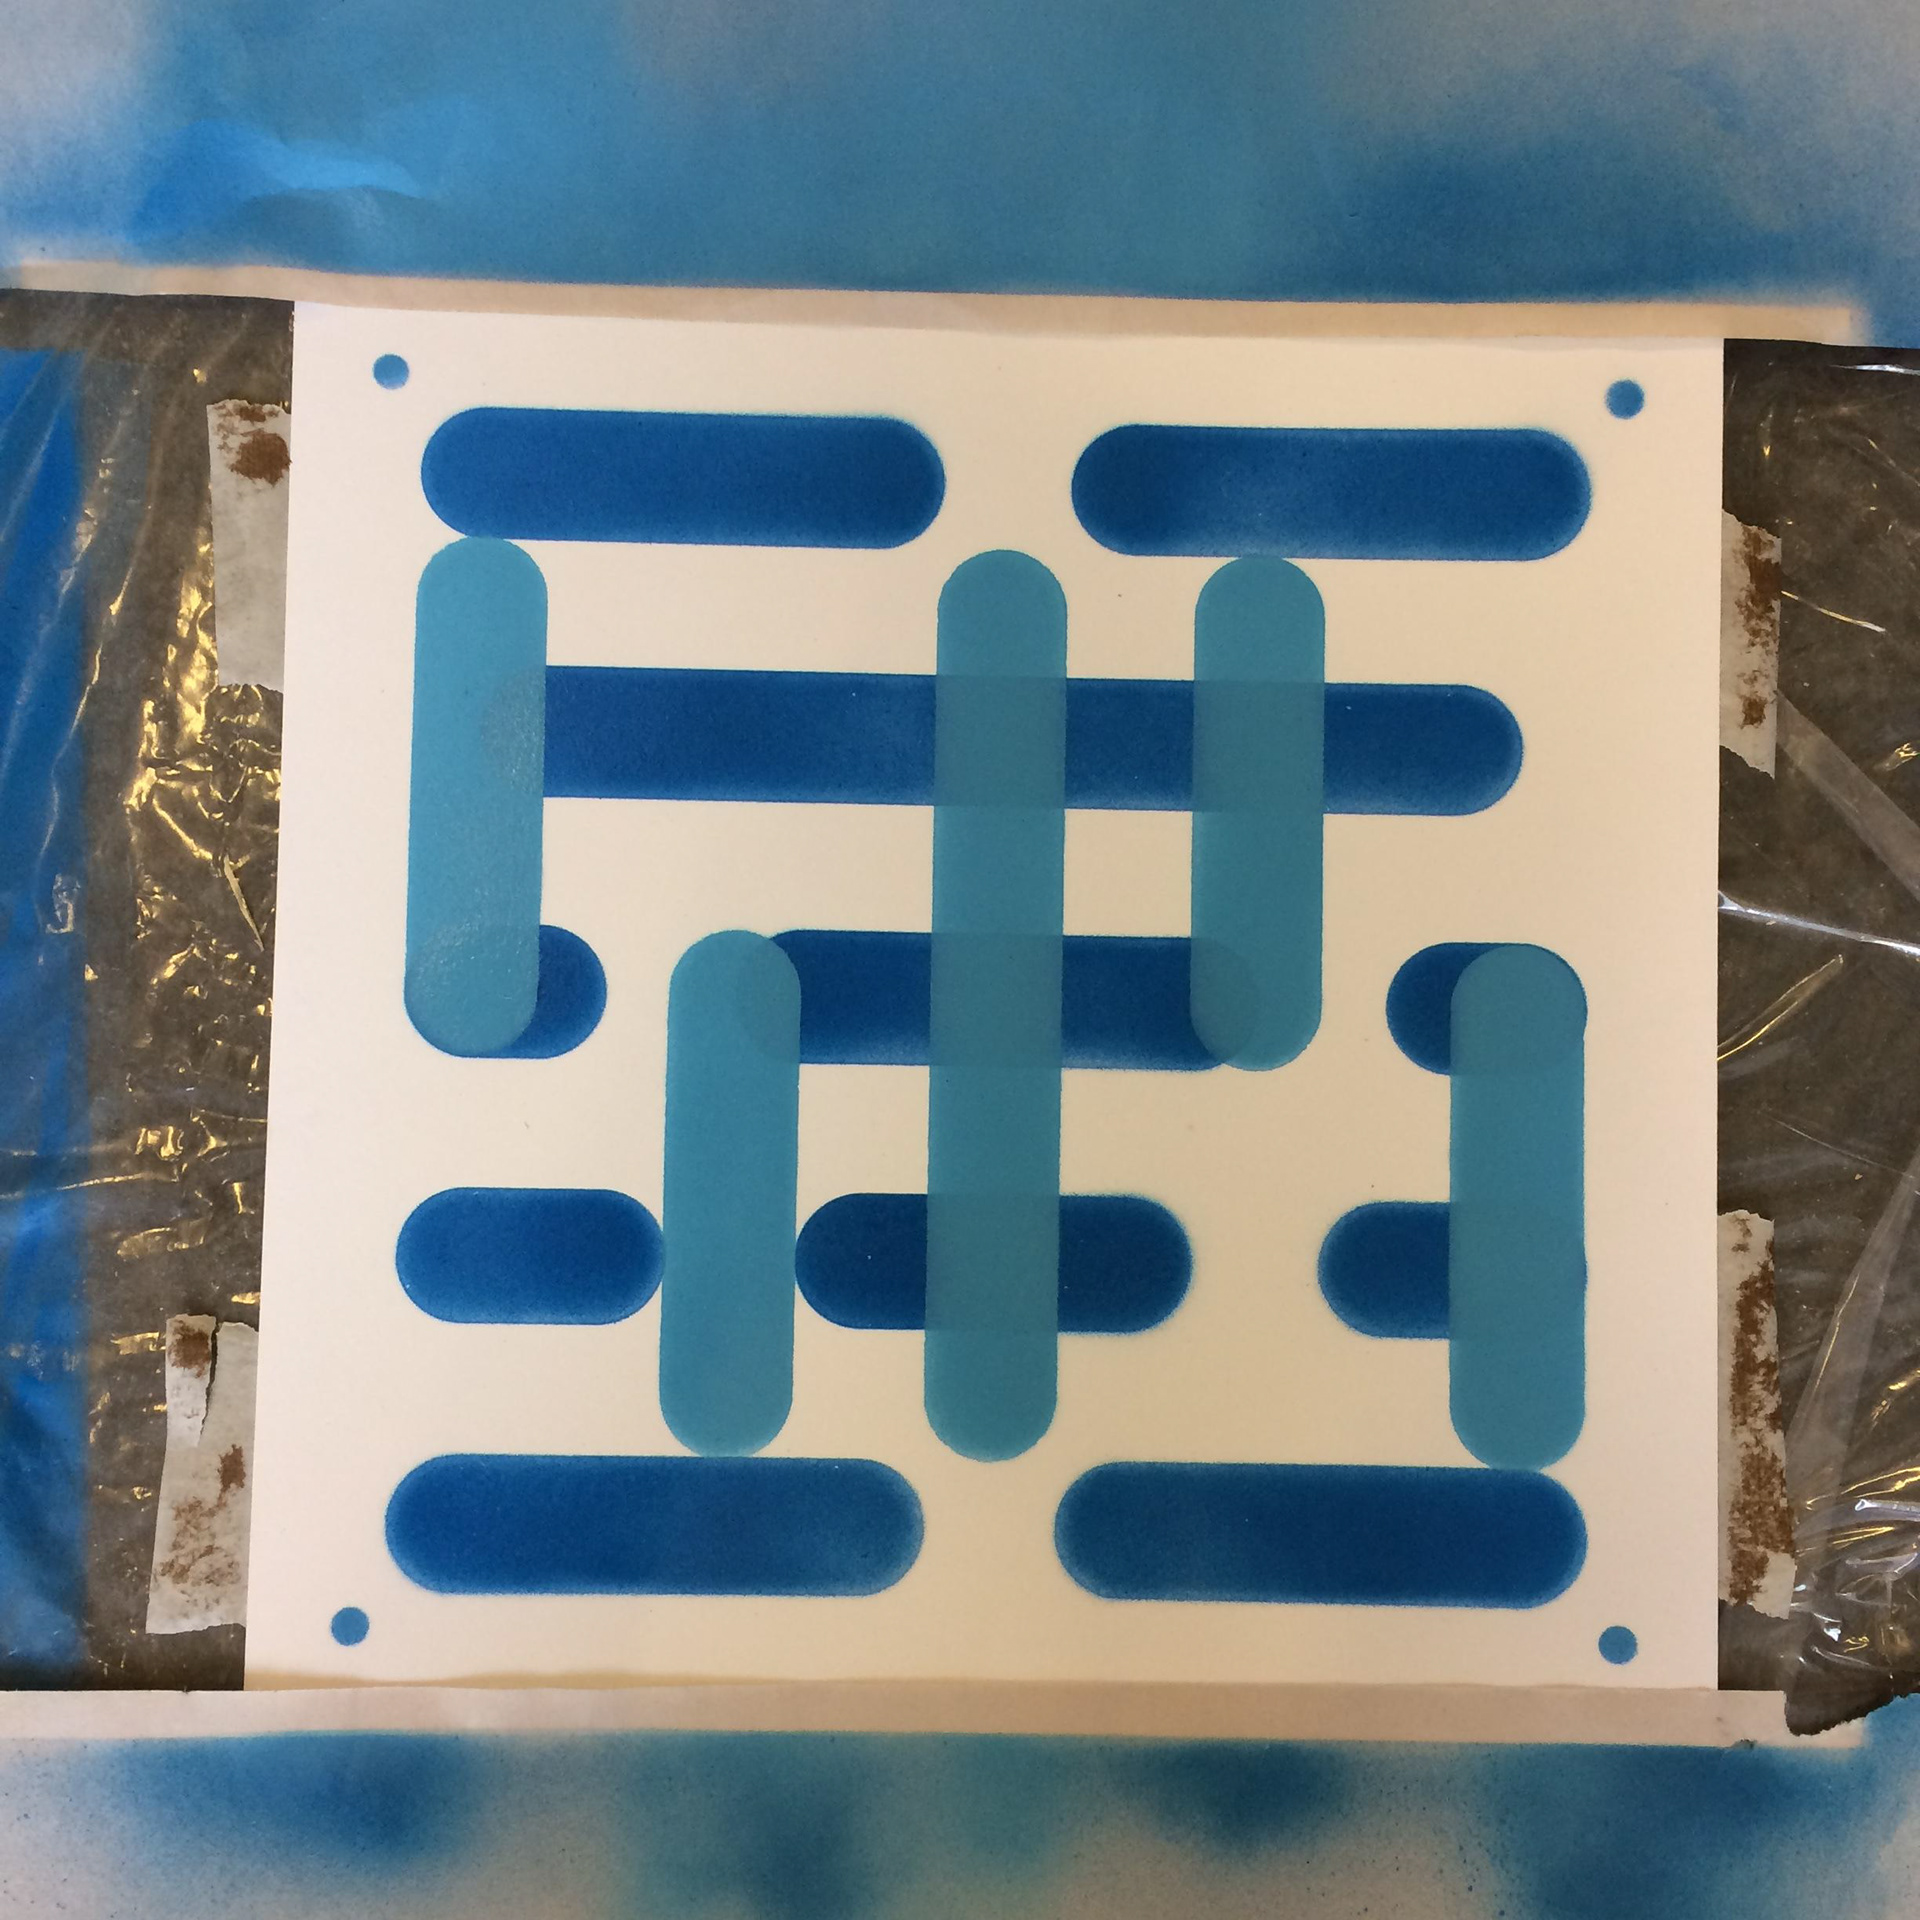
The first thing we needed to do was come up with a concept through sketches. We decided that since there were three of us, we could each be assigned a direction (horizontal, vertical, or diagonal). We would design stencils focusing on our assigned direction, and at the end, we would lay a stencil for each direction on top of each other to create endless possibilities of new and unique letterforms. After we had a solid concept, we needed to come up with a rule set for creating our stencils and how they would be used.
The rule sets we came up with for the system are as follows:
-Each person is restrained to his or her agreed direction (i.e. horizontal, vertical, diagonal).
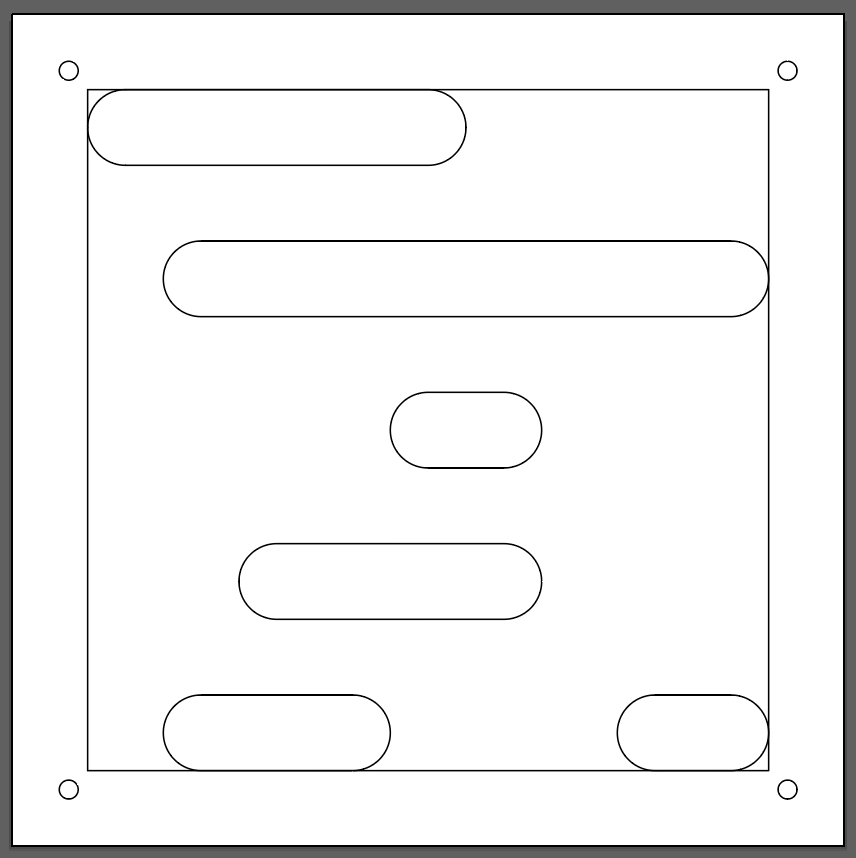
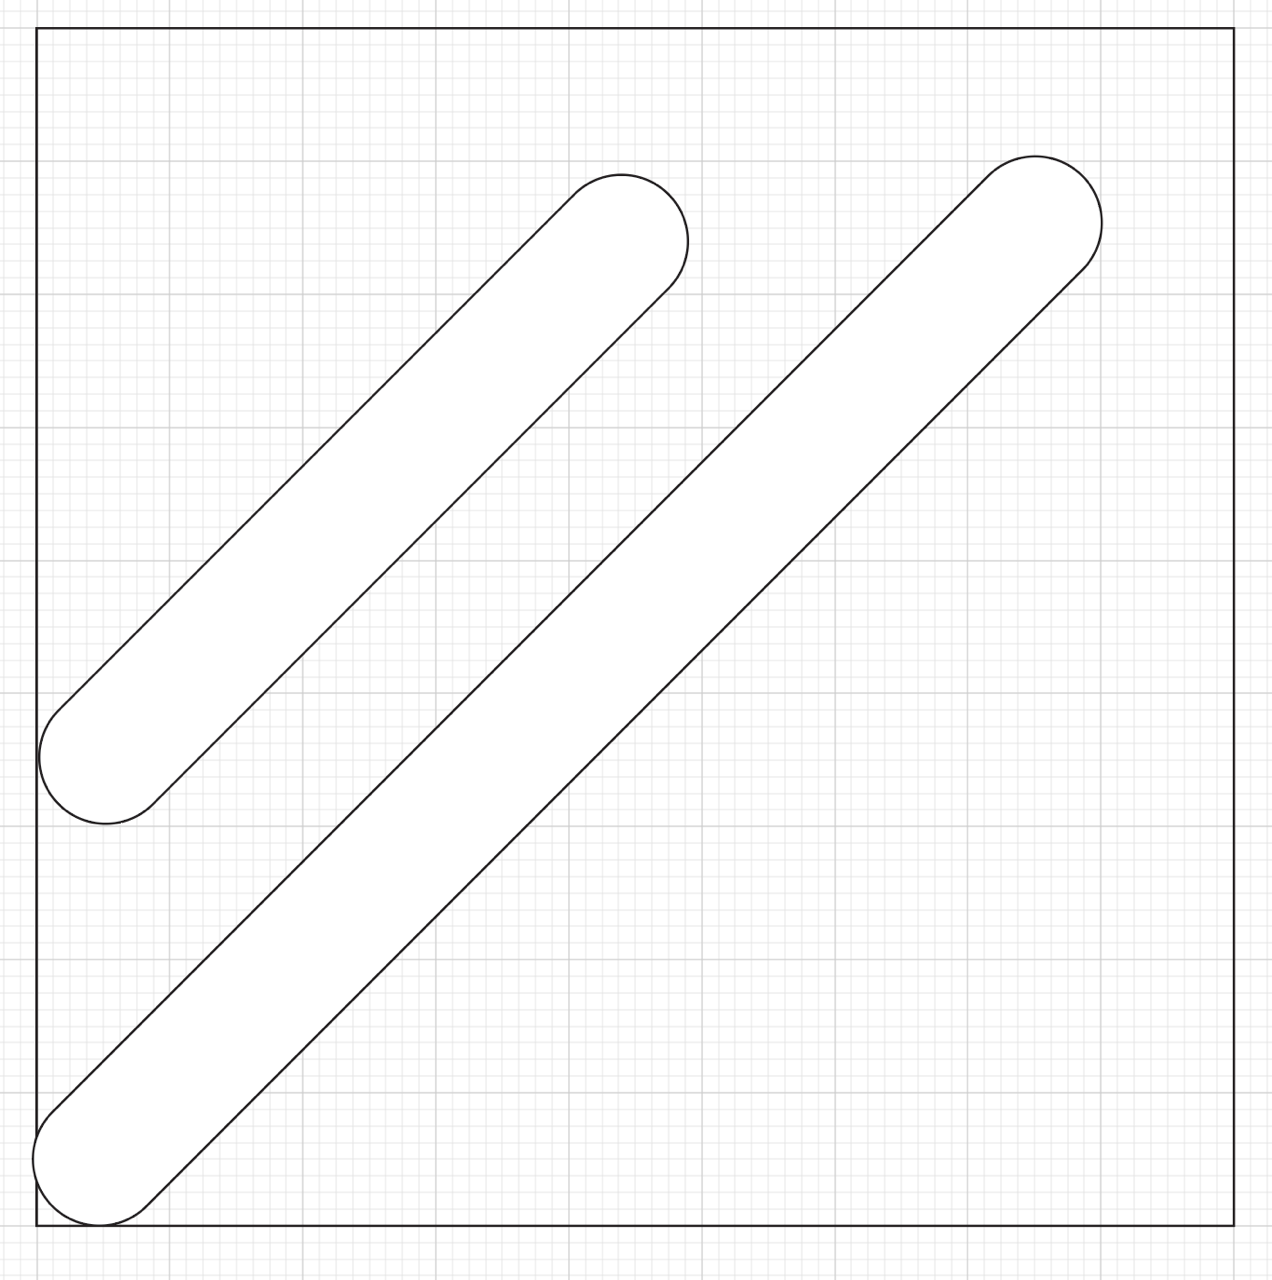
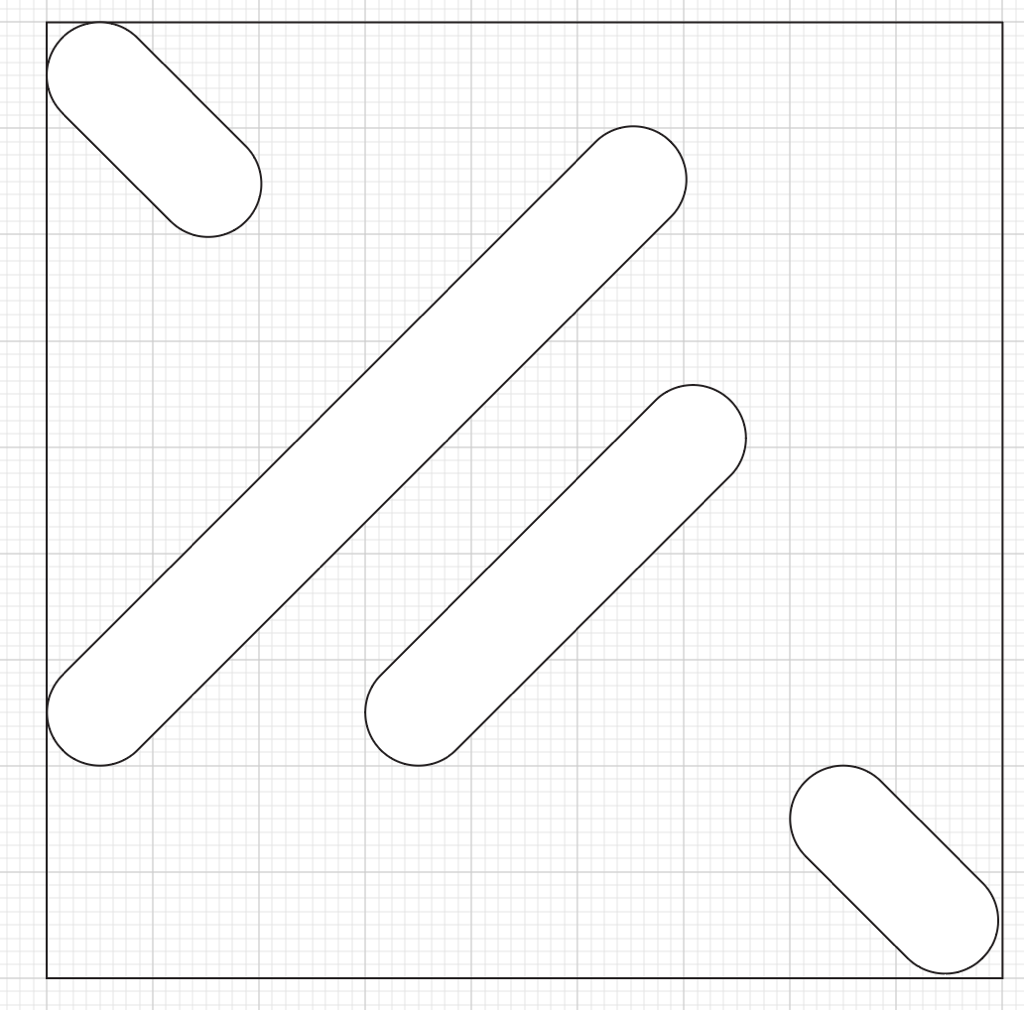
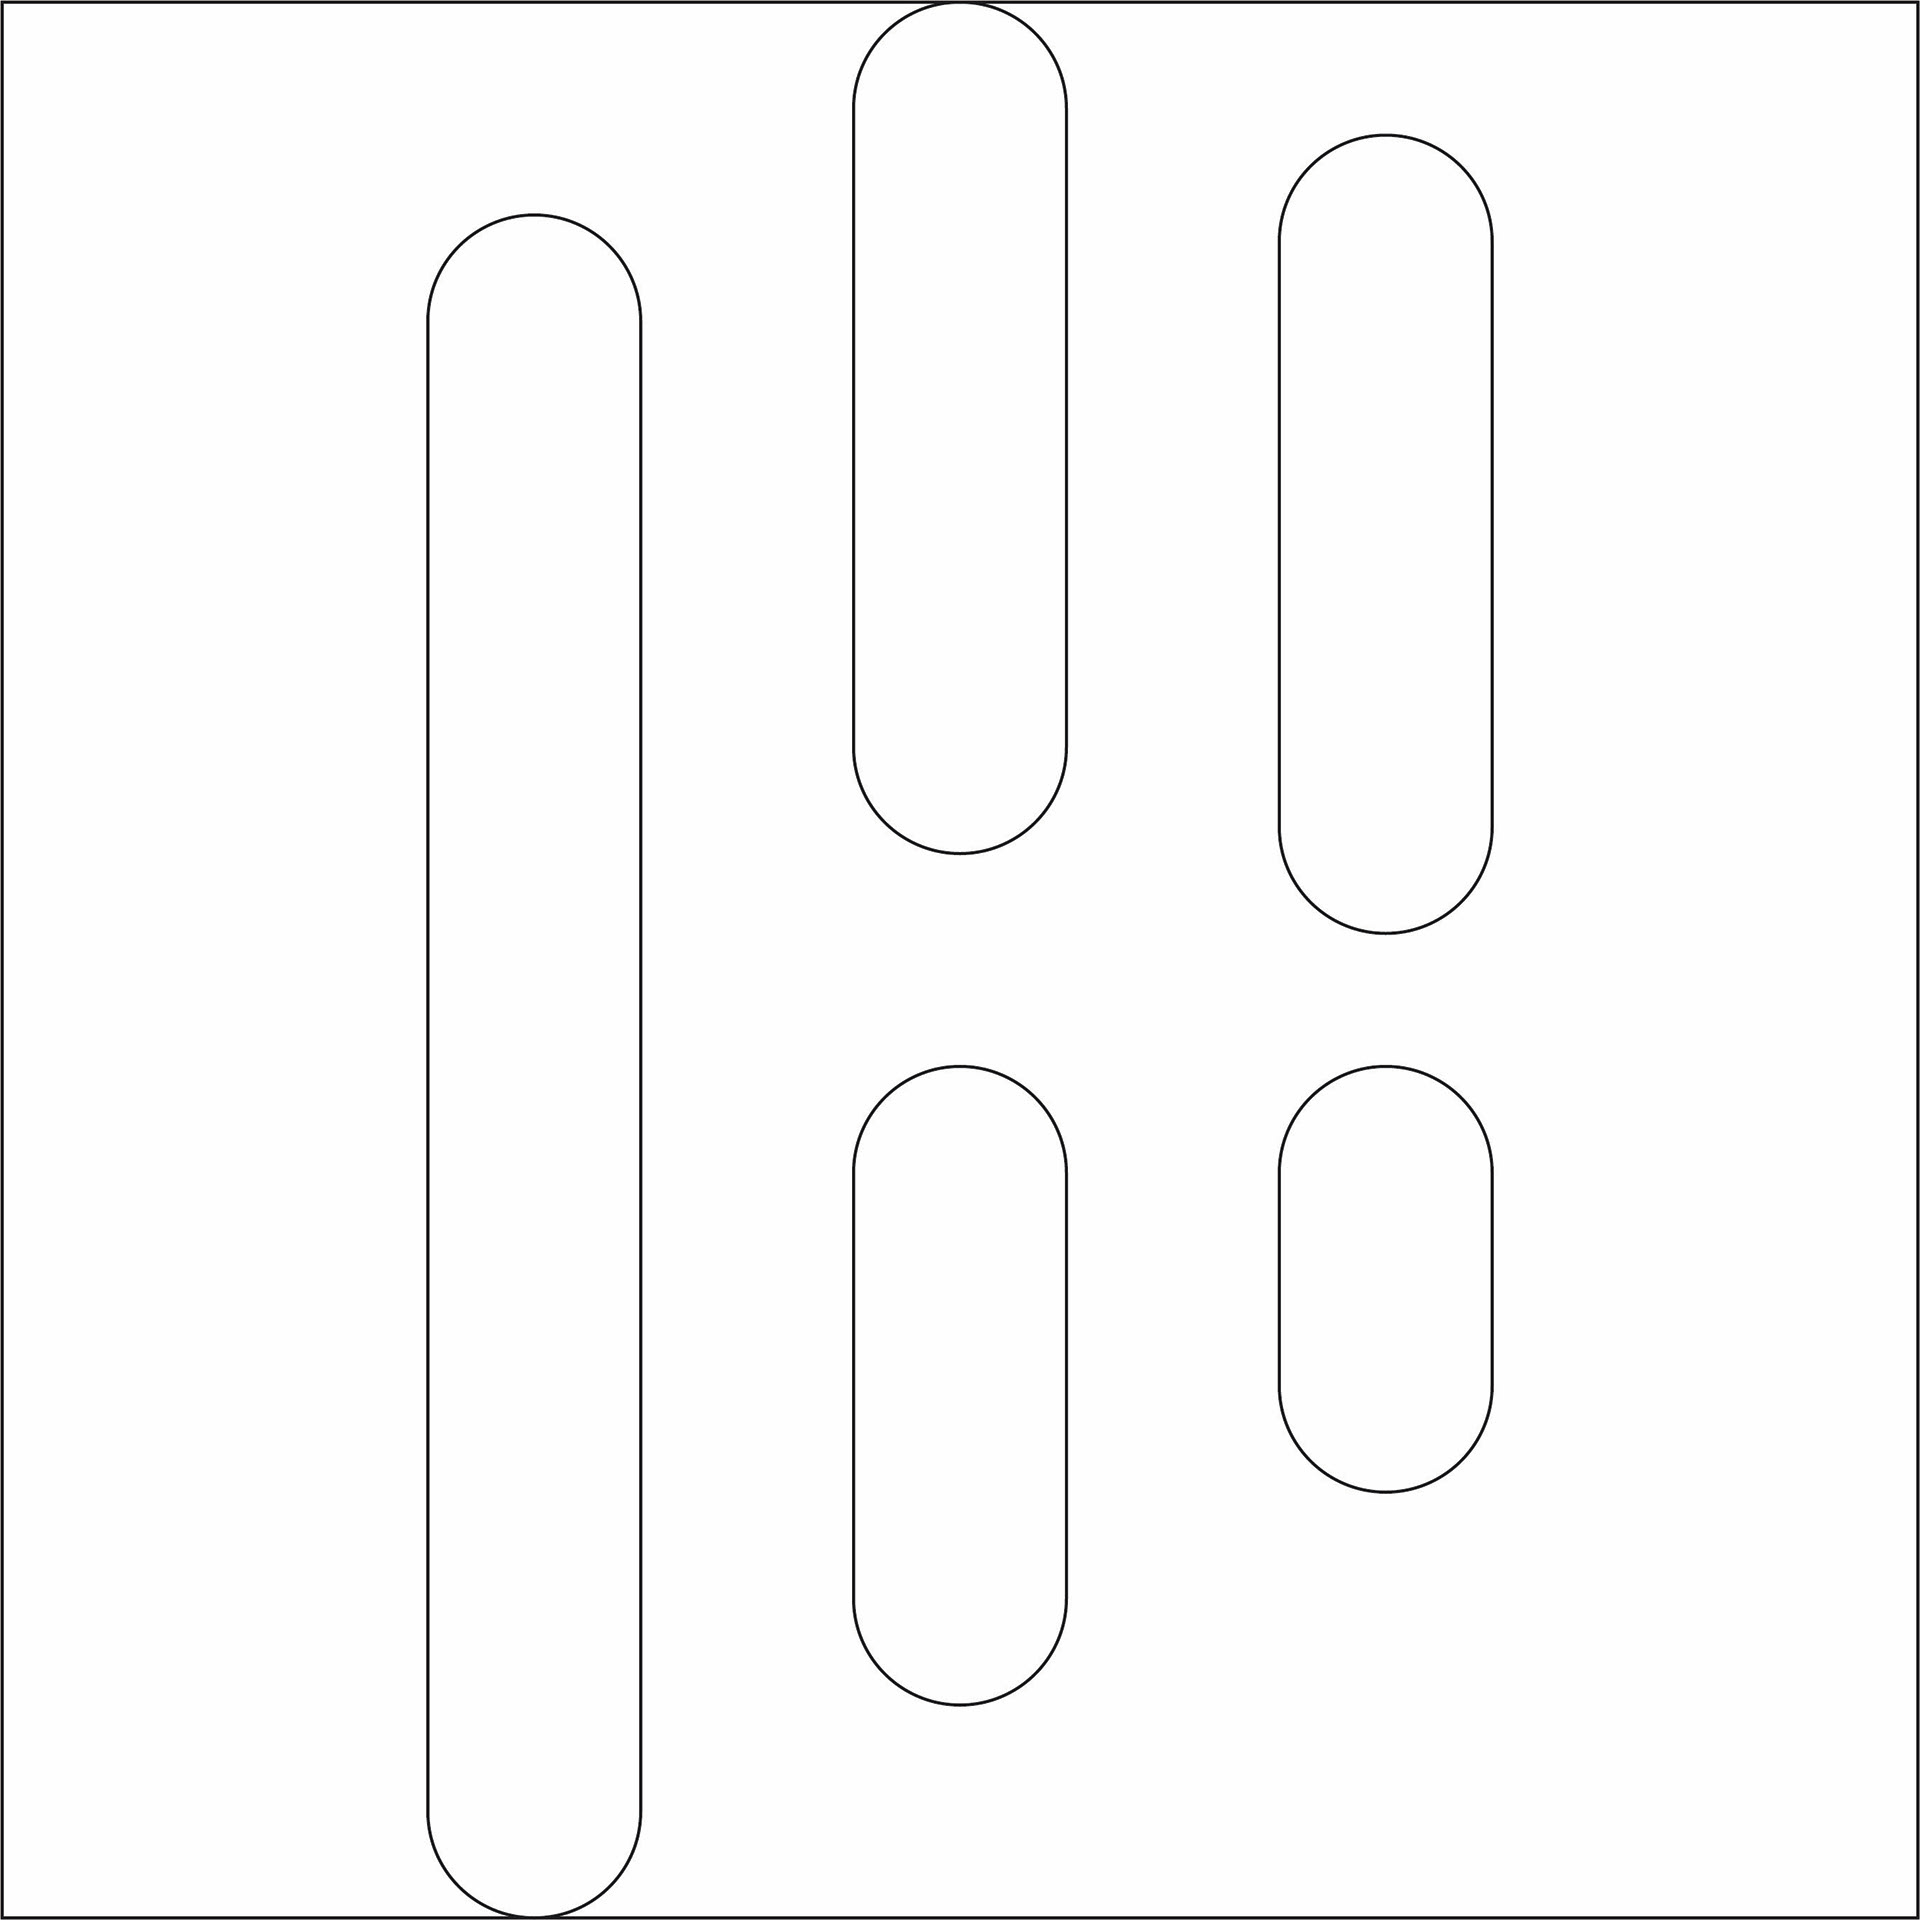
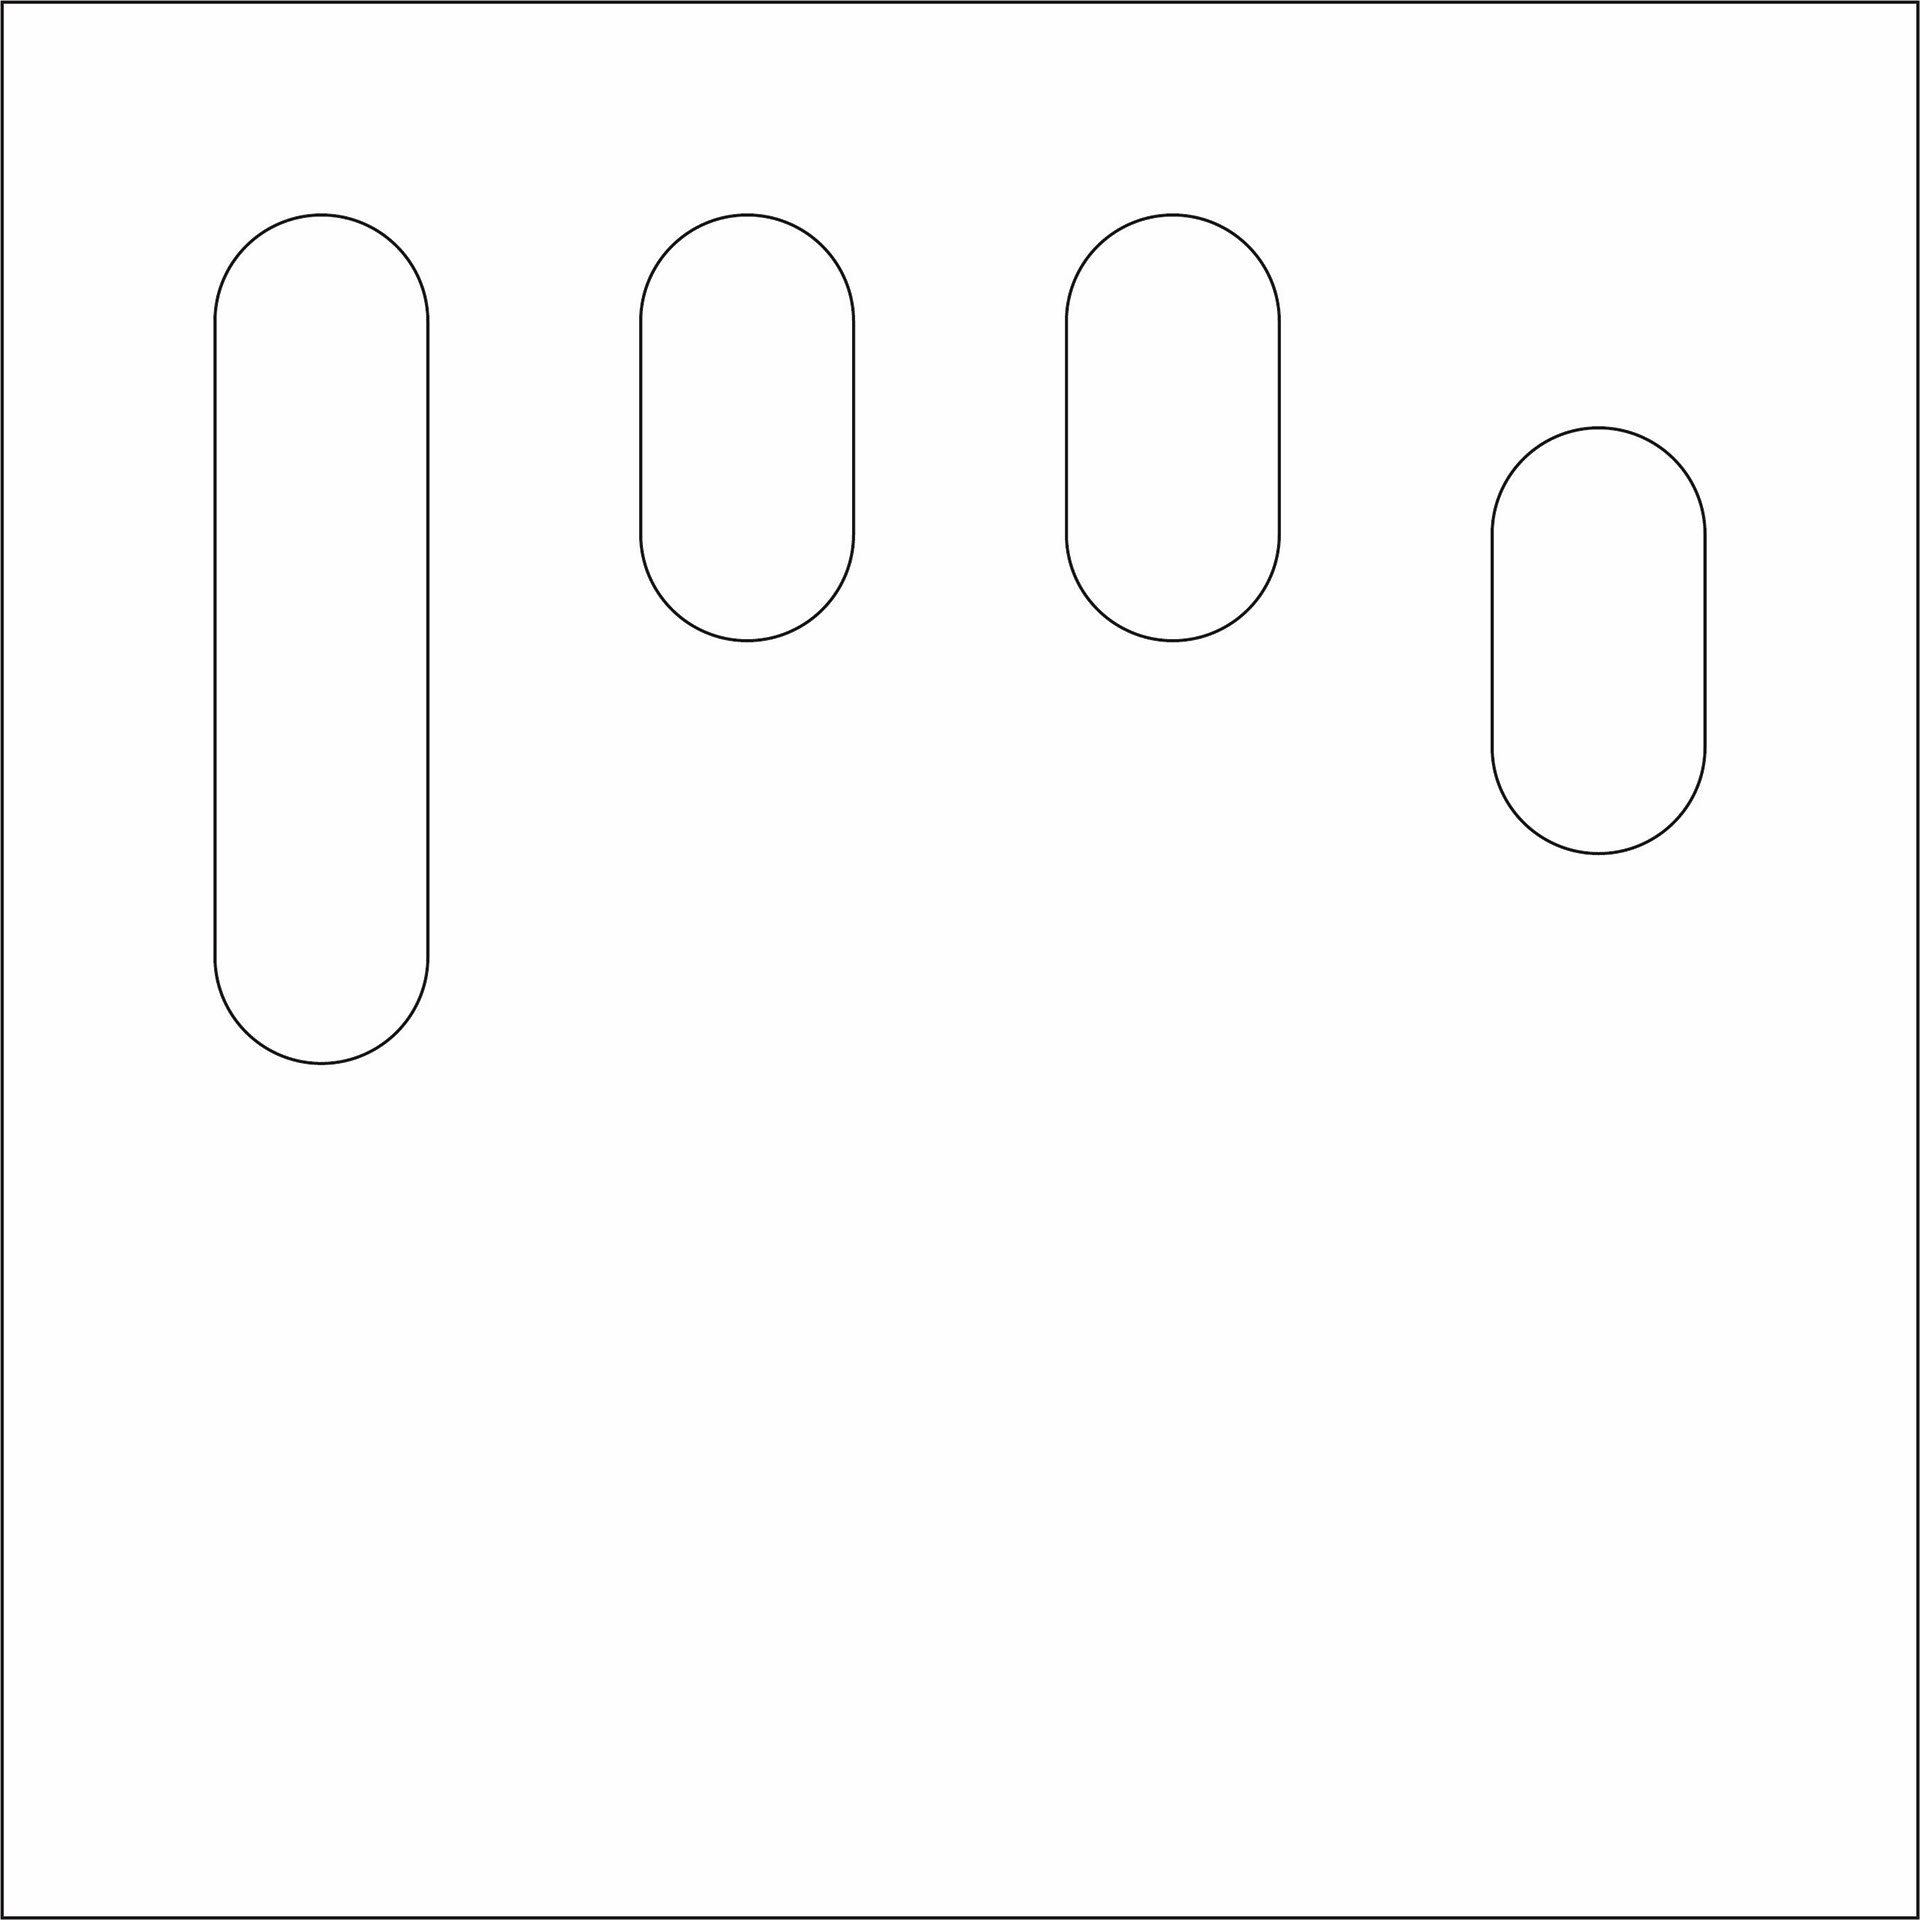
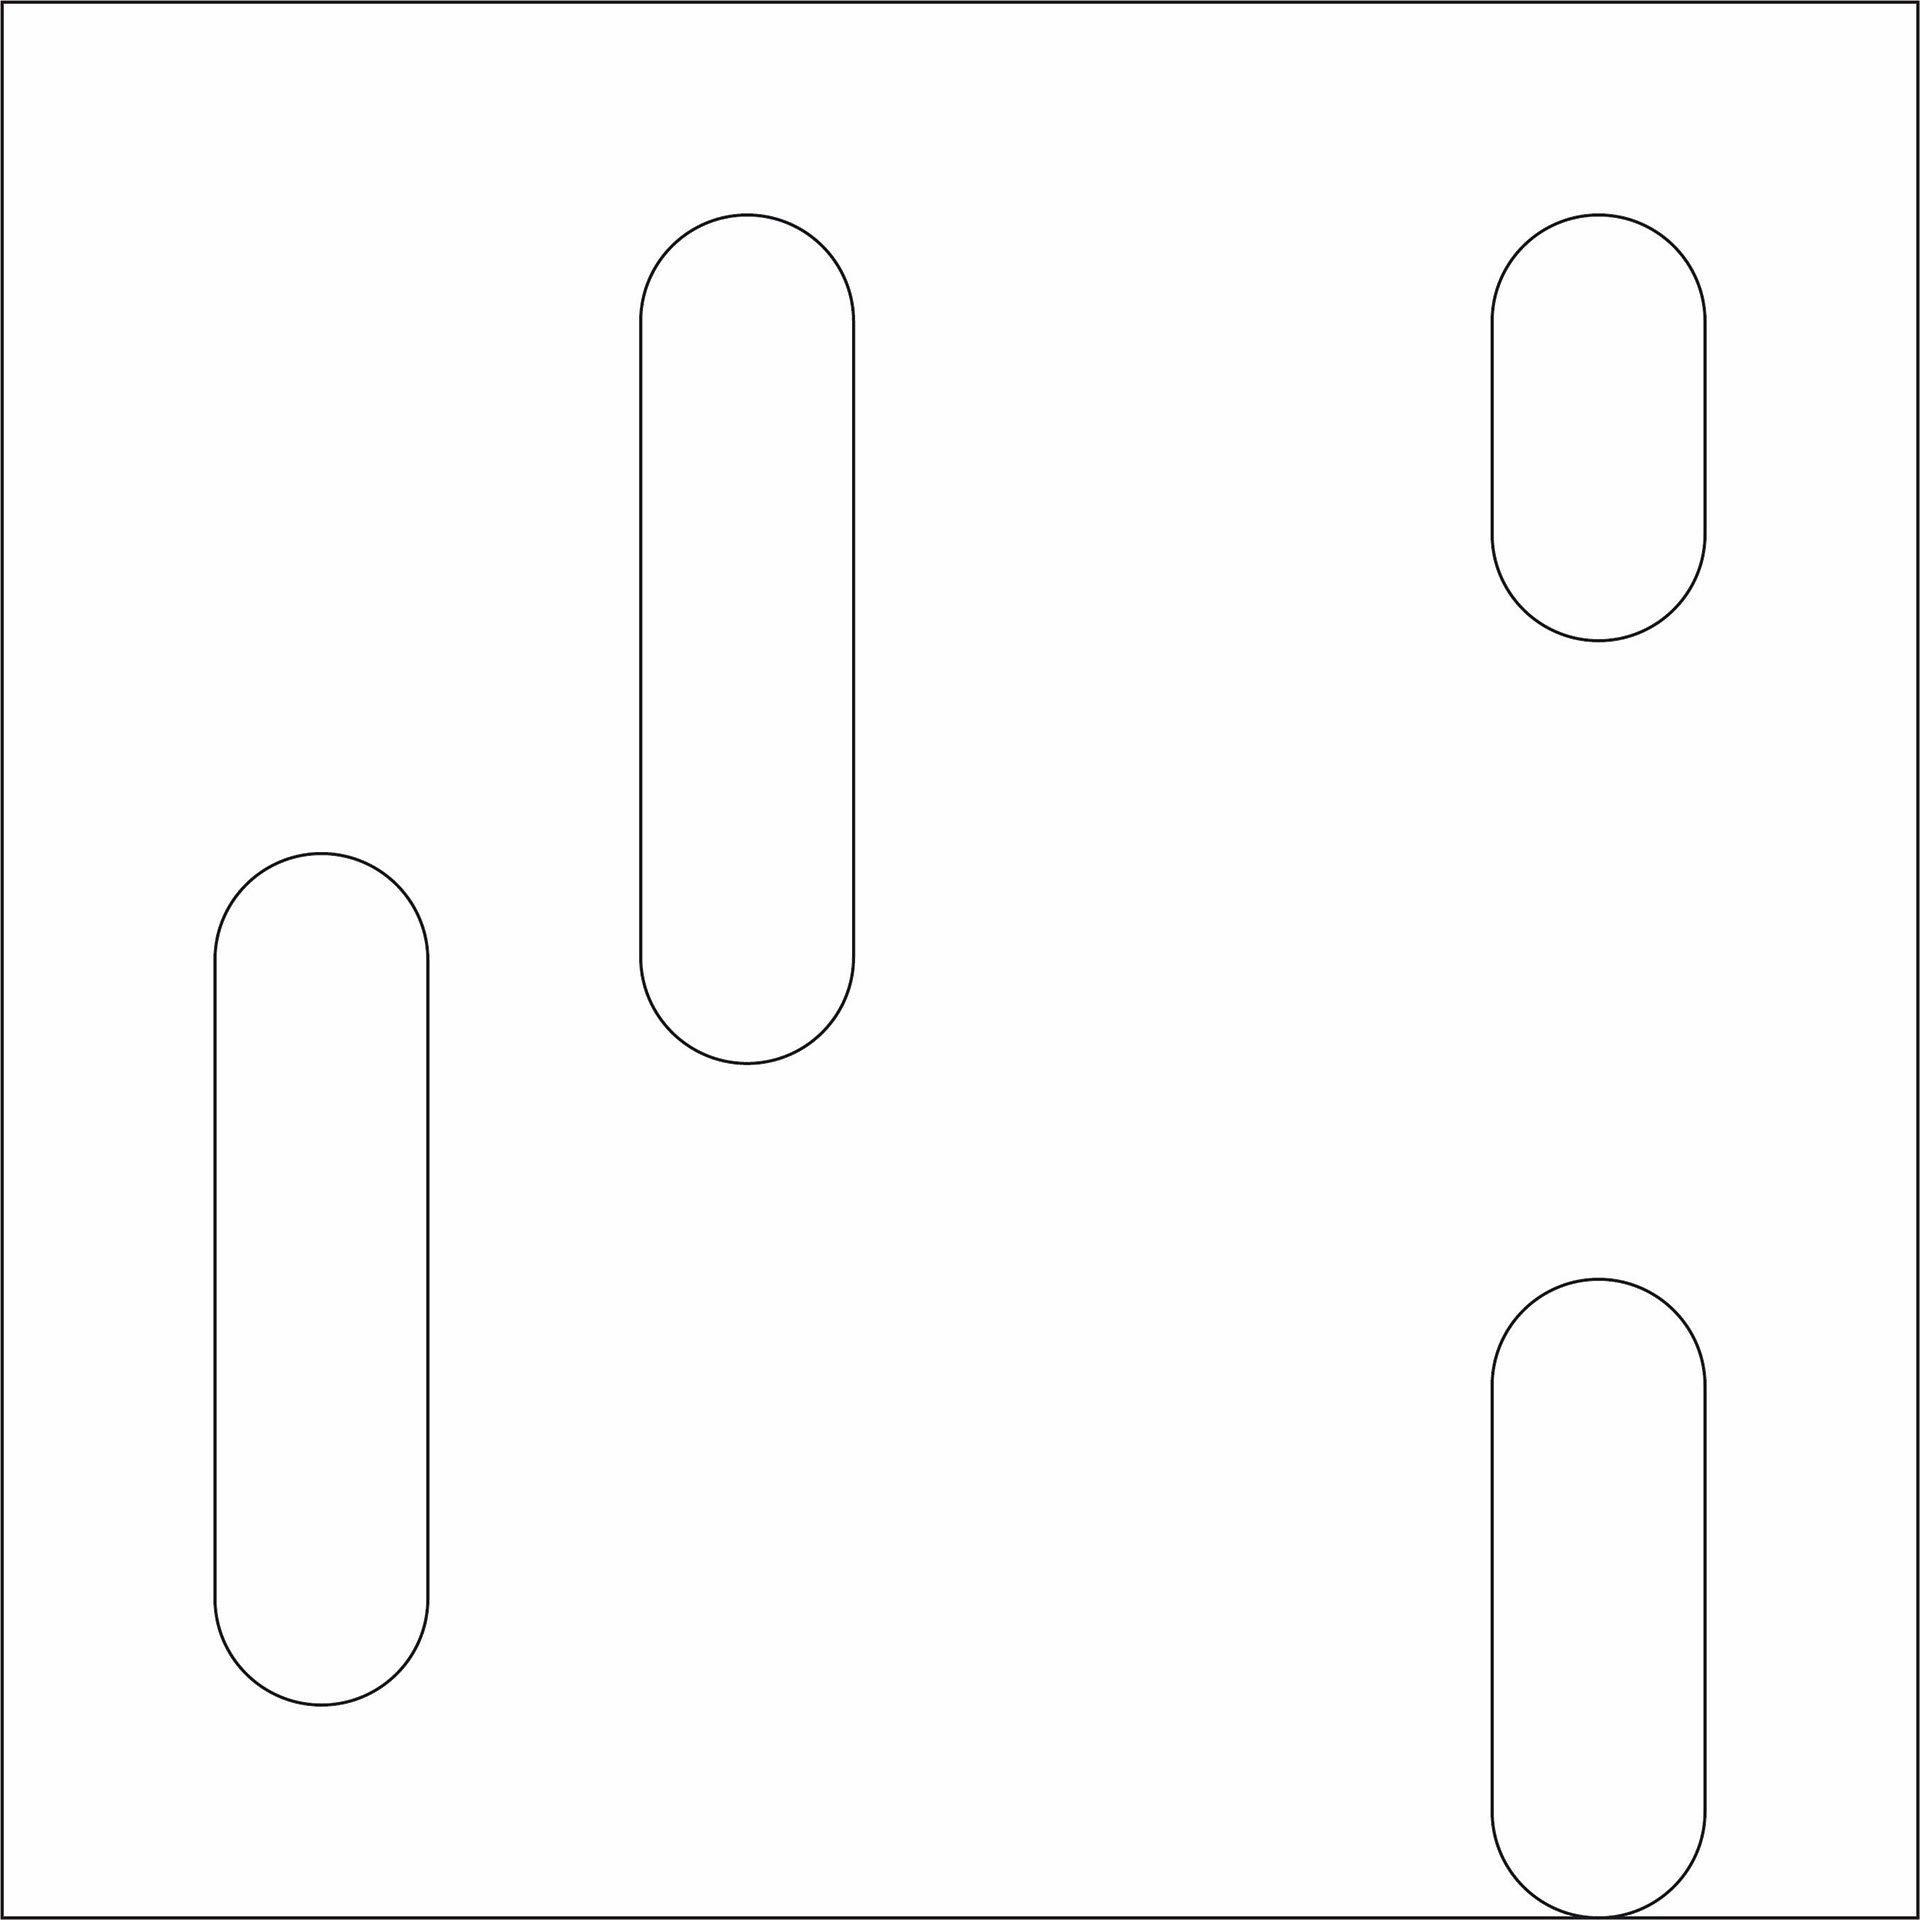
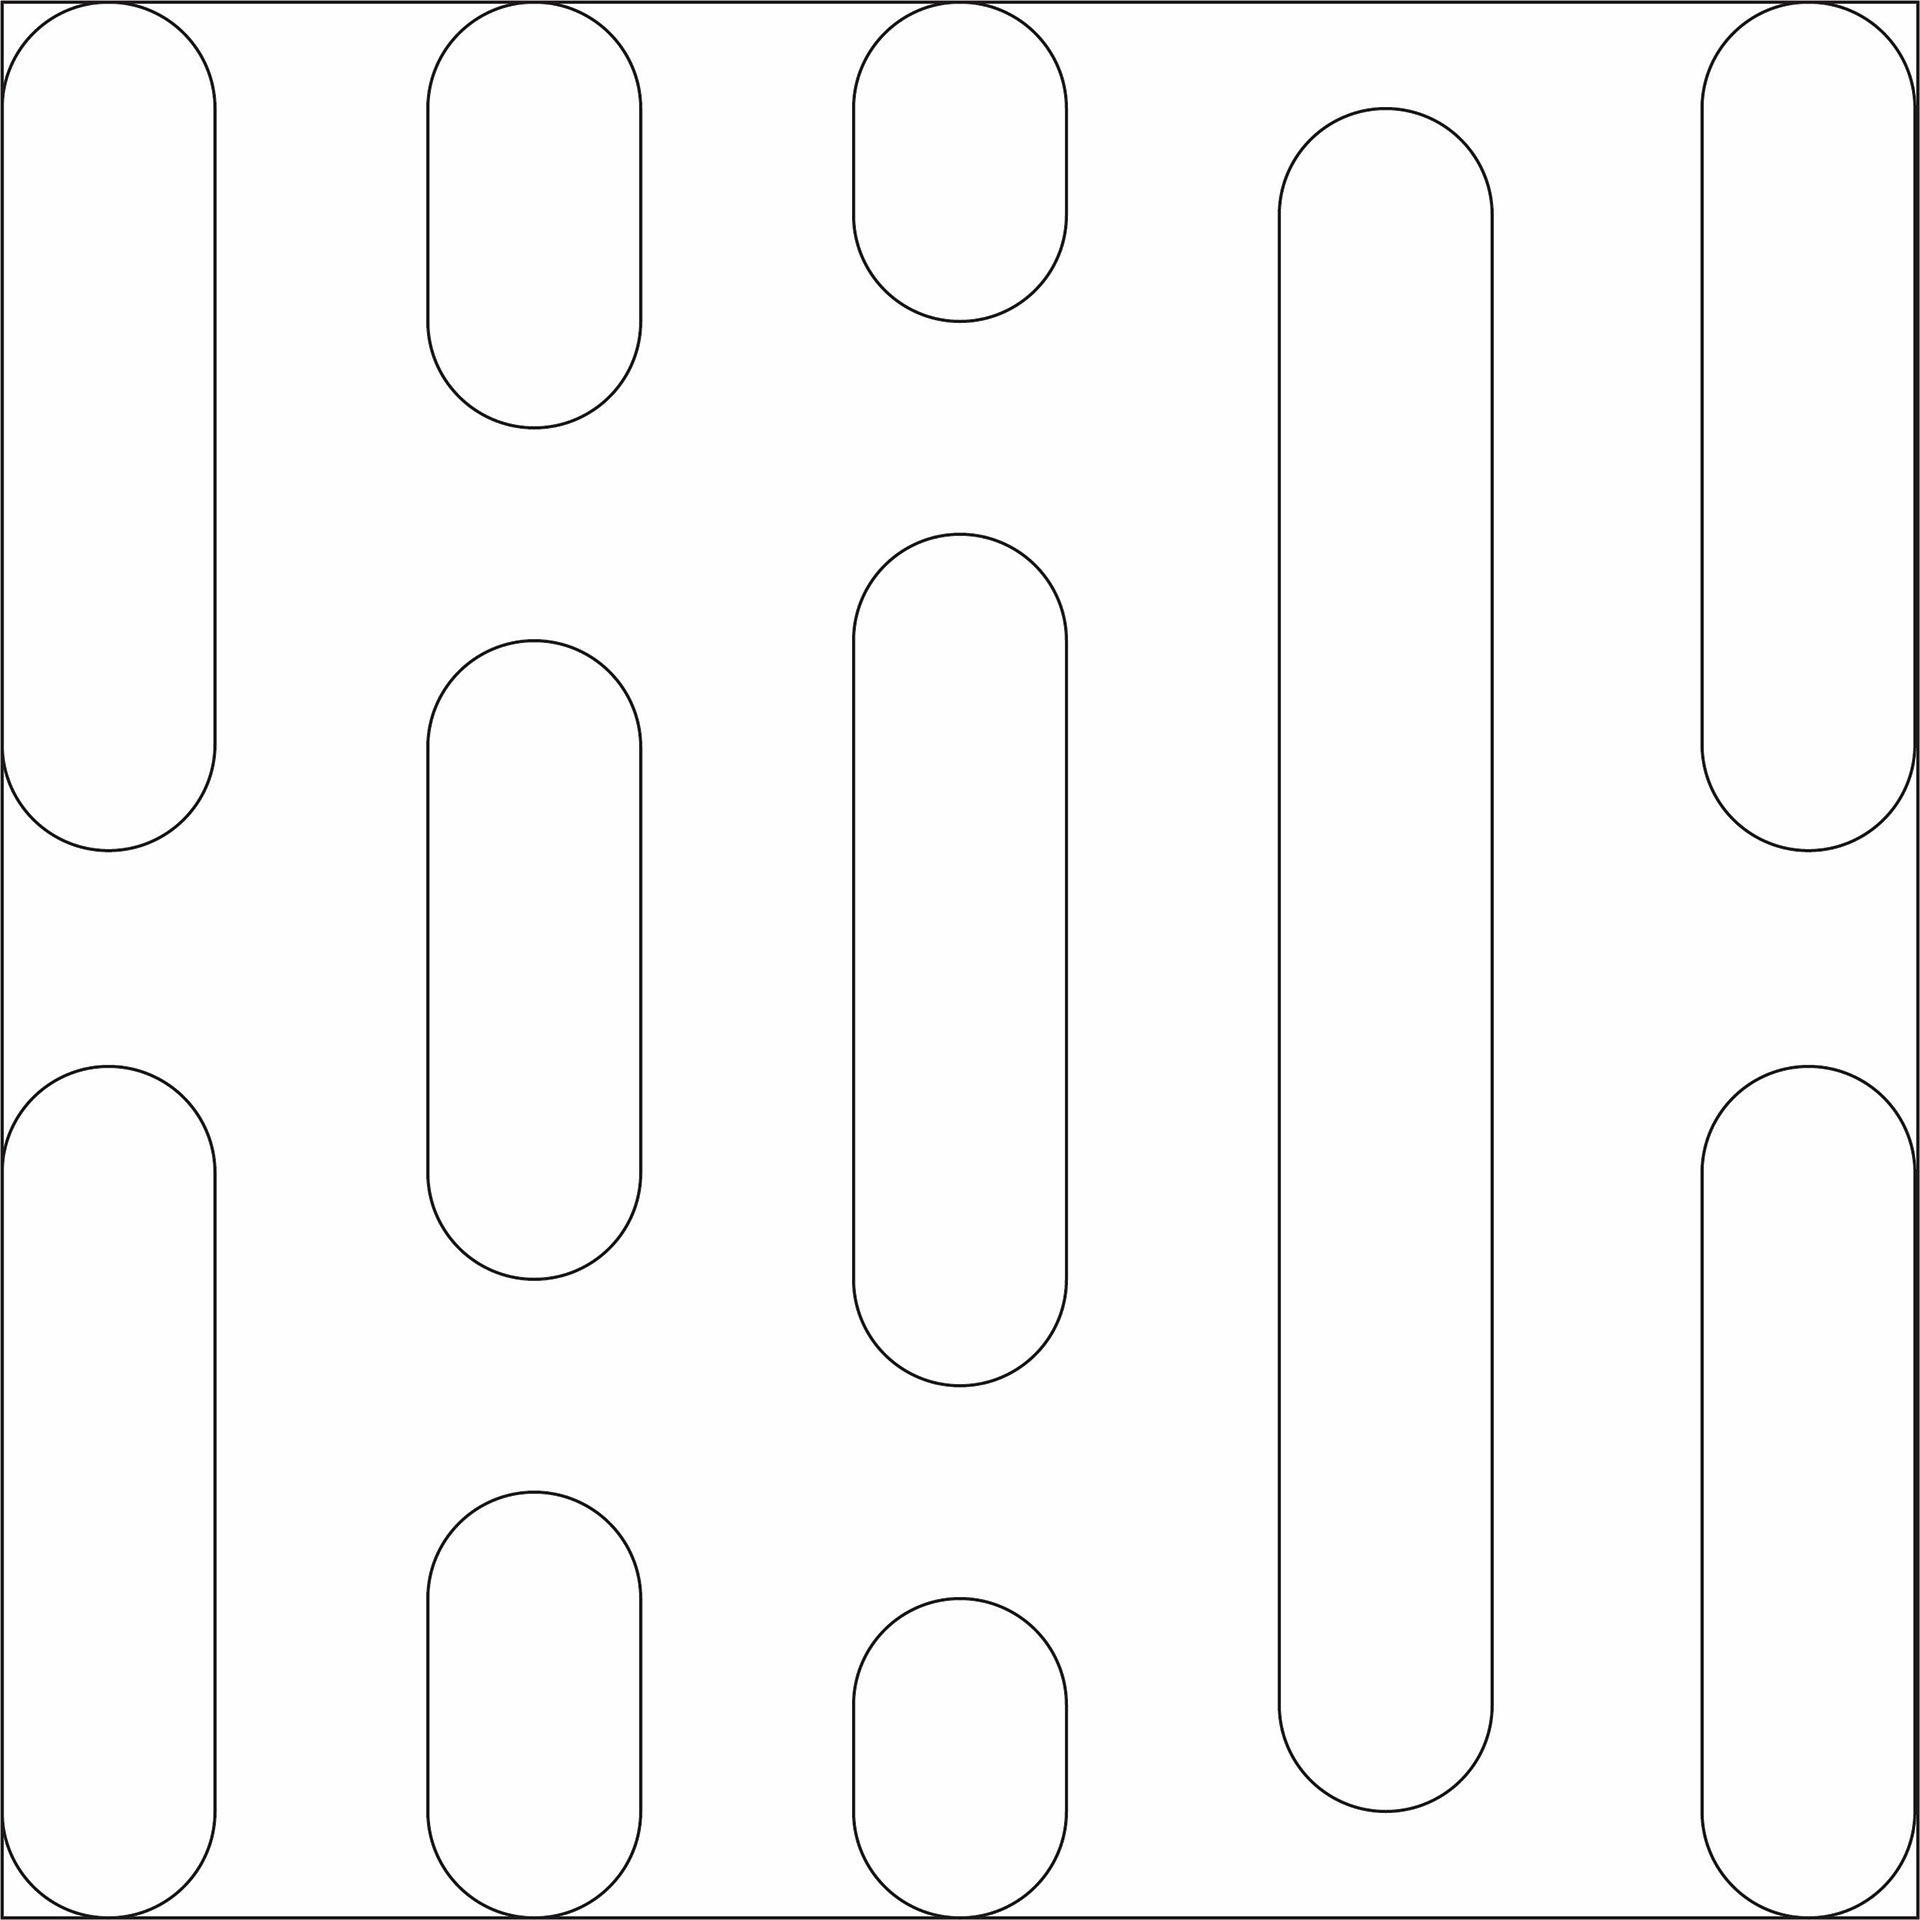
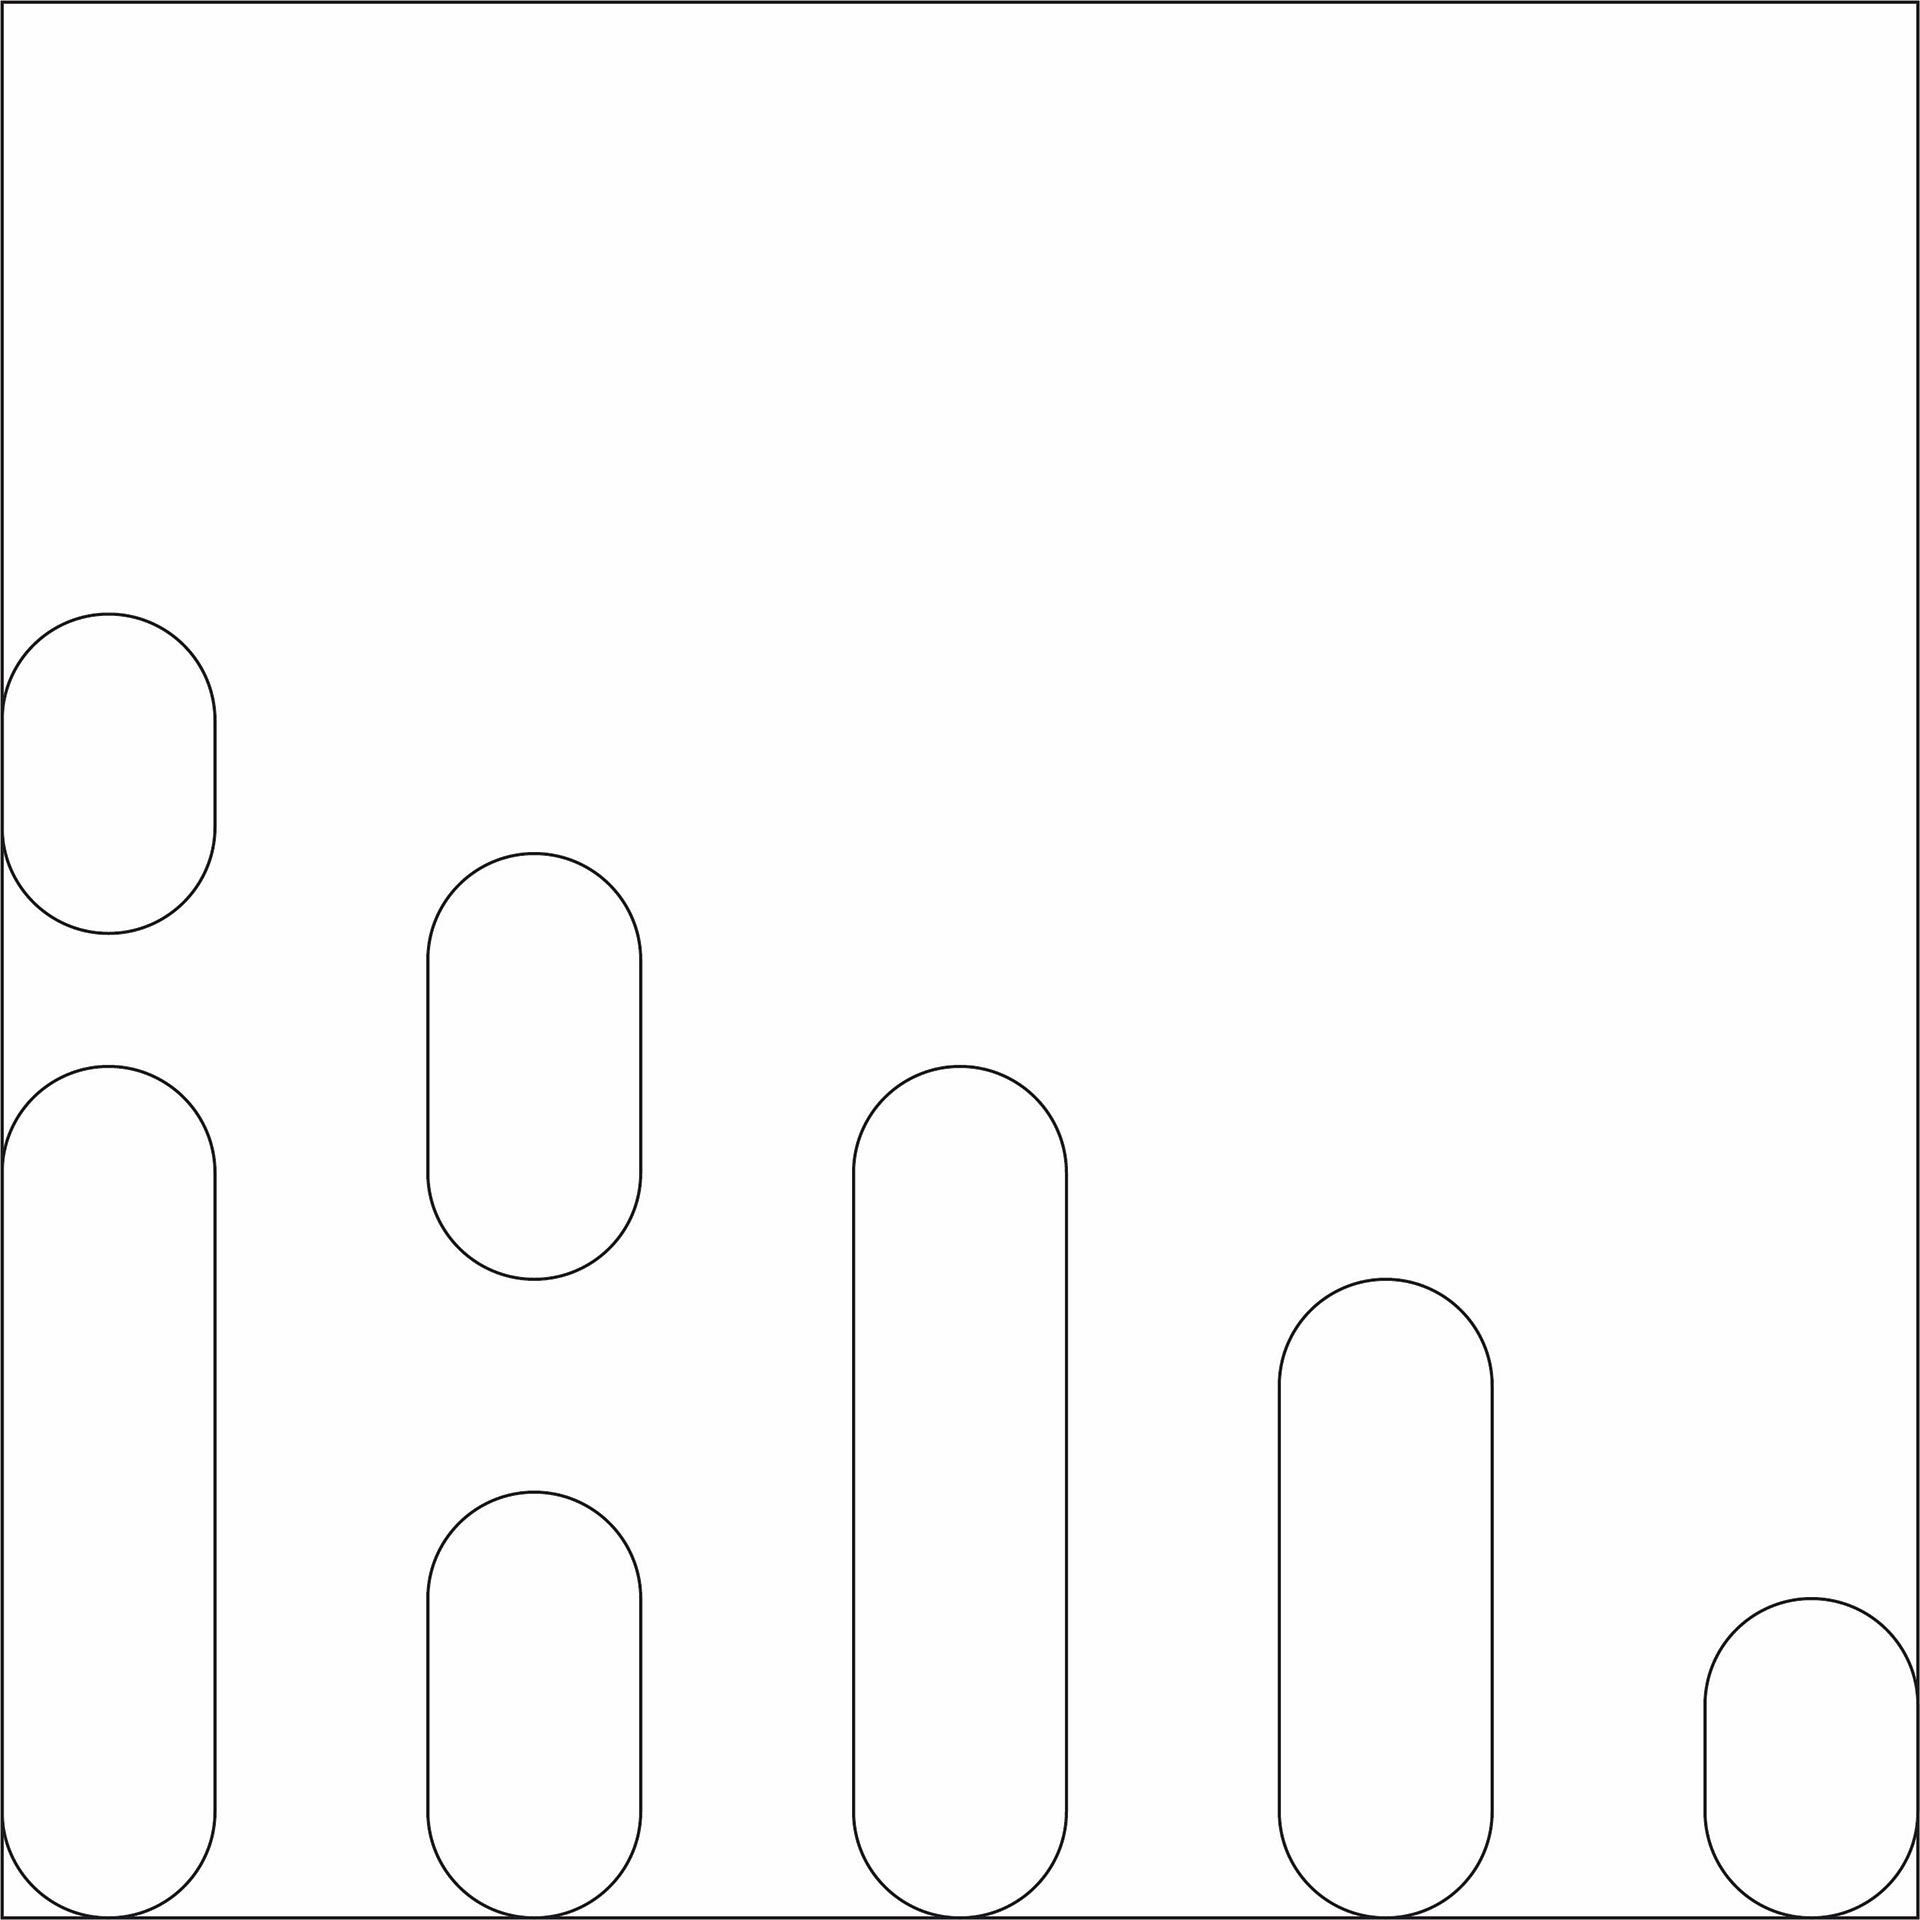
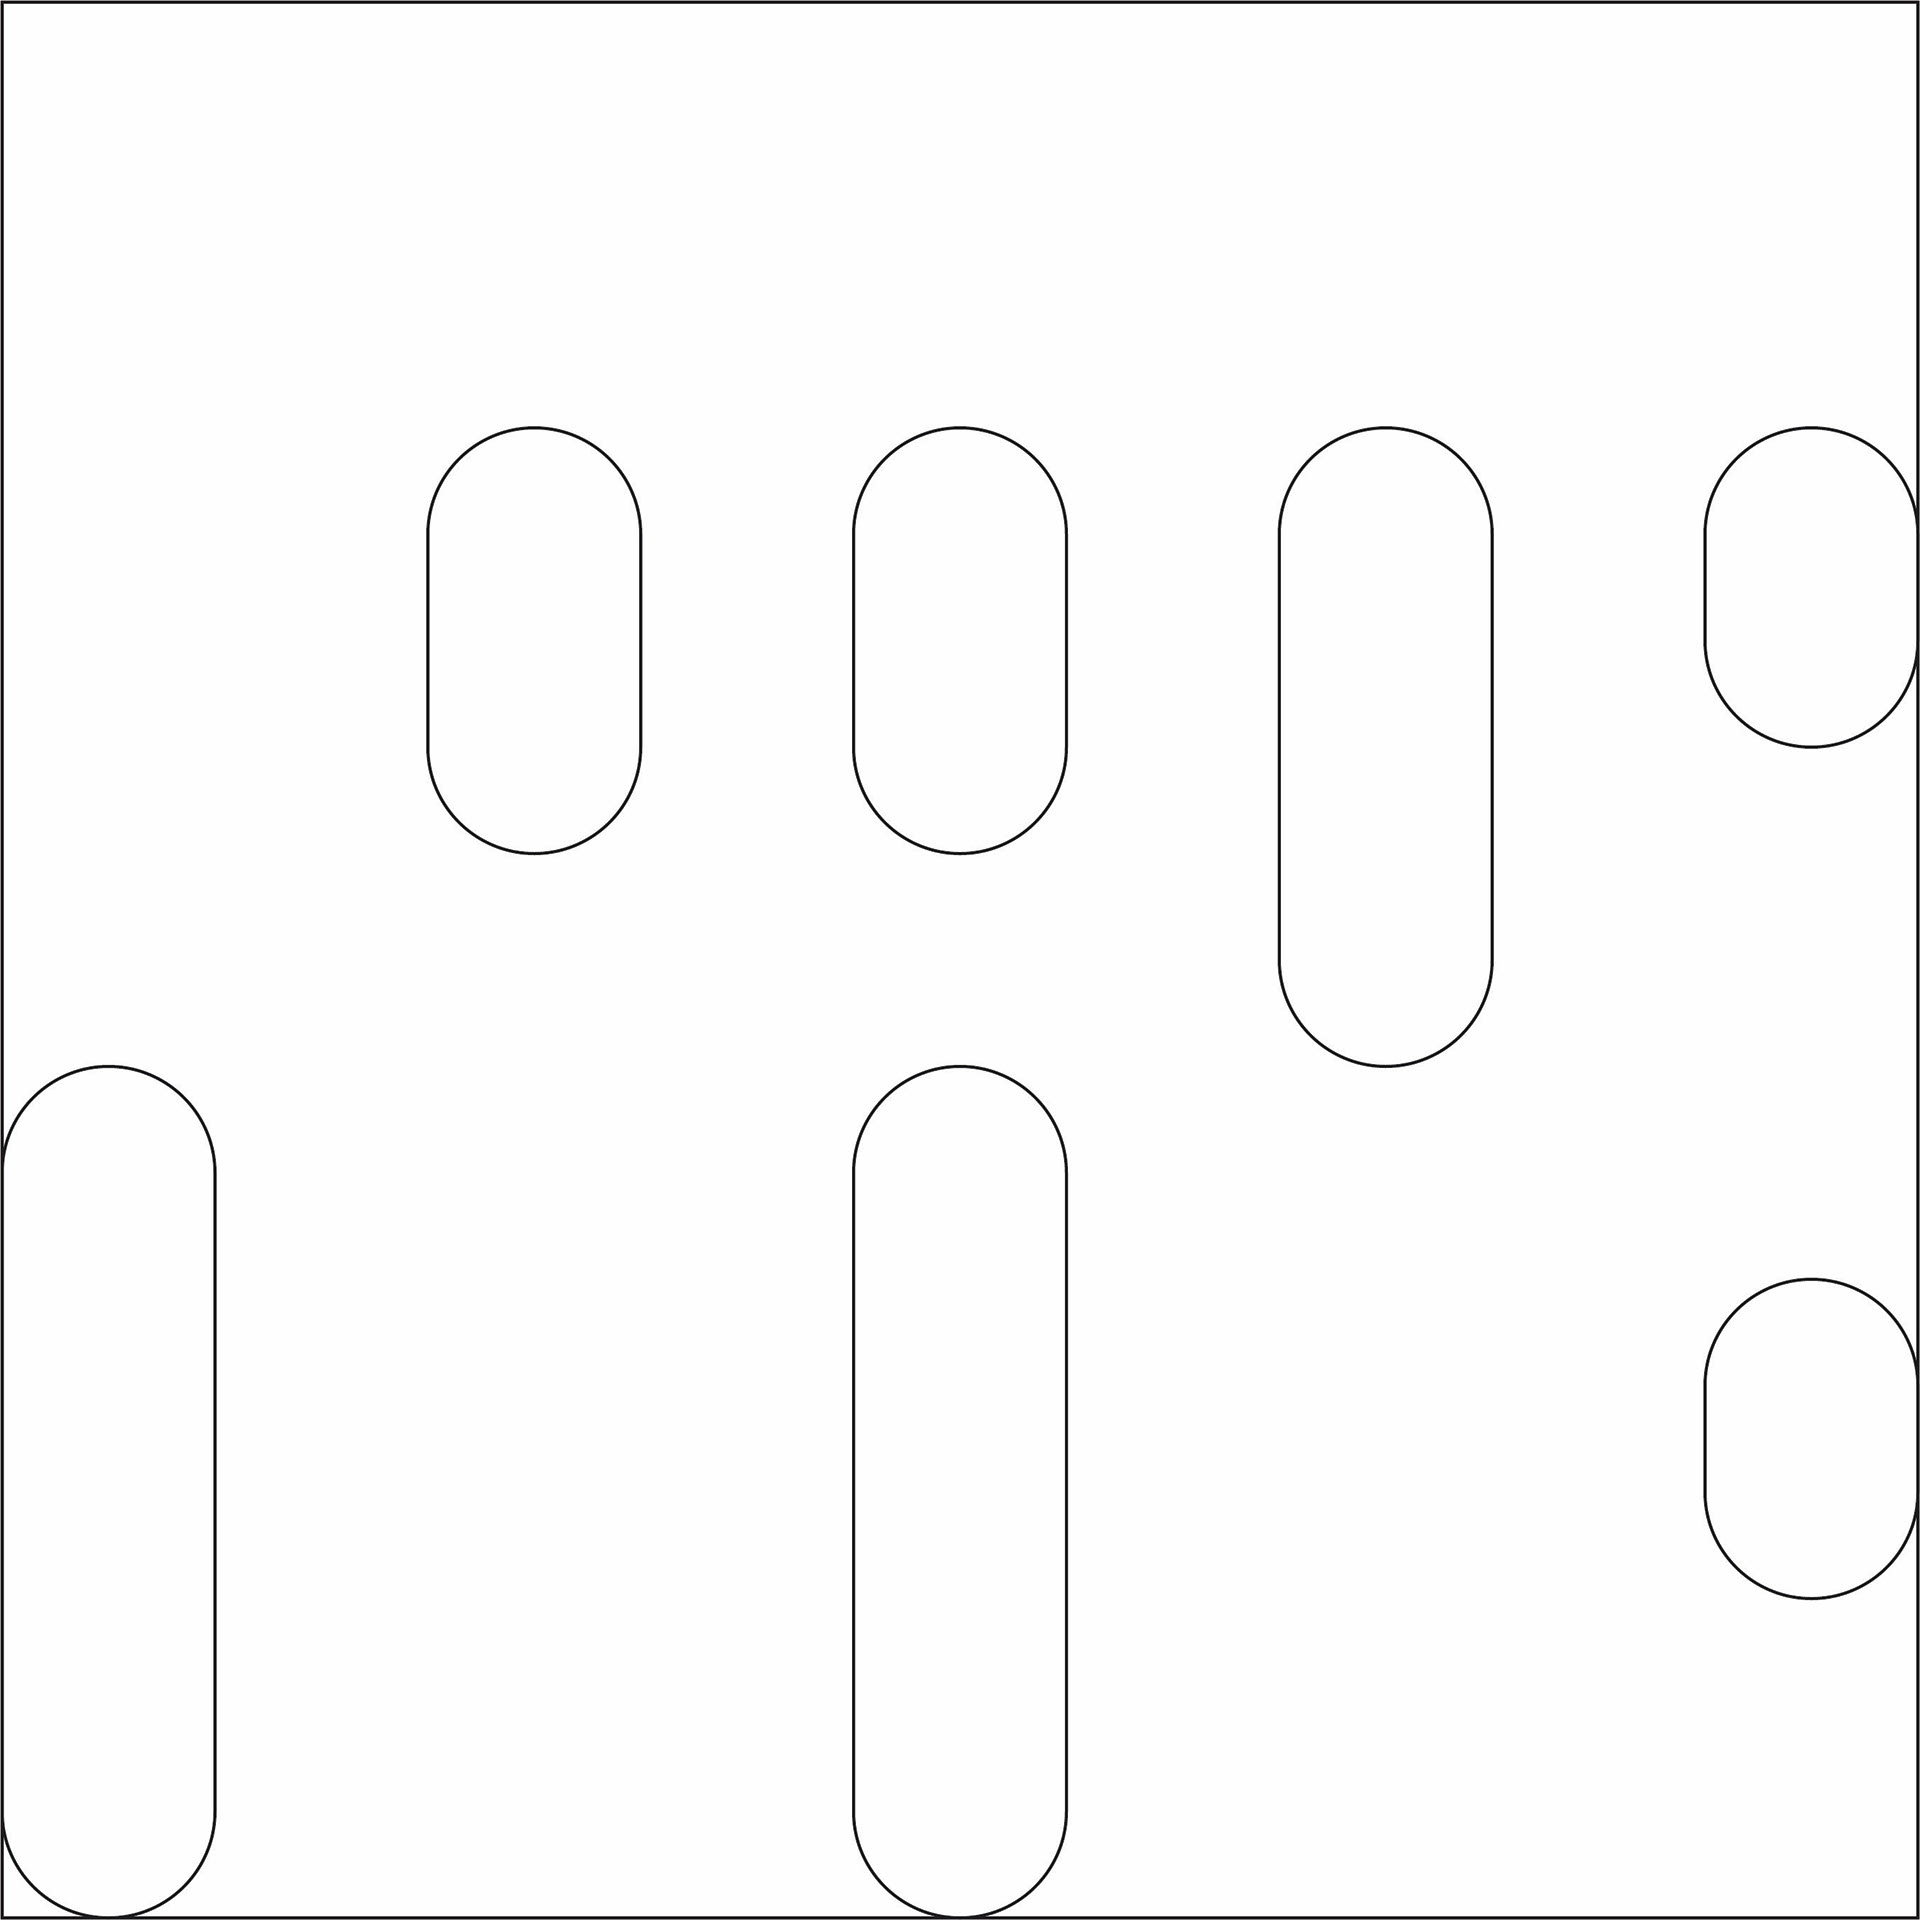
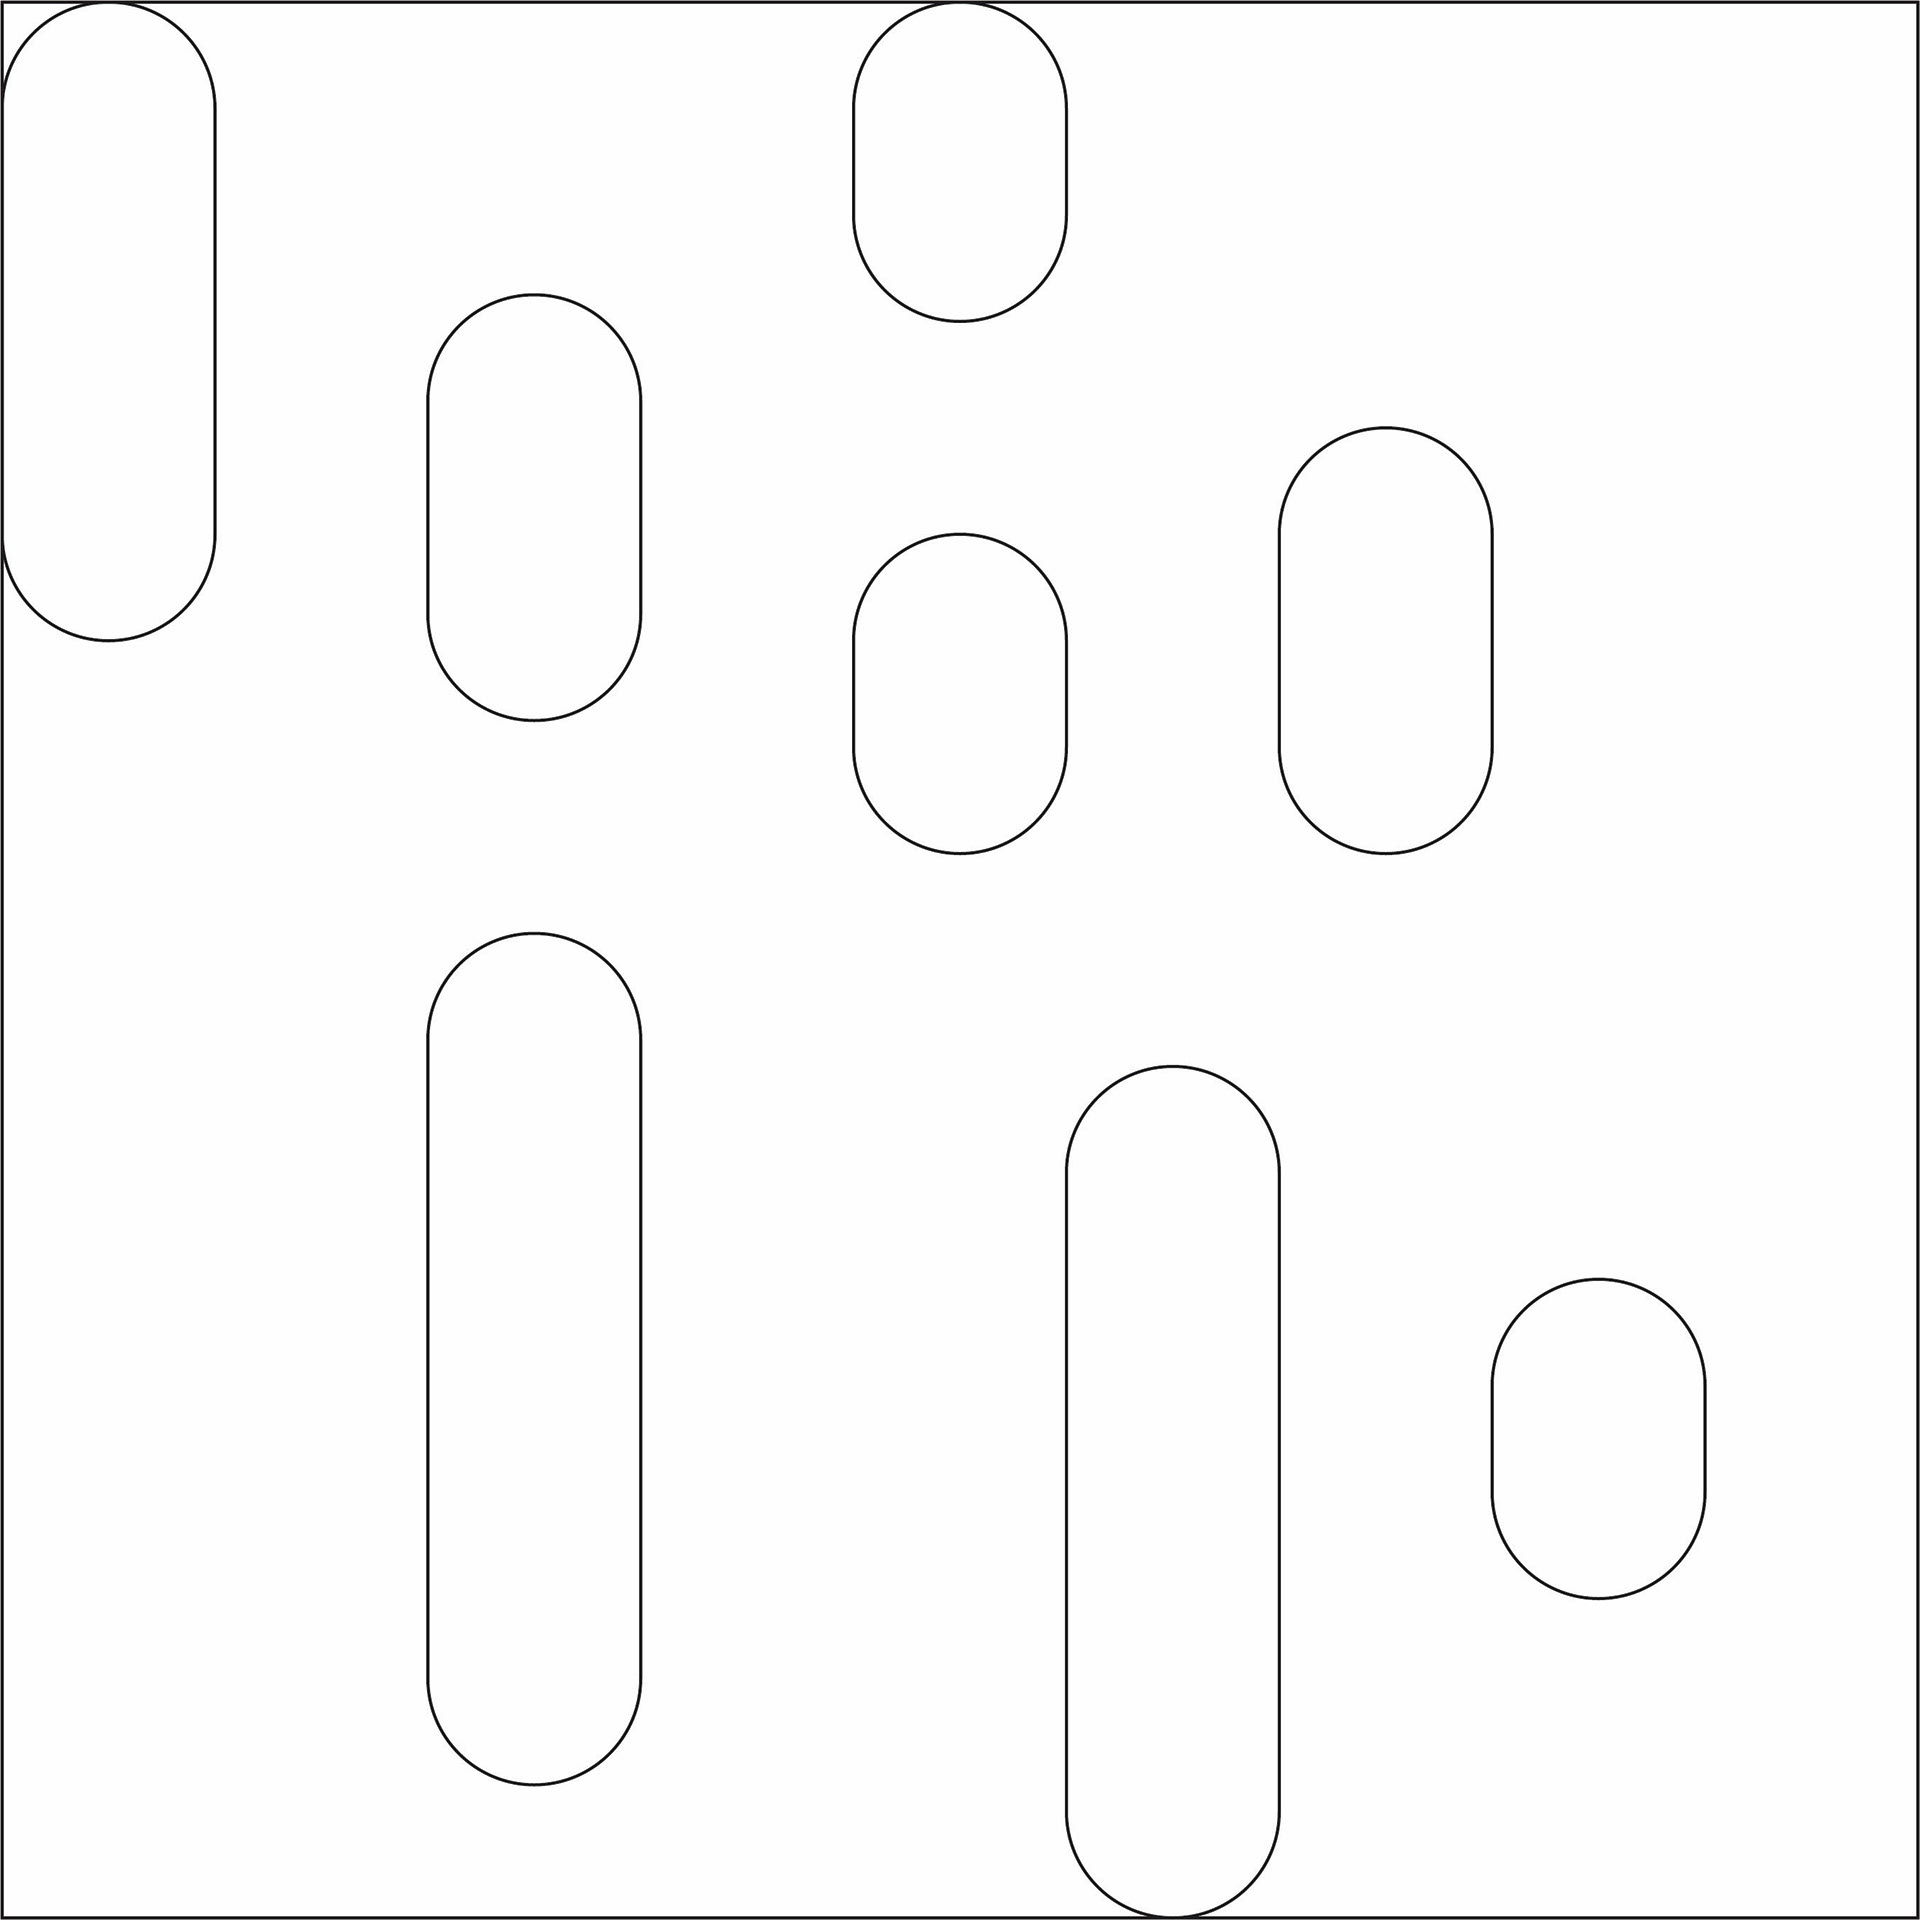
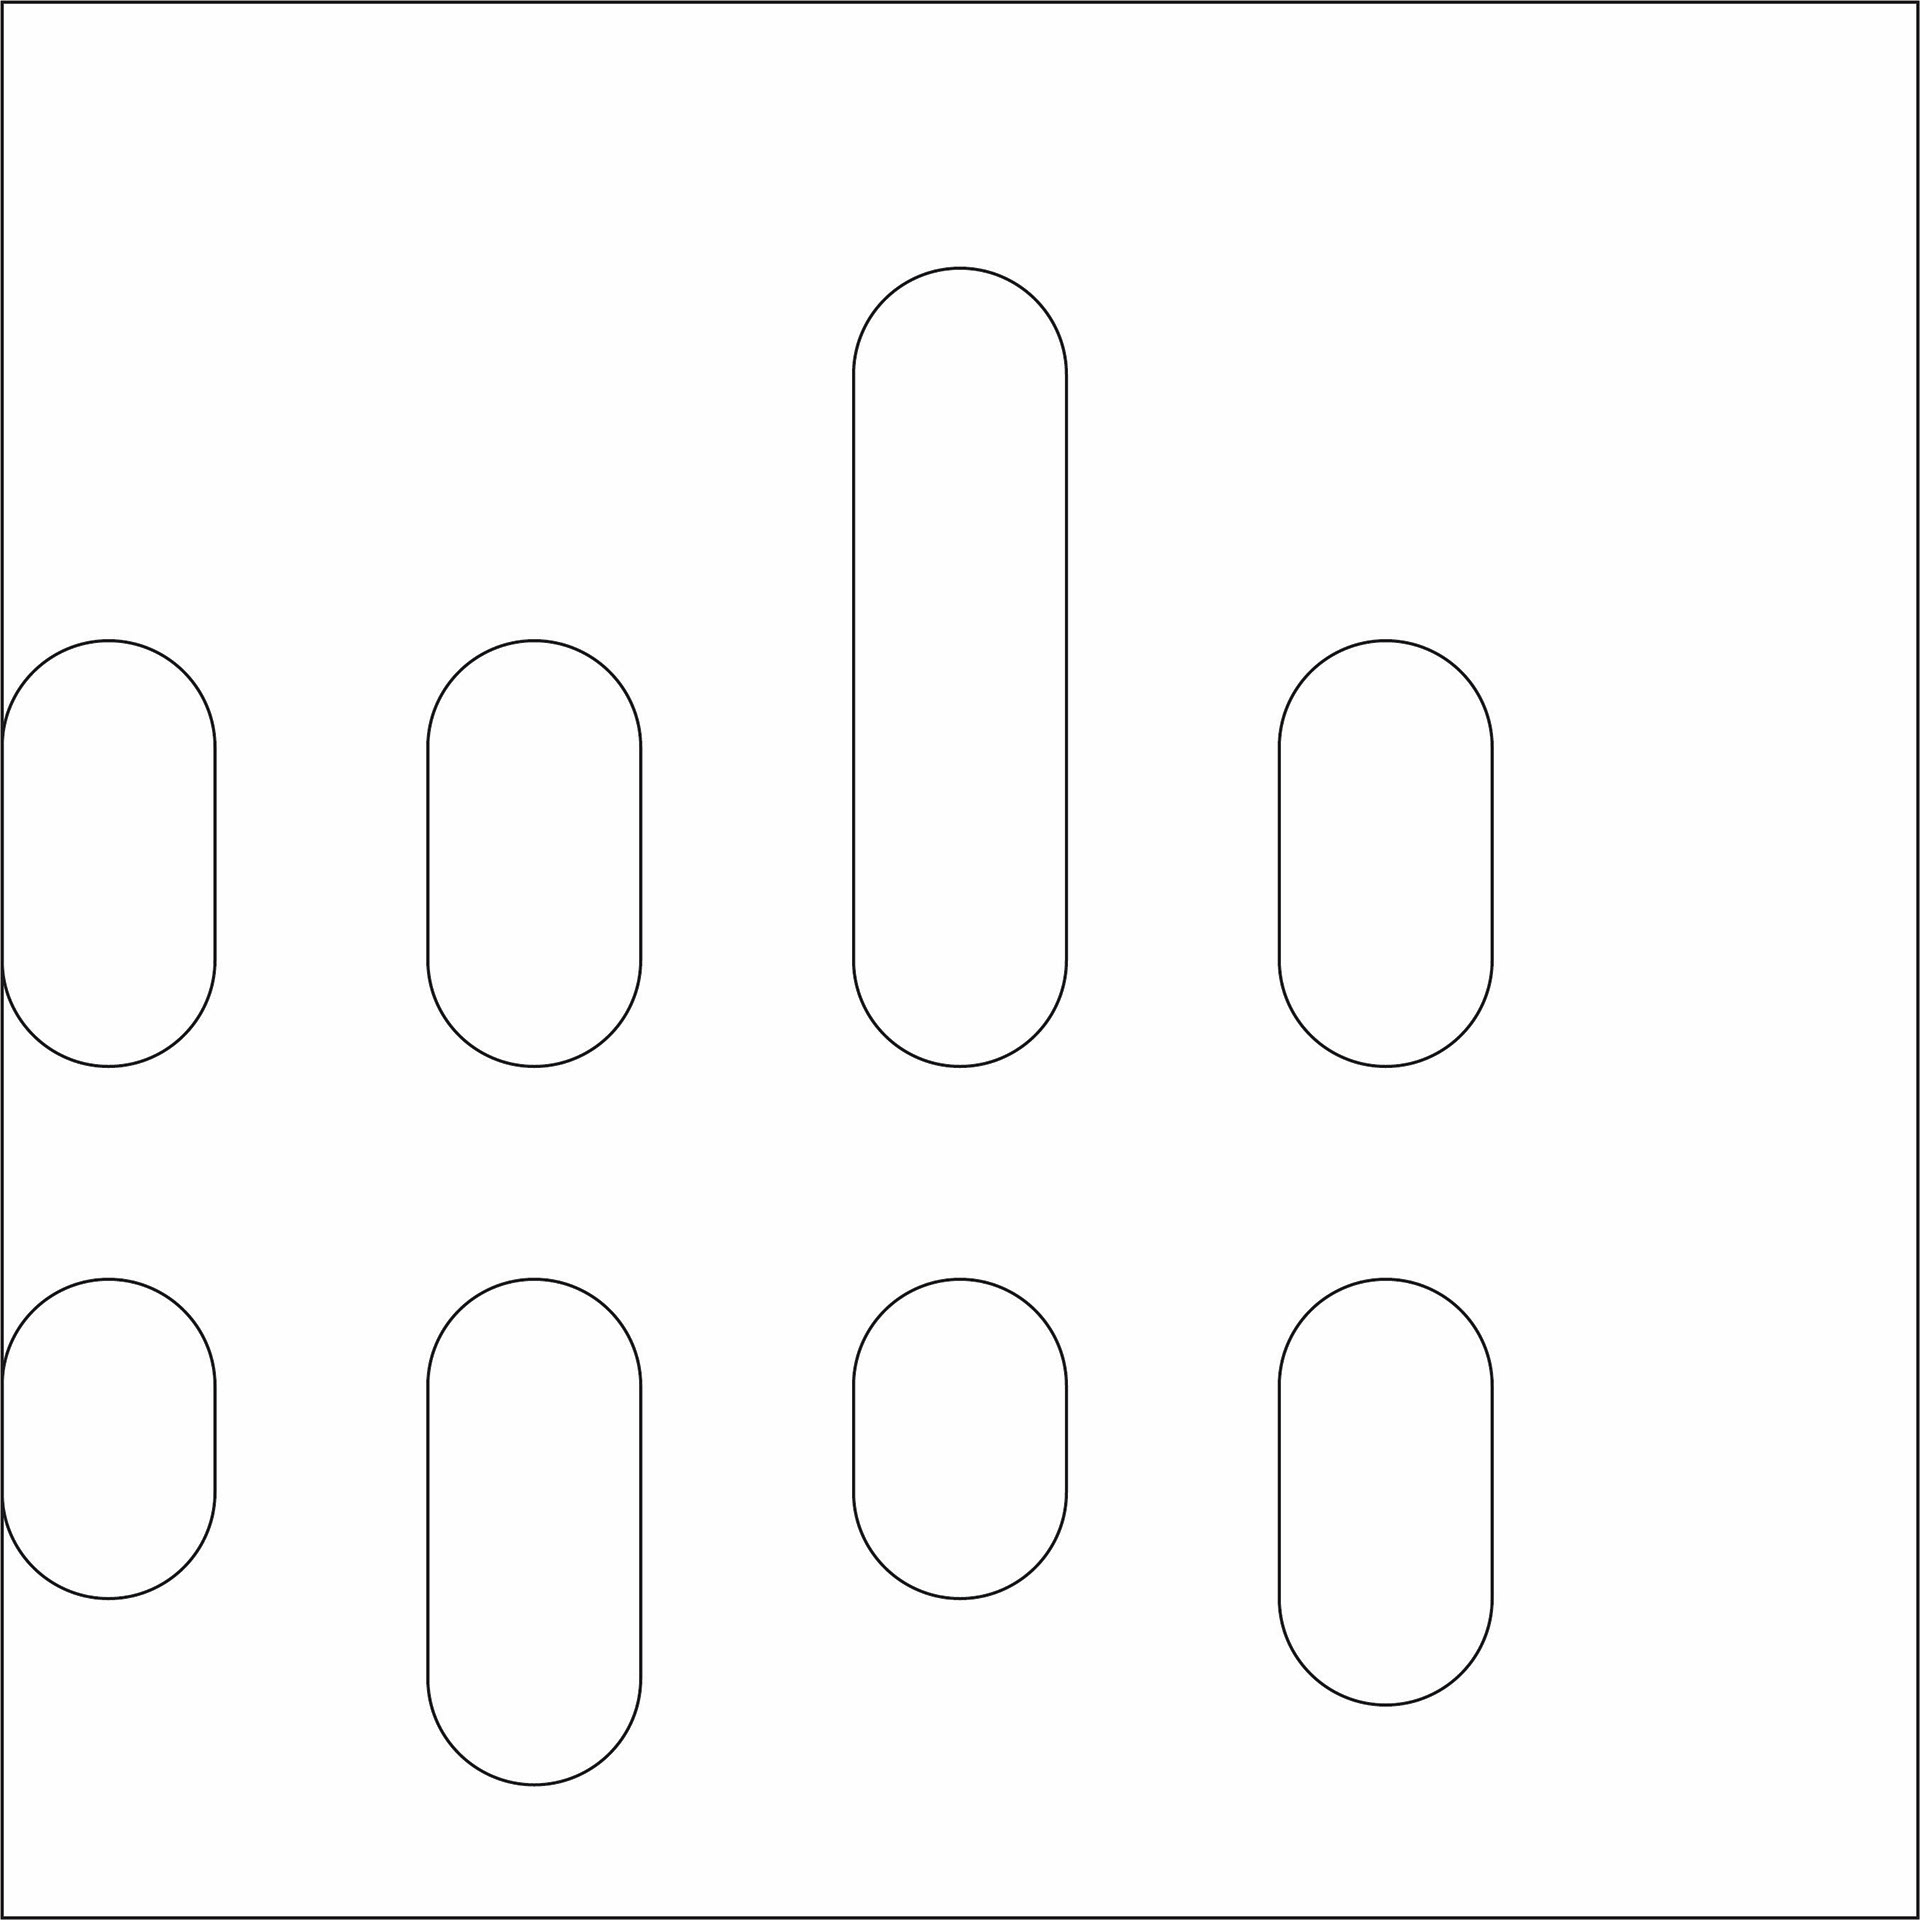
Cut out shapes will have completely rounded ends.
-Cut out shapes are restricted to a 9inch by 9 inch grid.
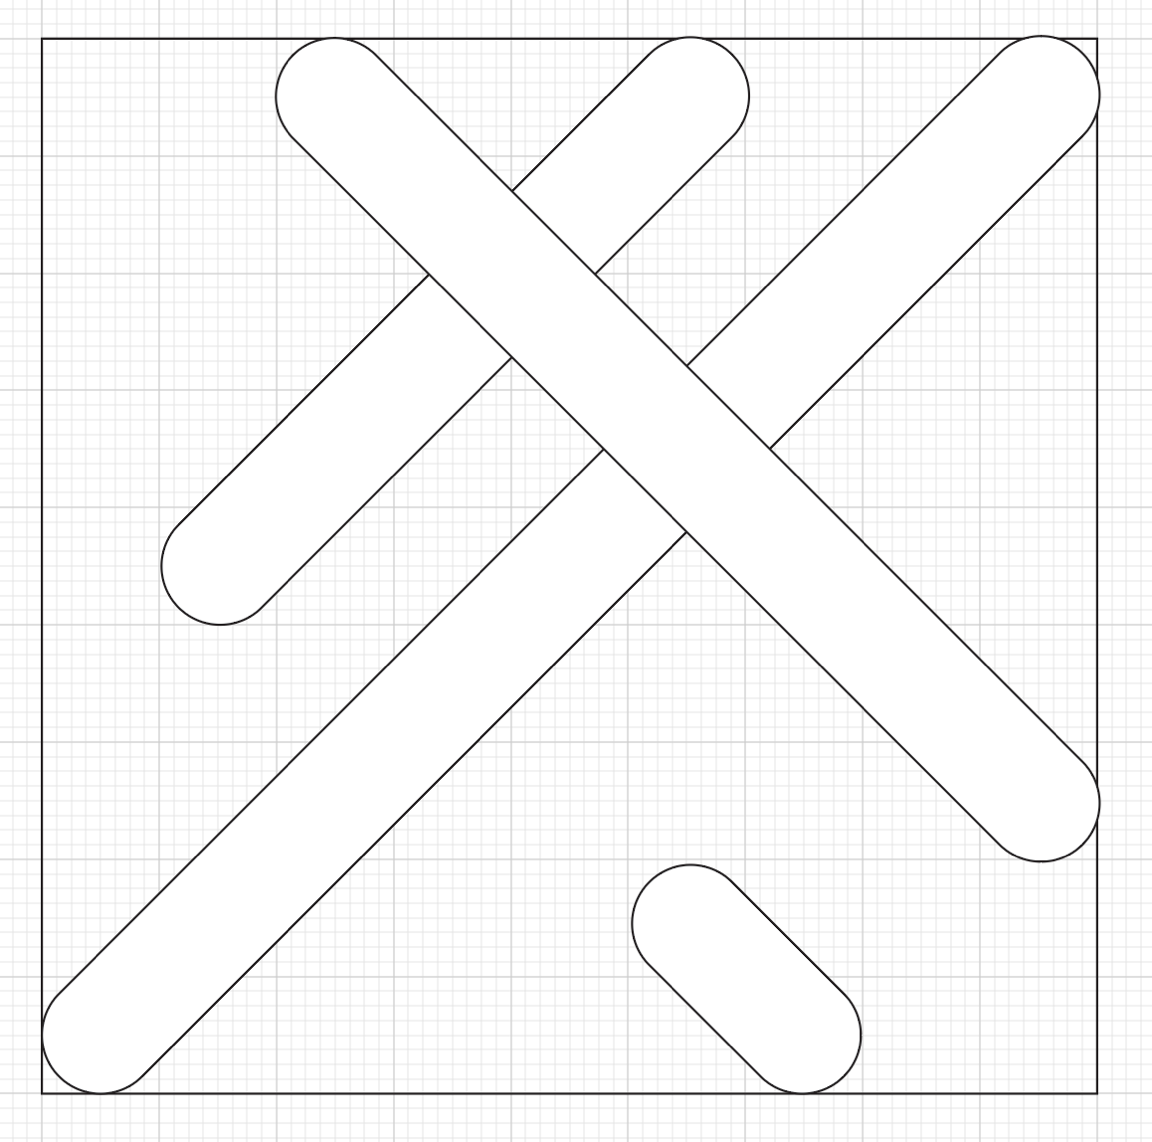
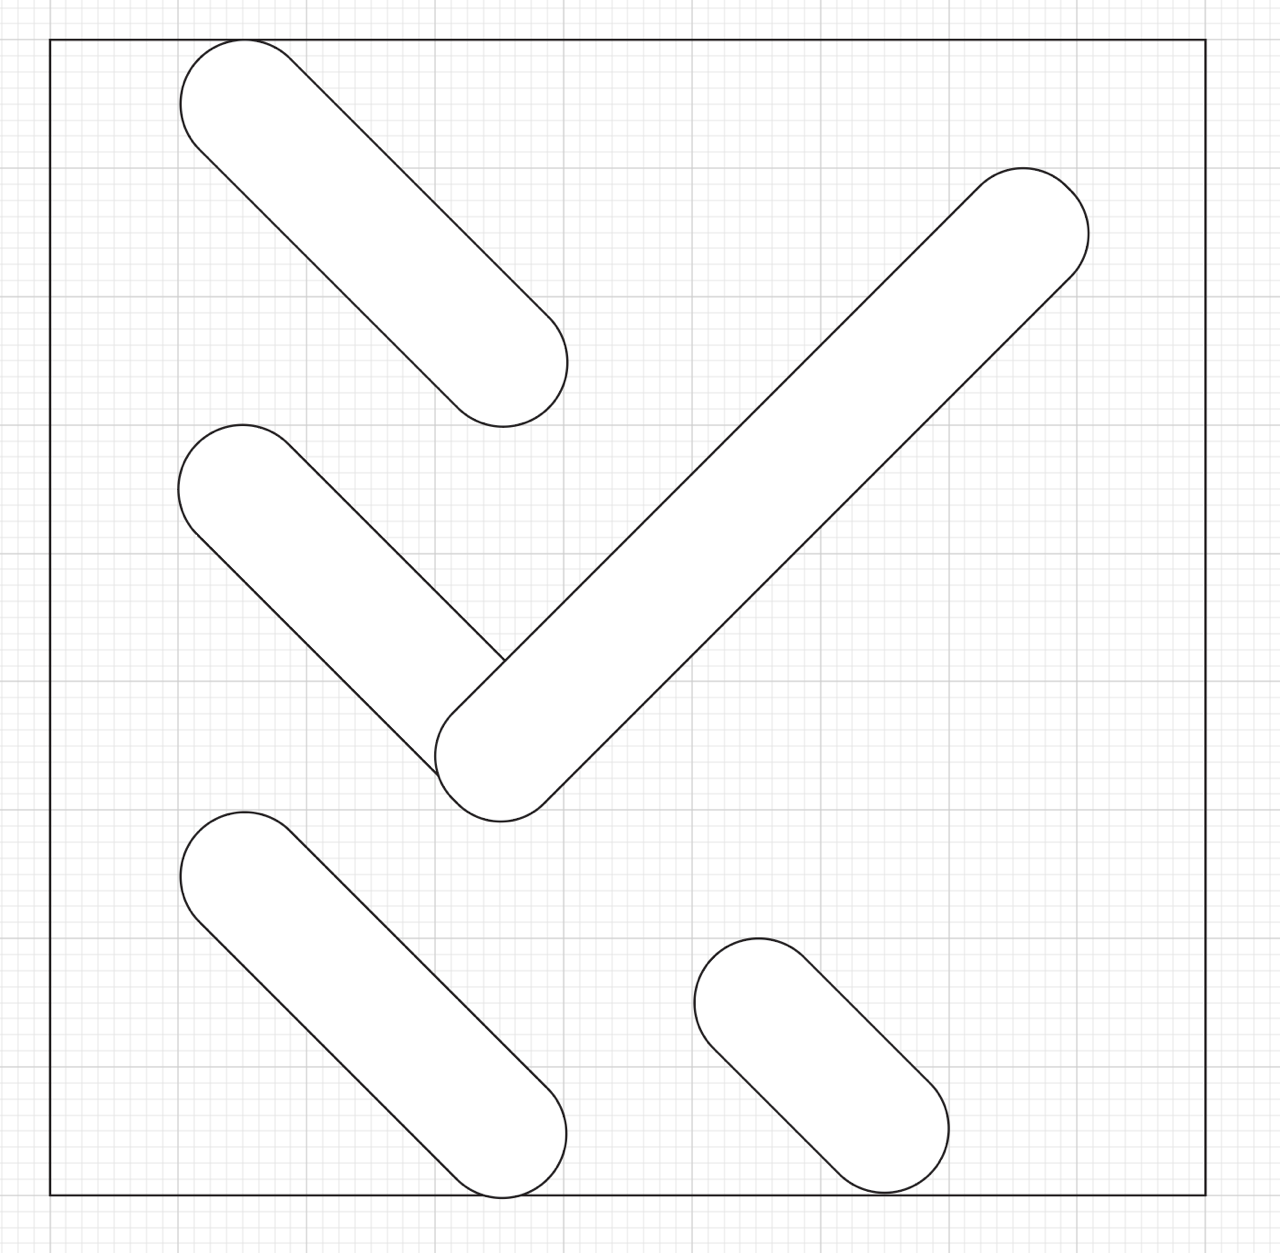
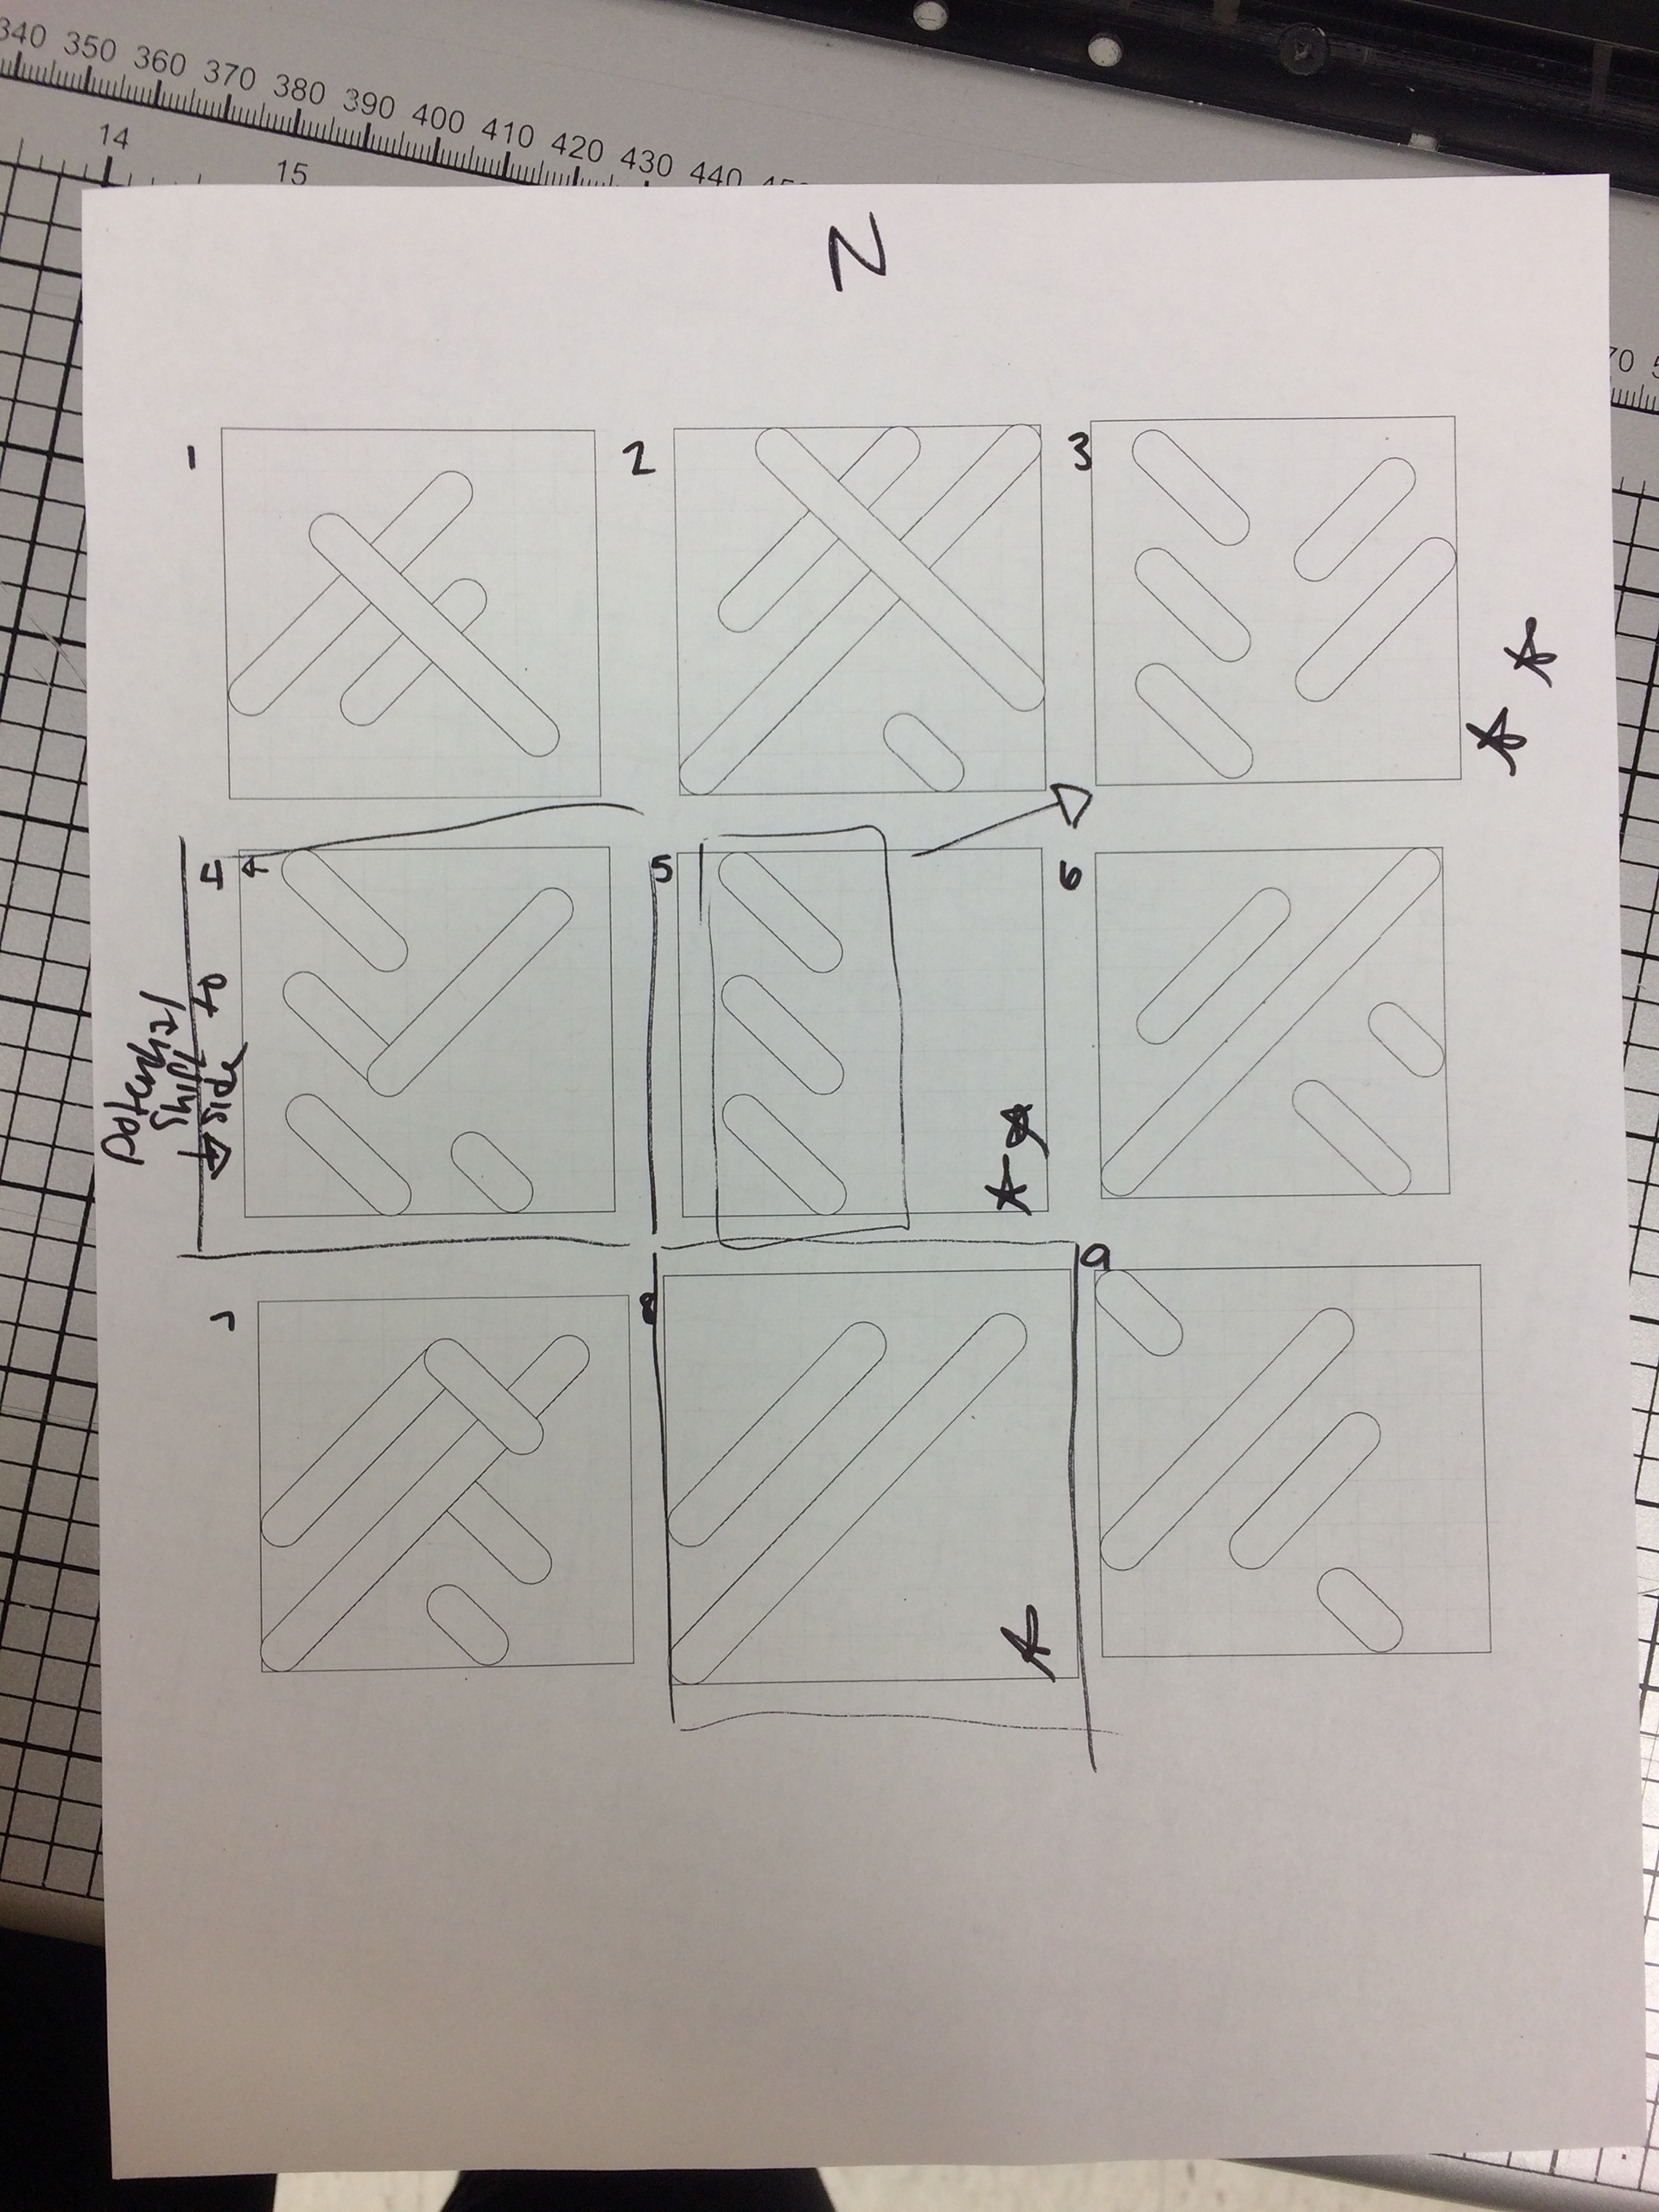
-Cut out shapes will be 1 inch thick, however, the length of the cut out shape can be anything from 2 inches to 9 inches long (With the exception of diagonals: Diagonals can reach from opposing corners, which is about 12 inches).
-The closest two cut out shapes can be to one another is one inch.
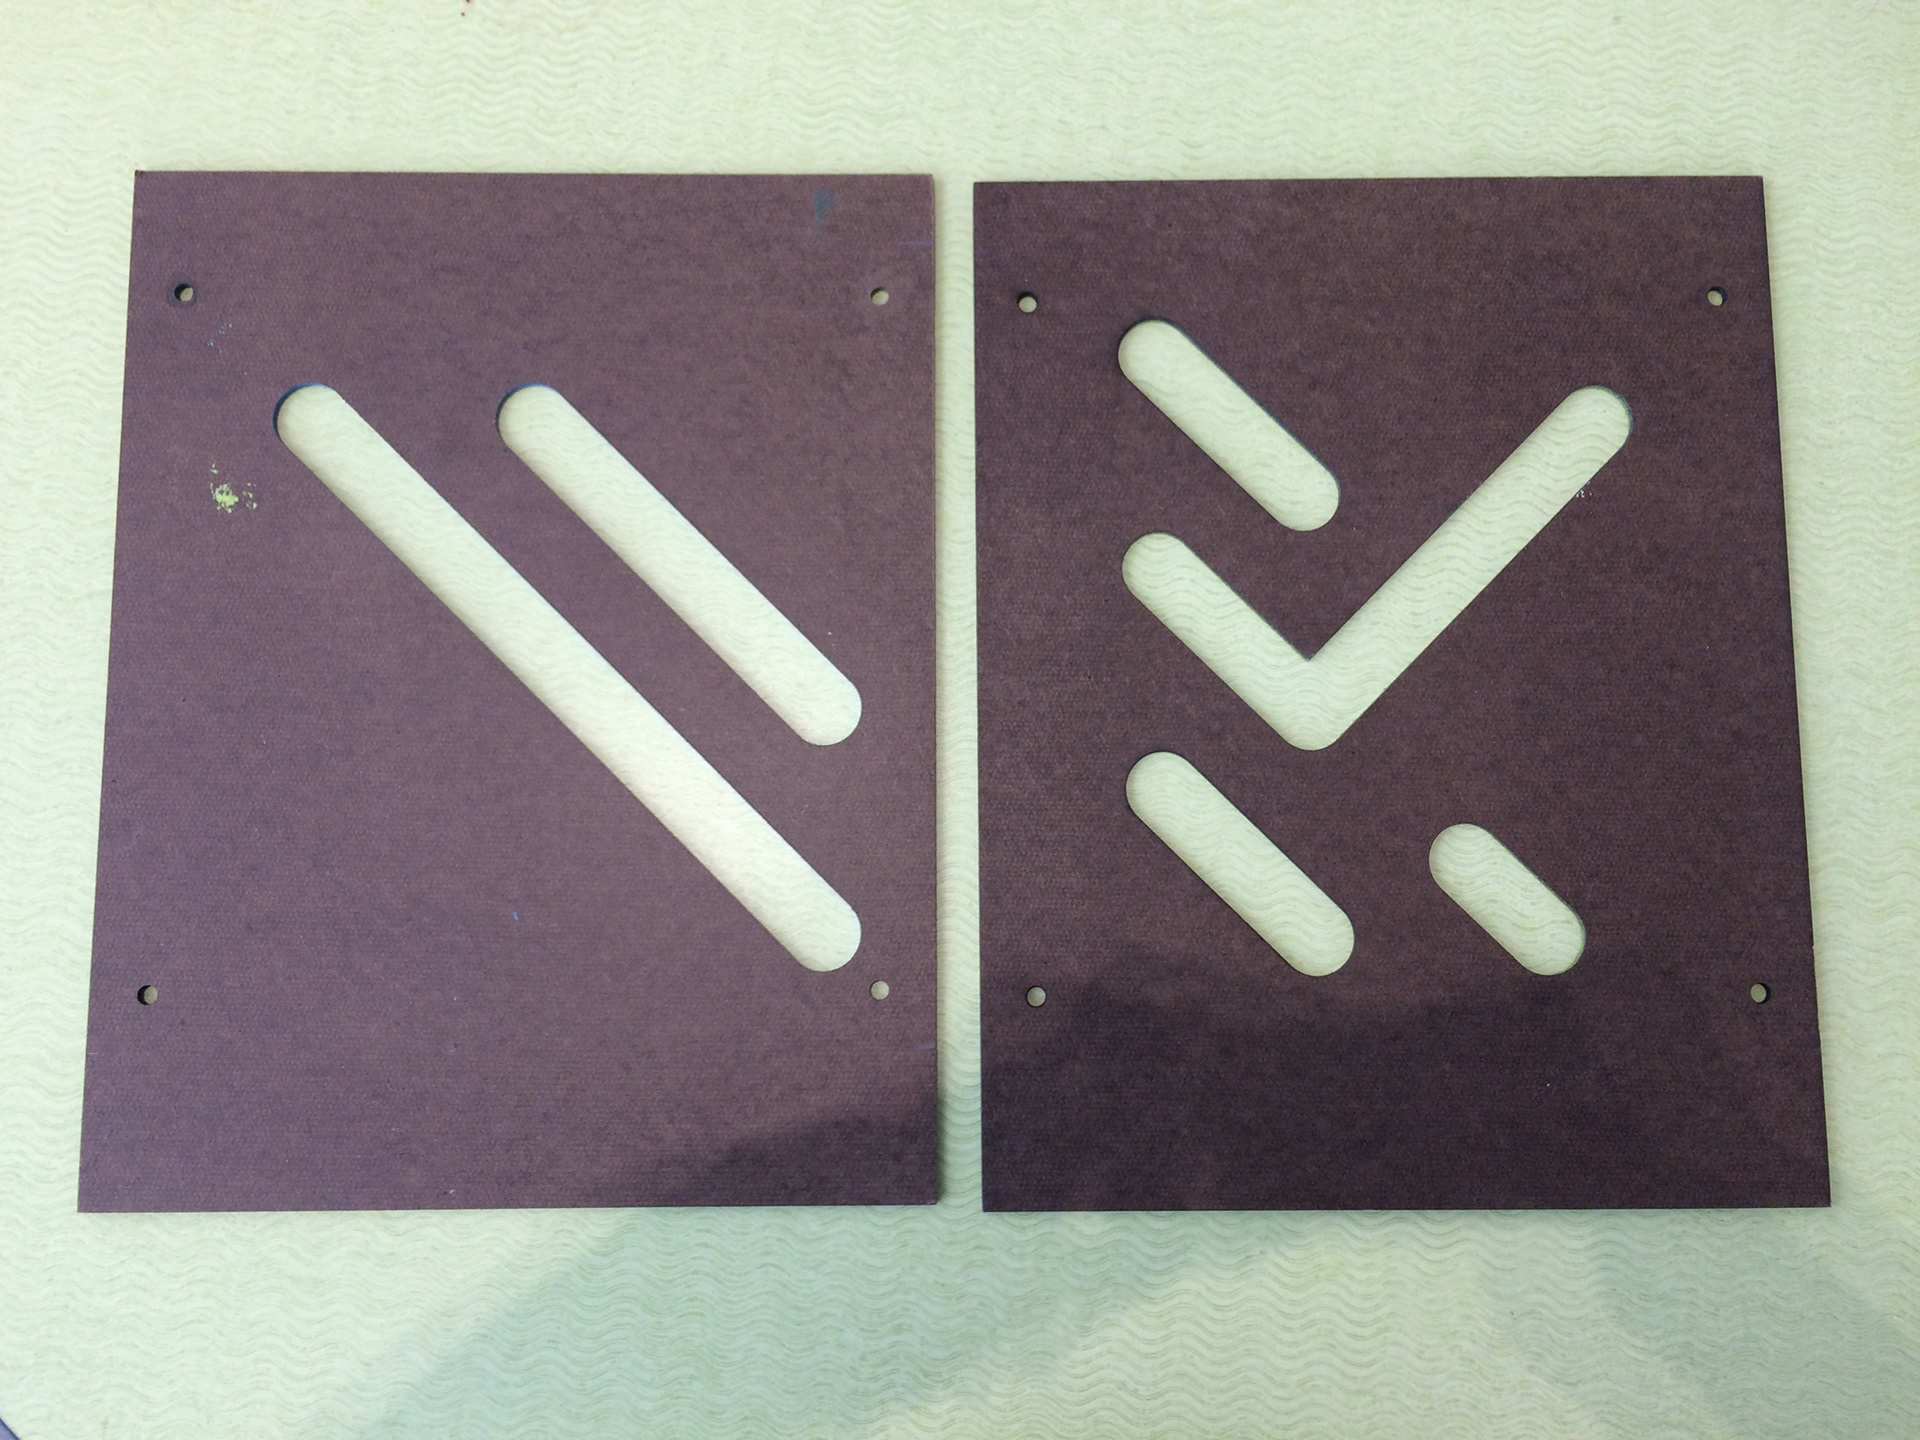
-Diagonals will remain at a 45 degree angle.
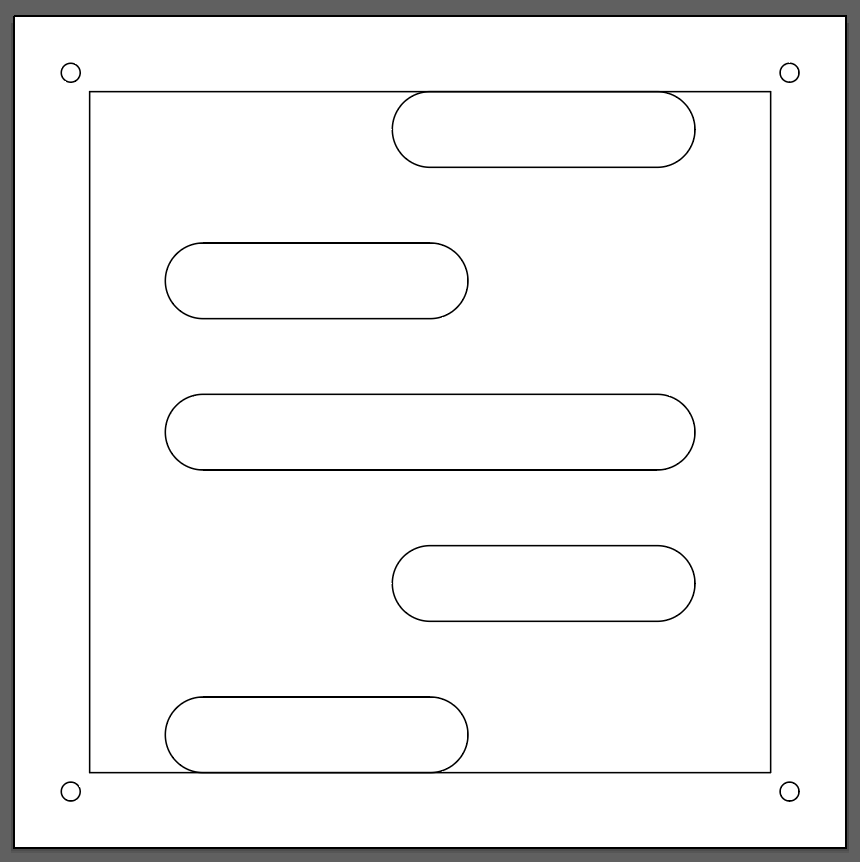
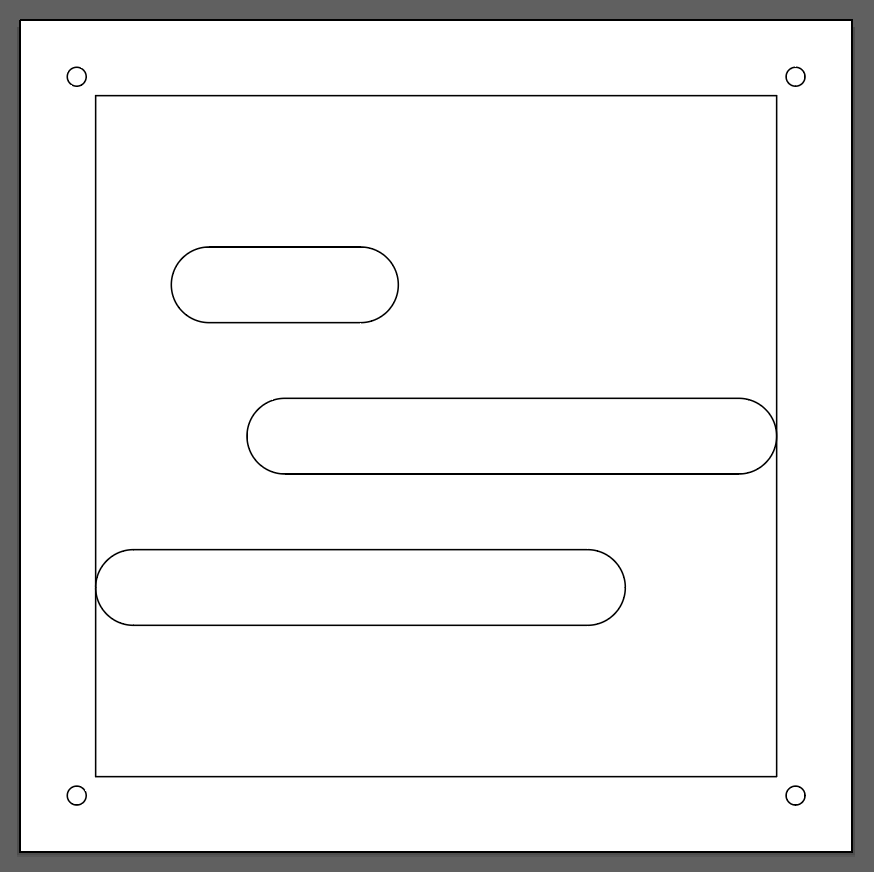
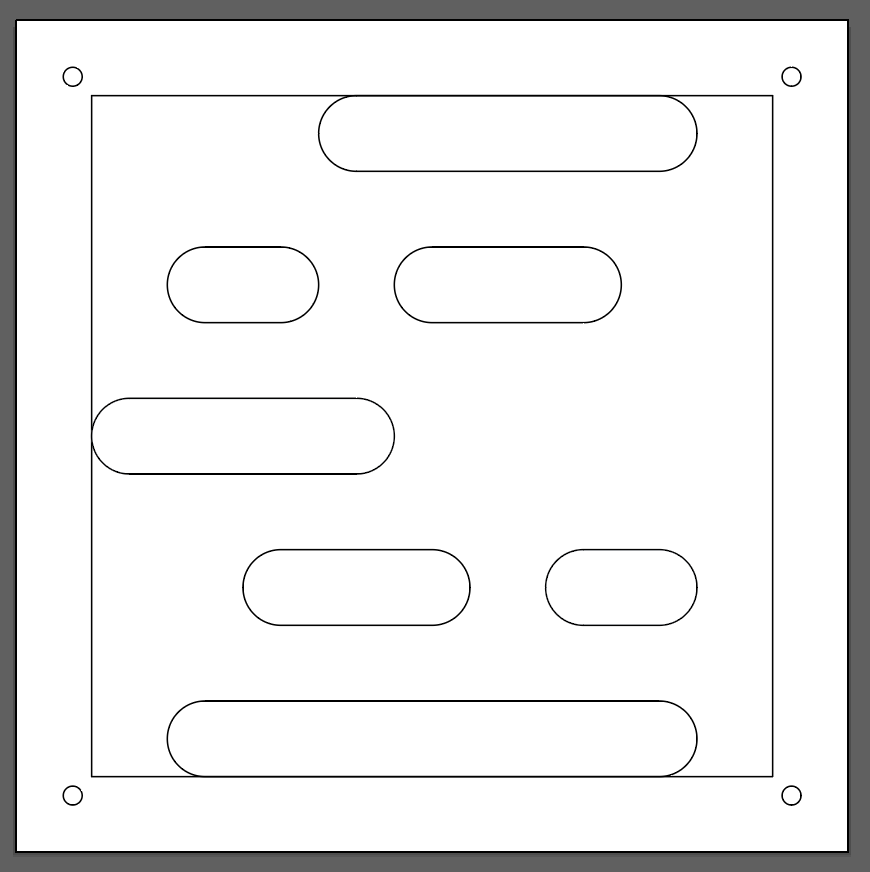
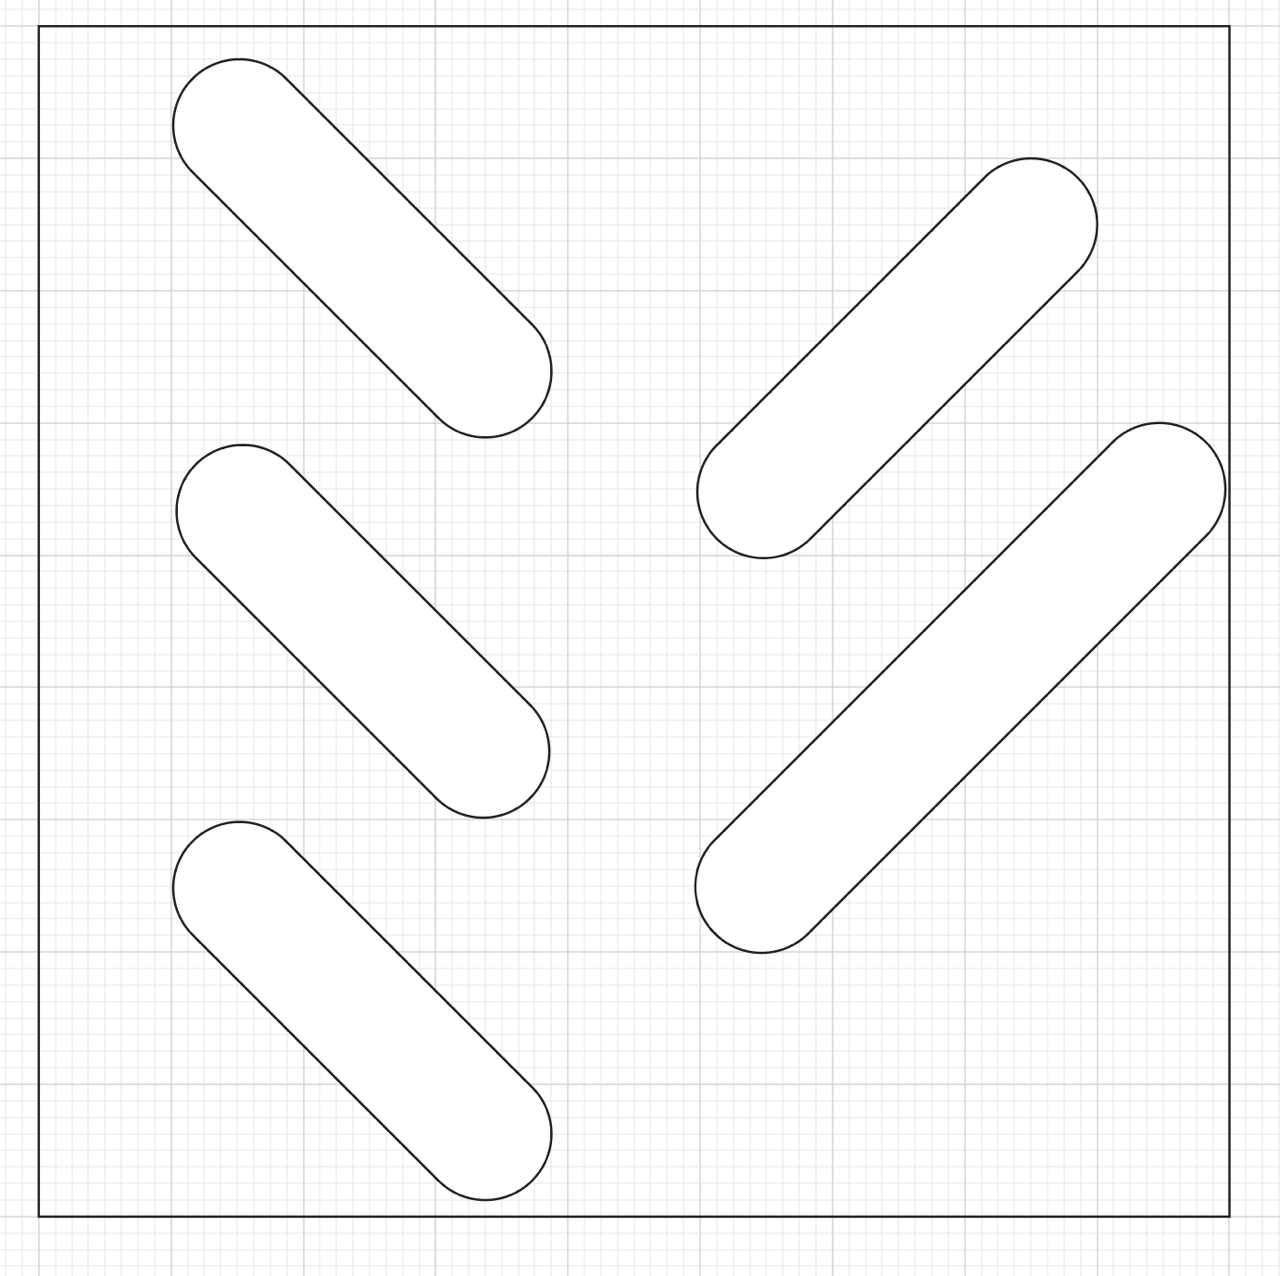
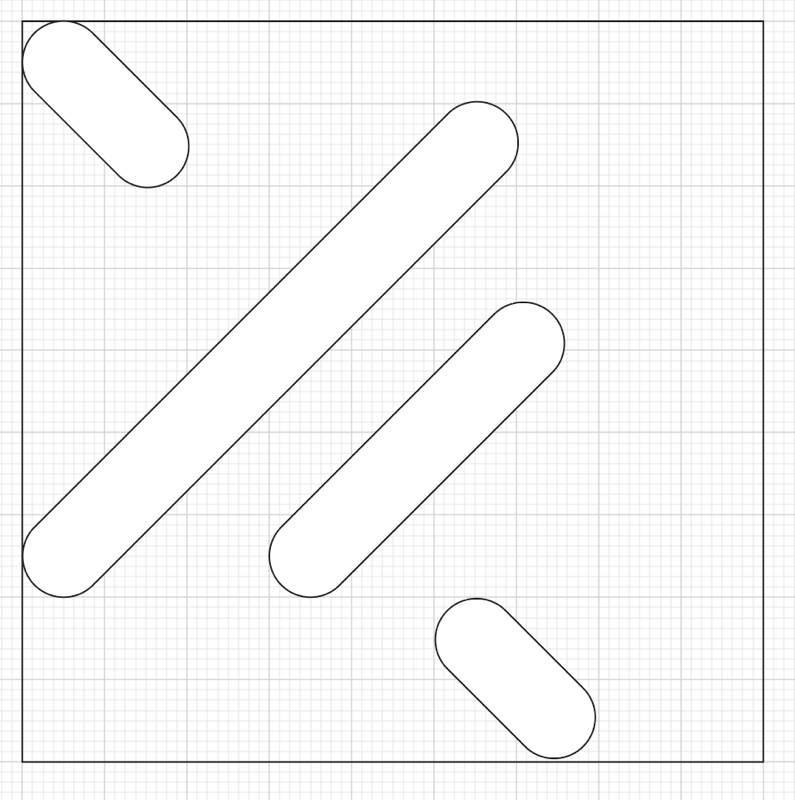
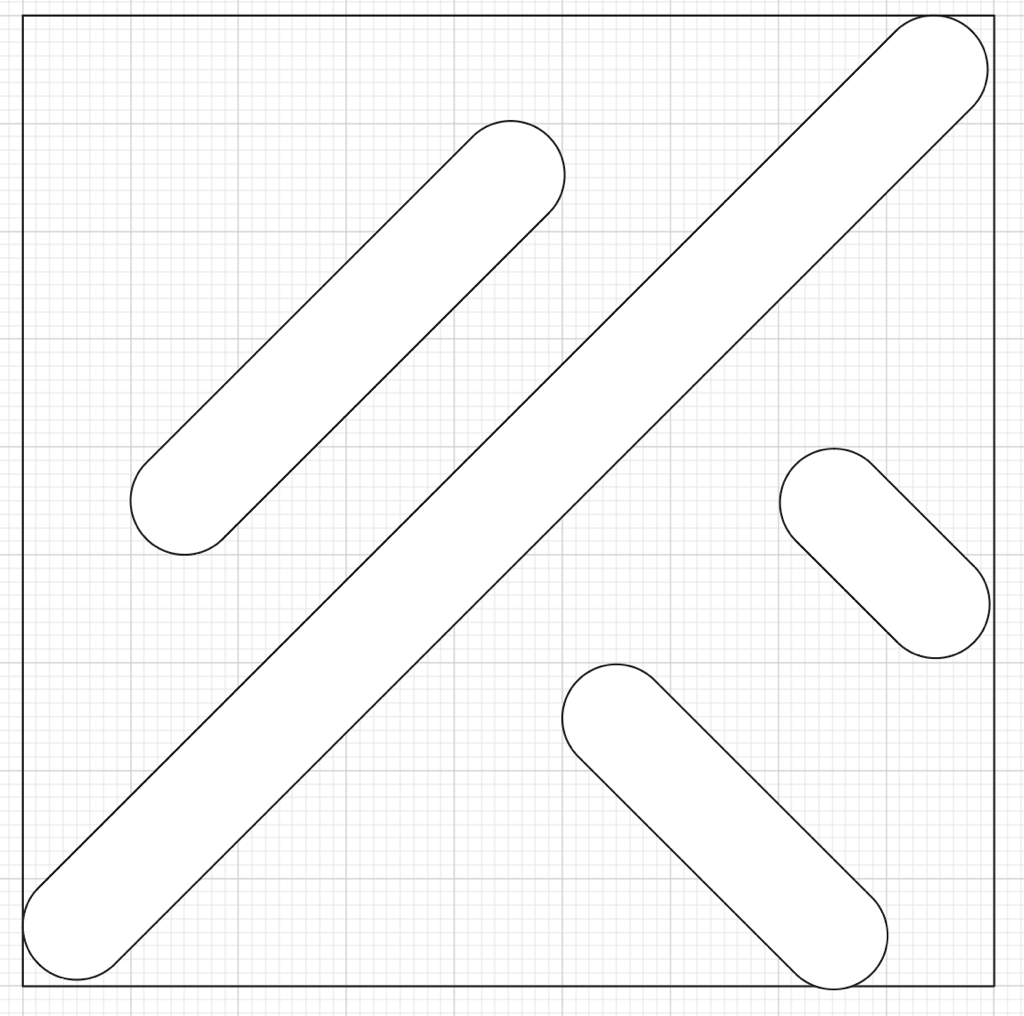
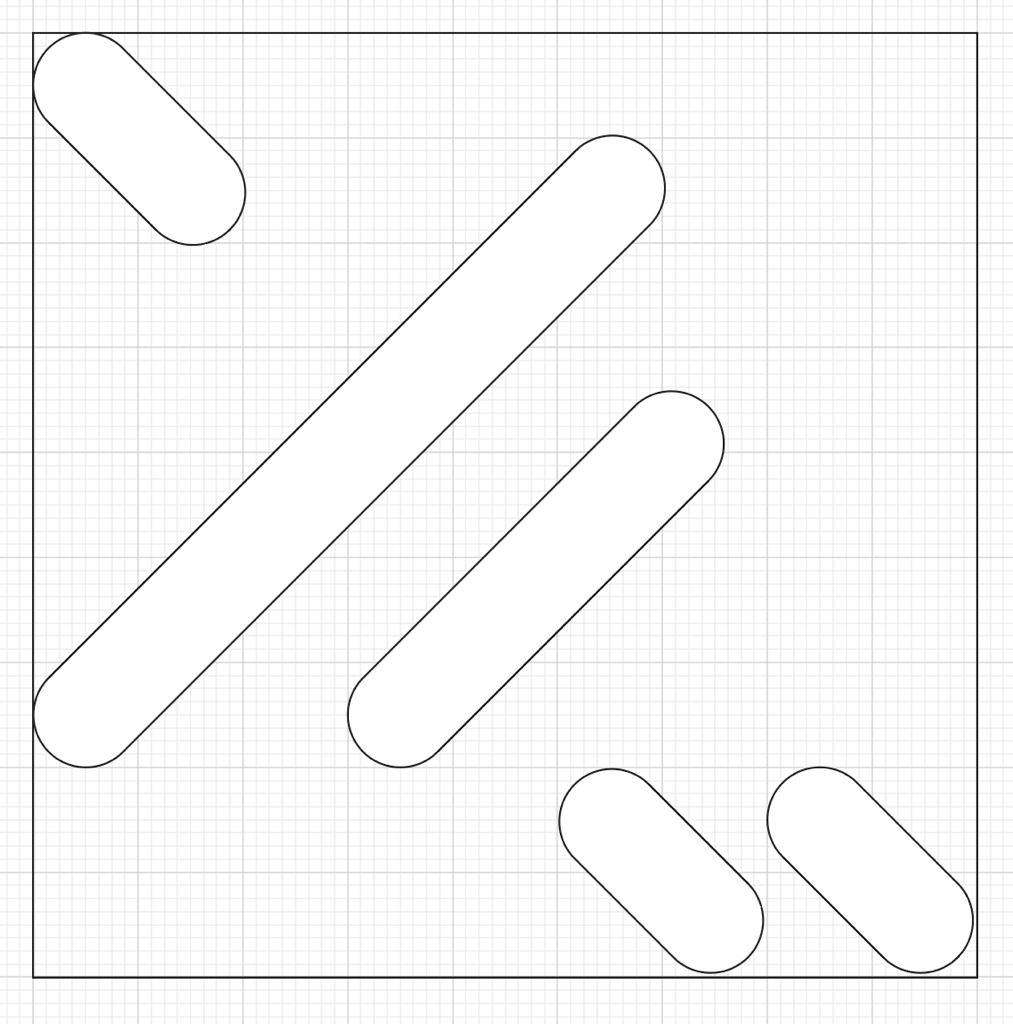
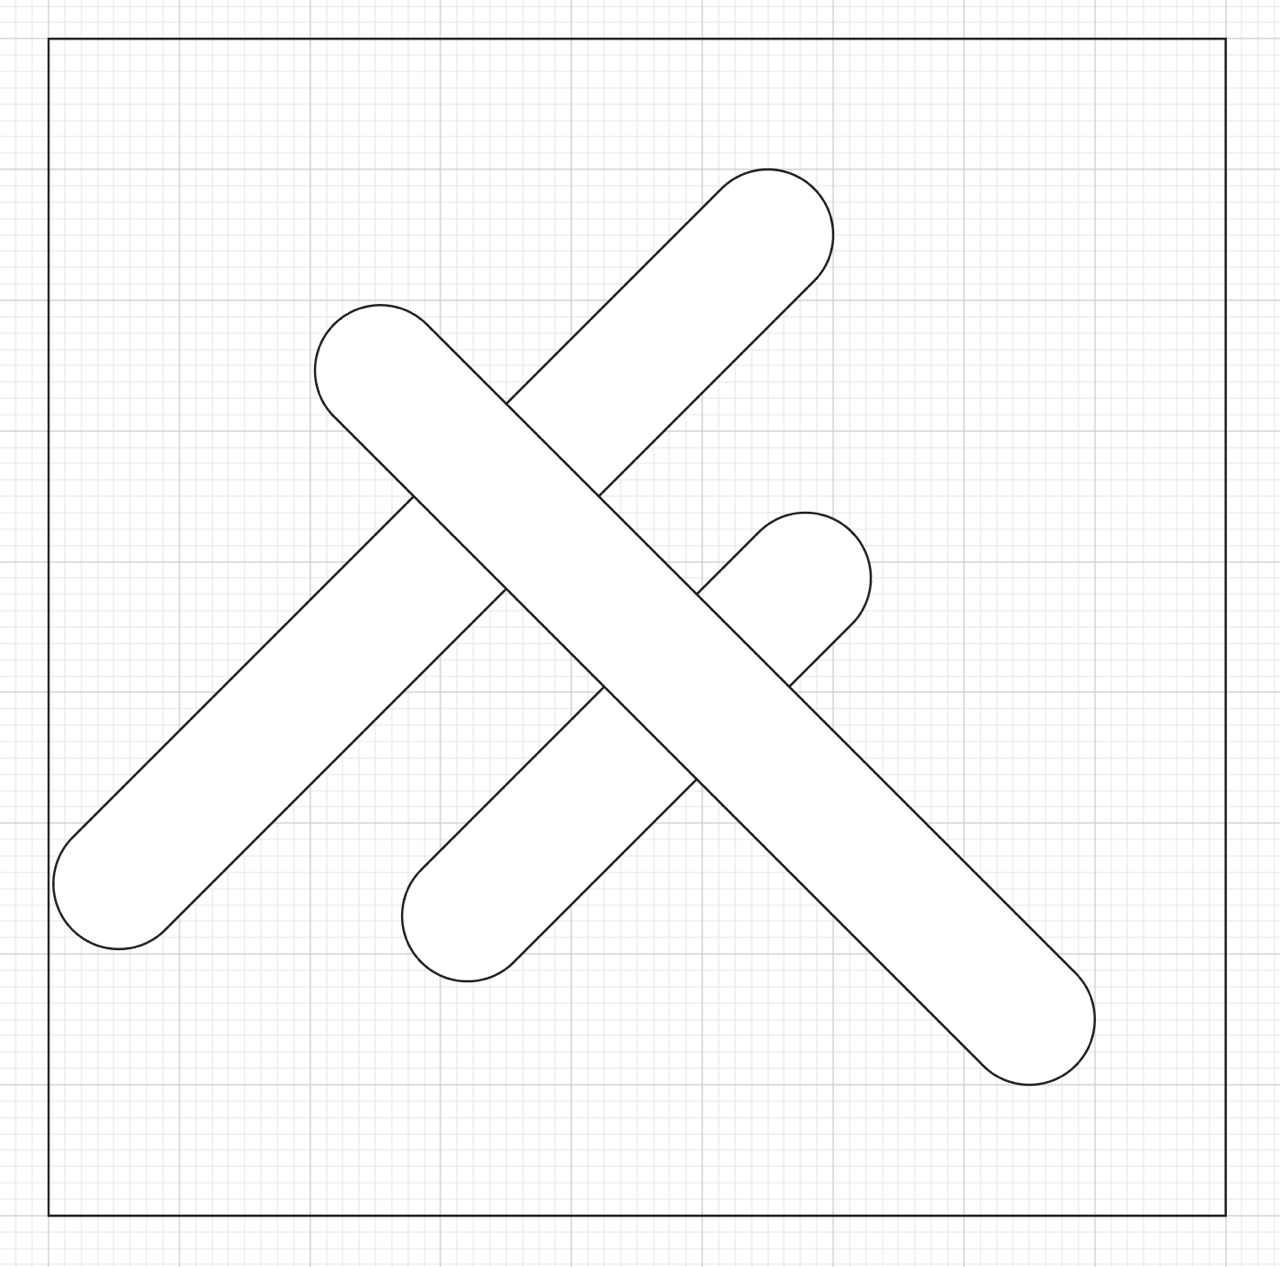
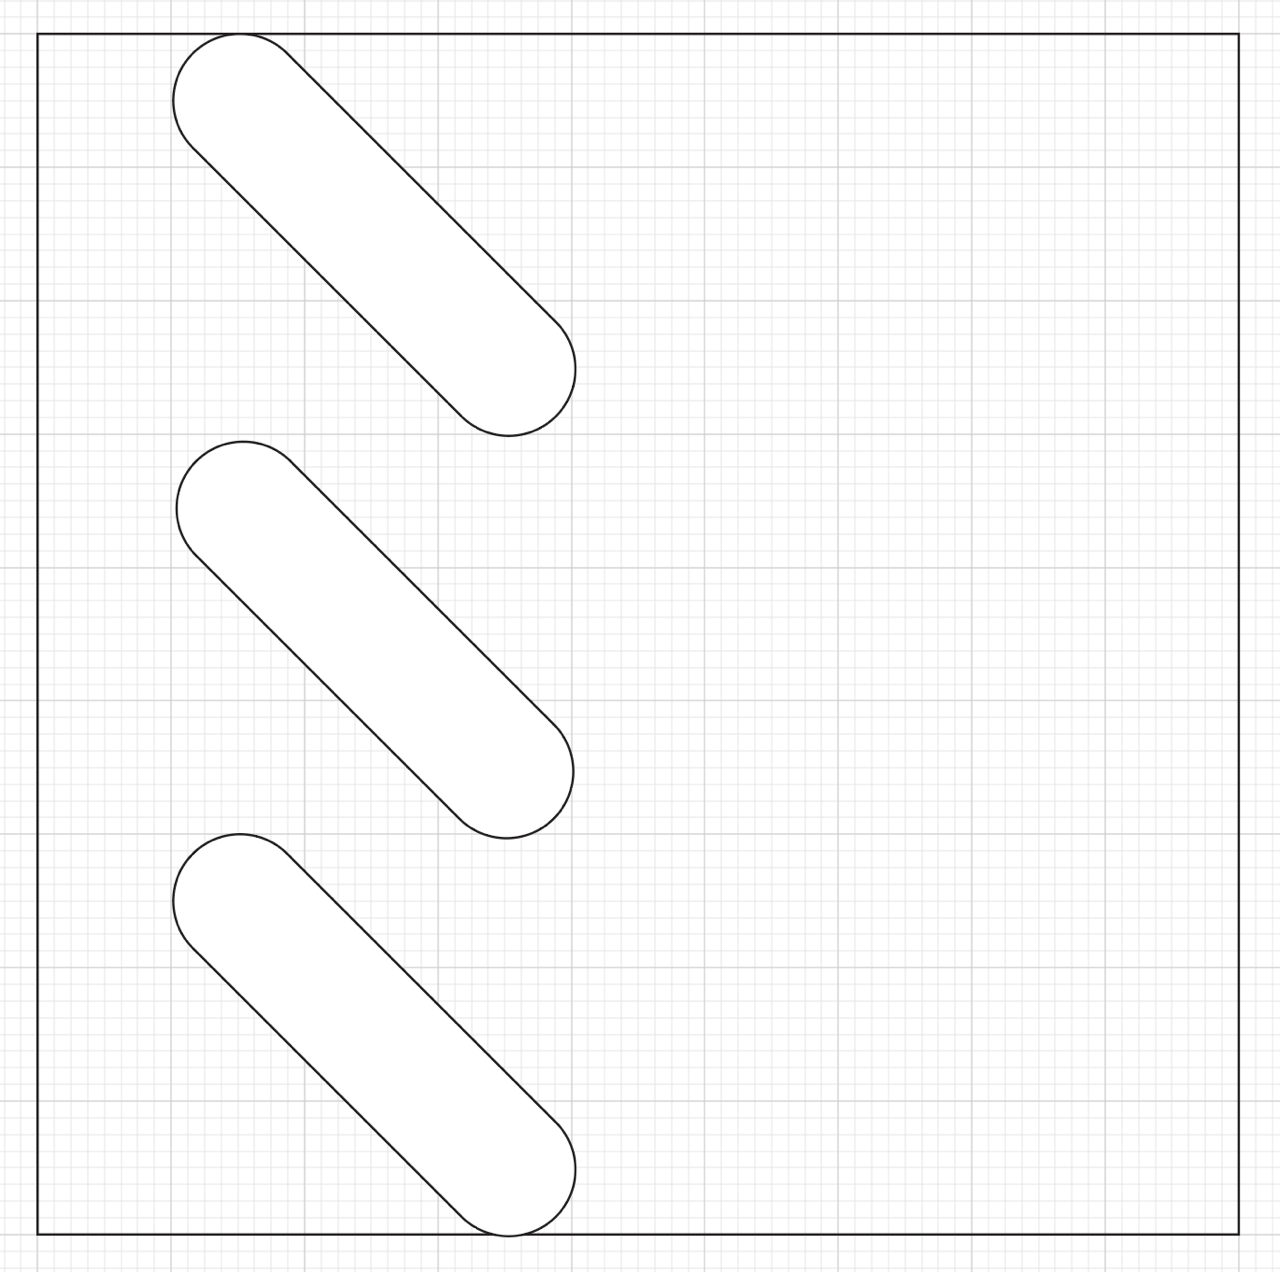
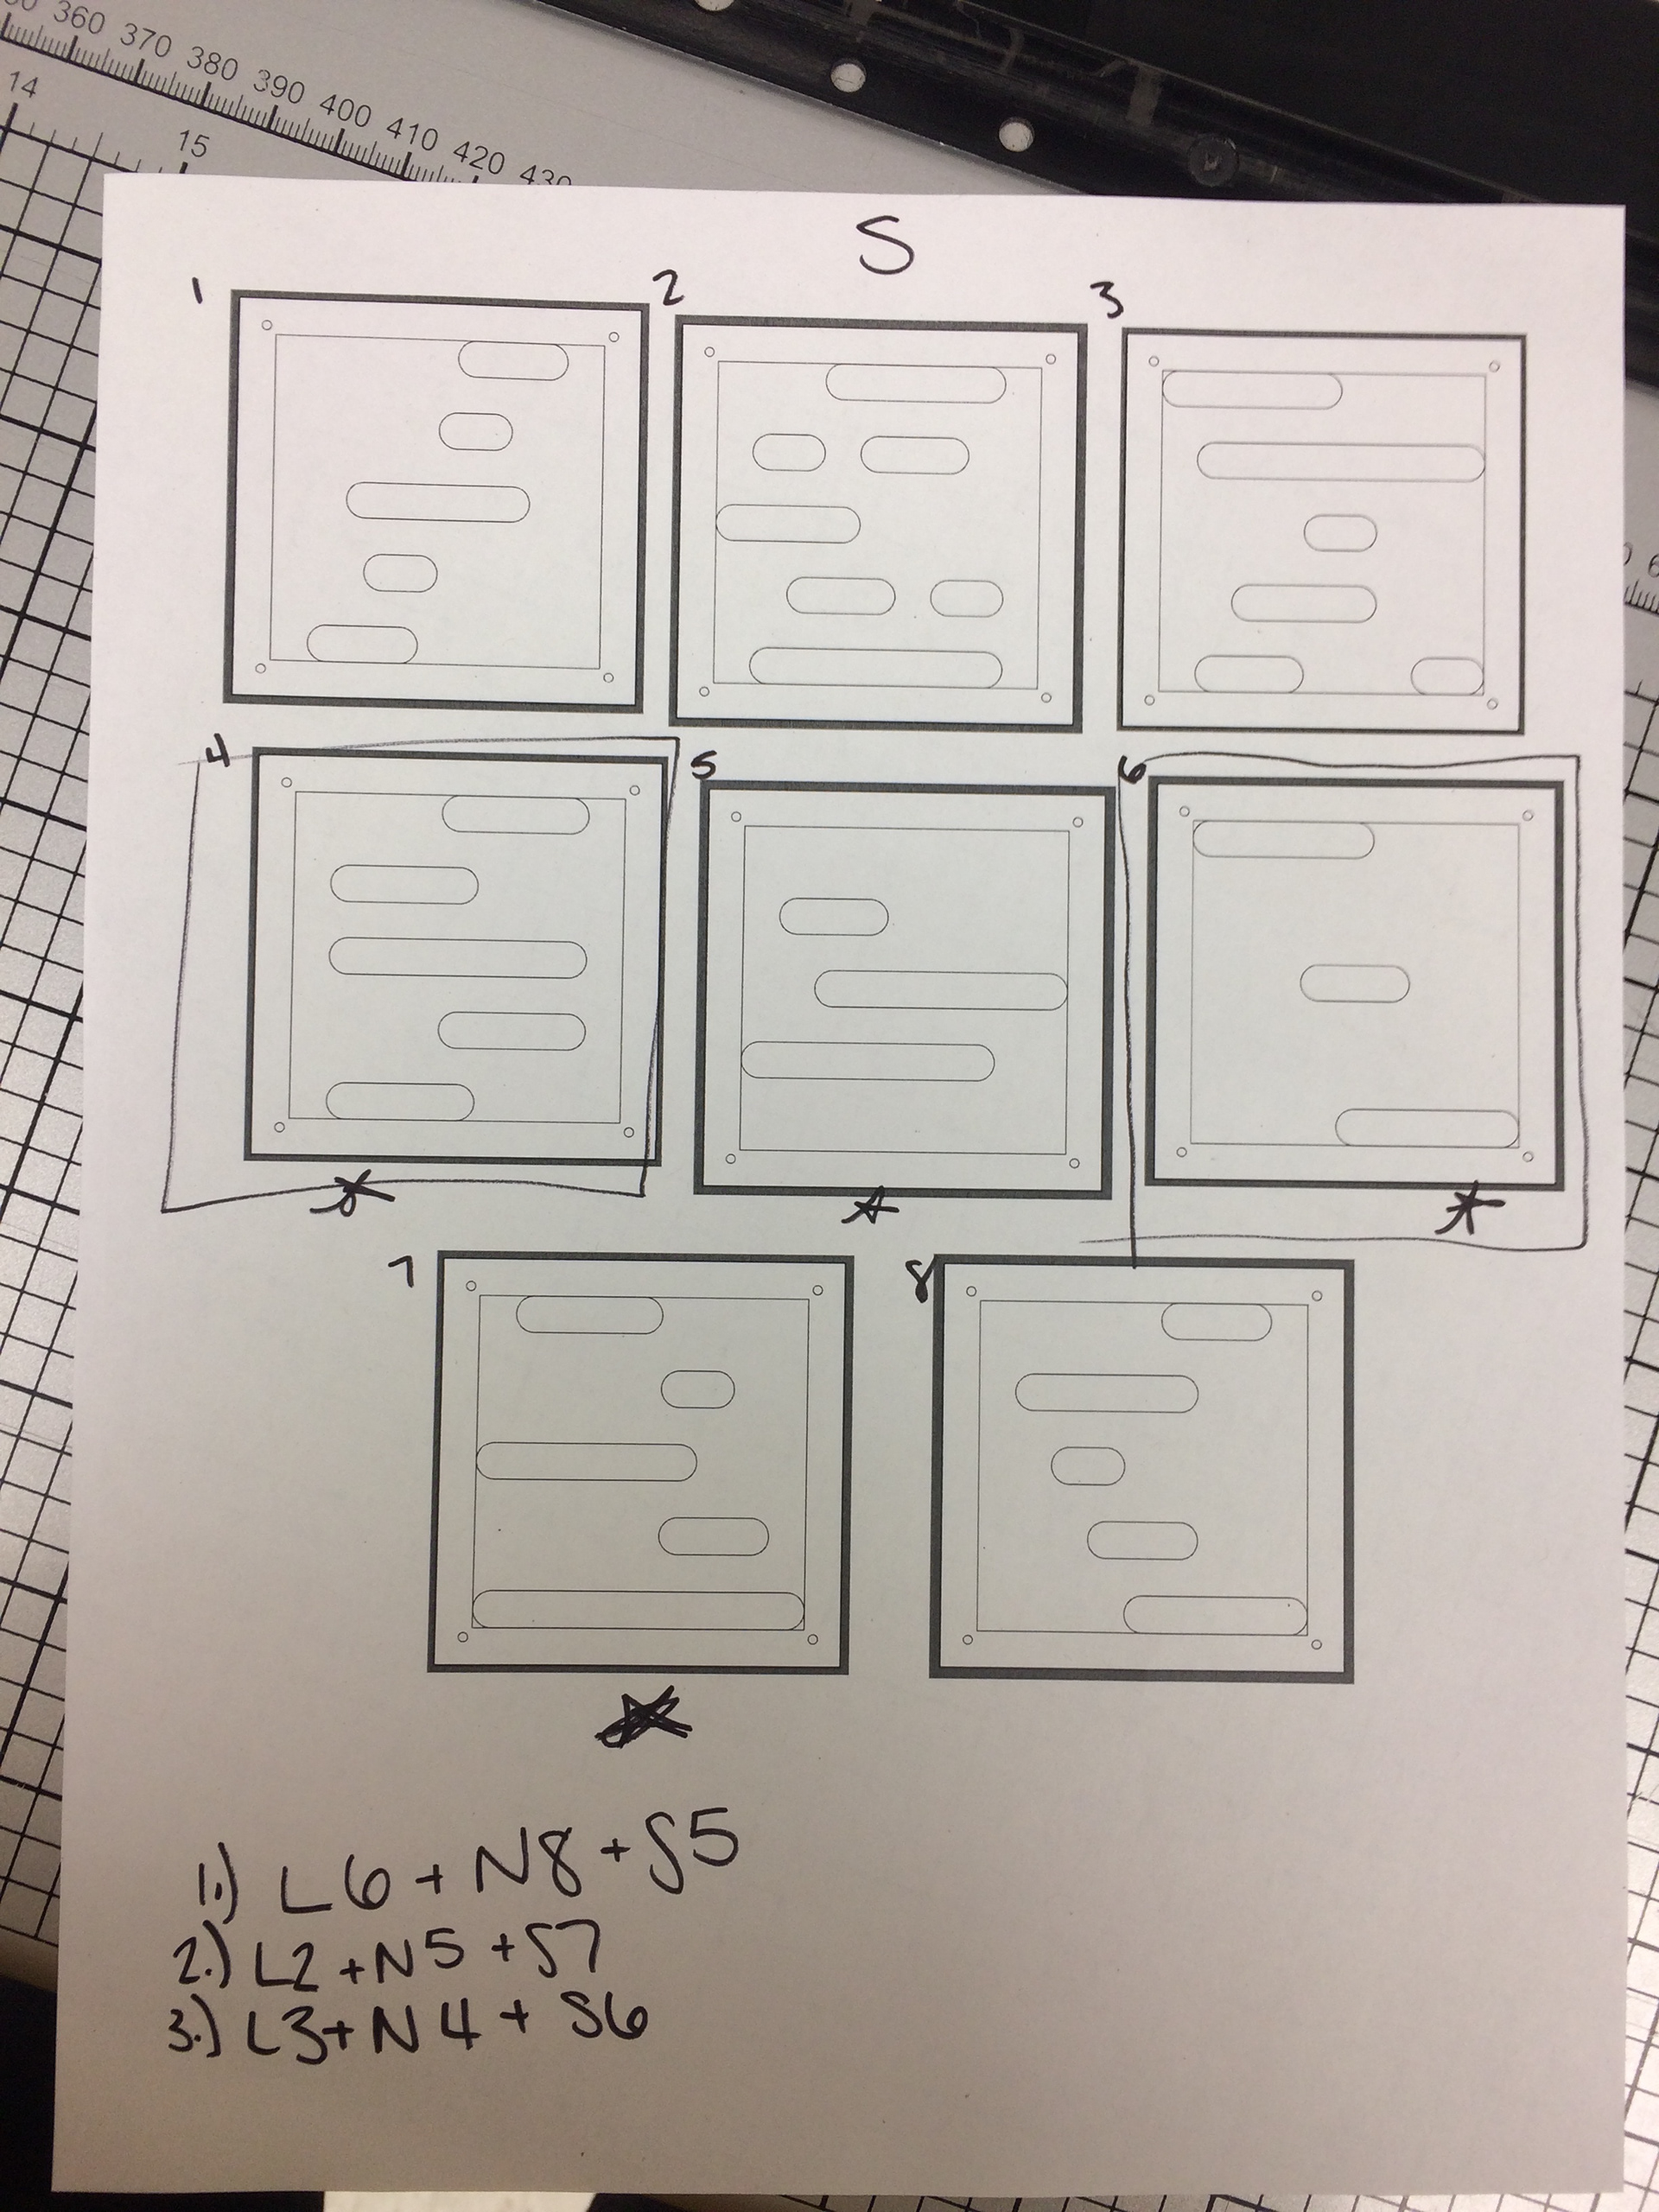
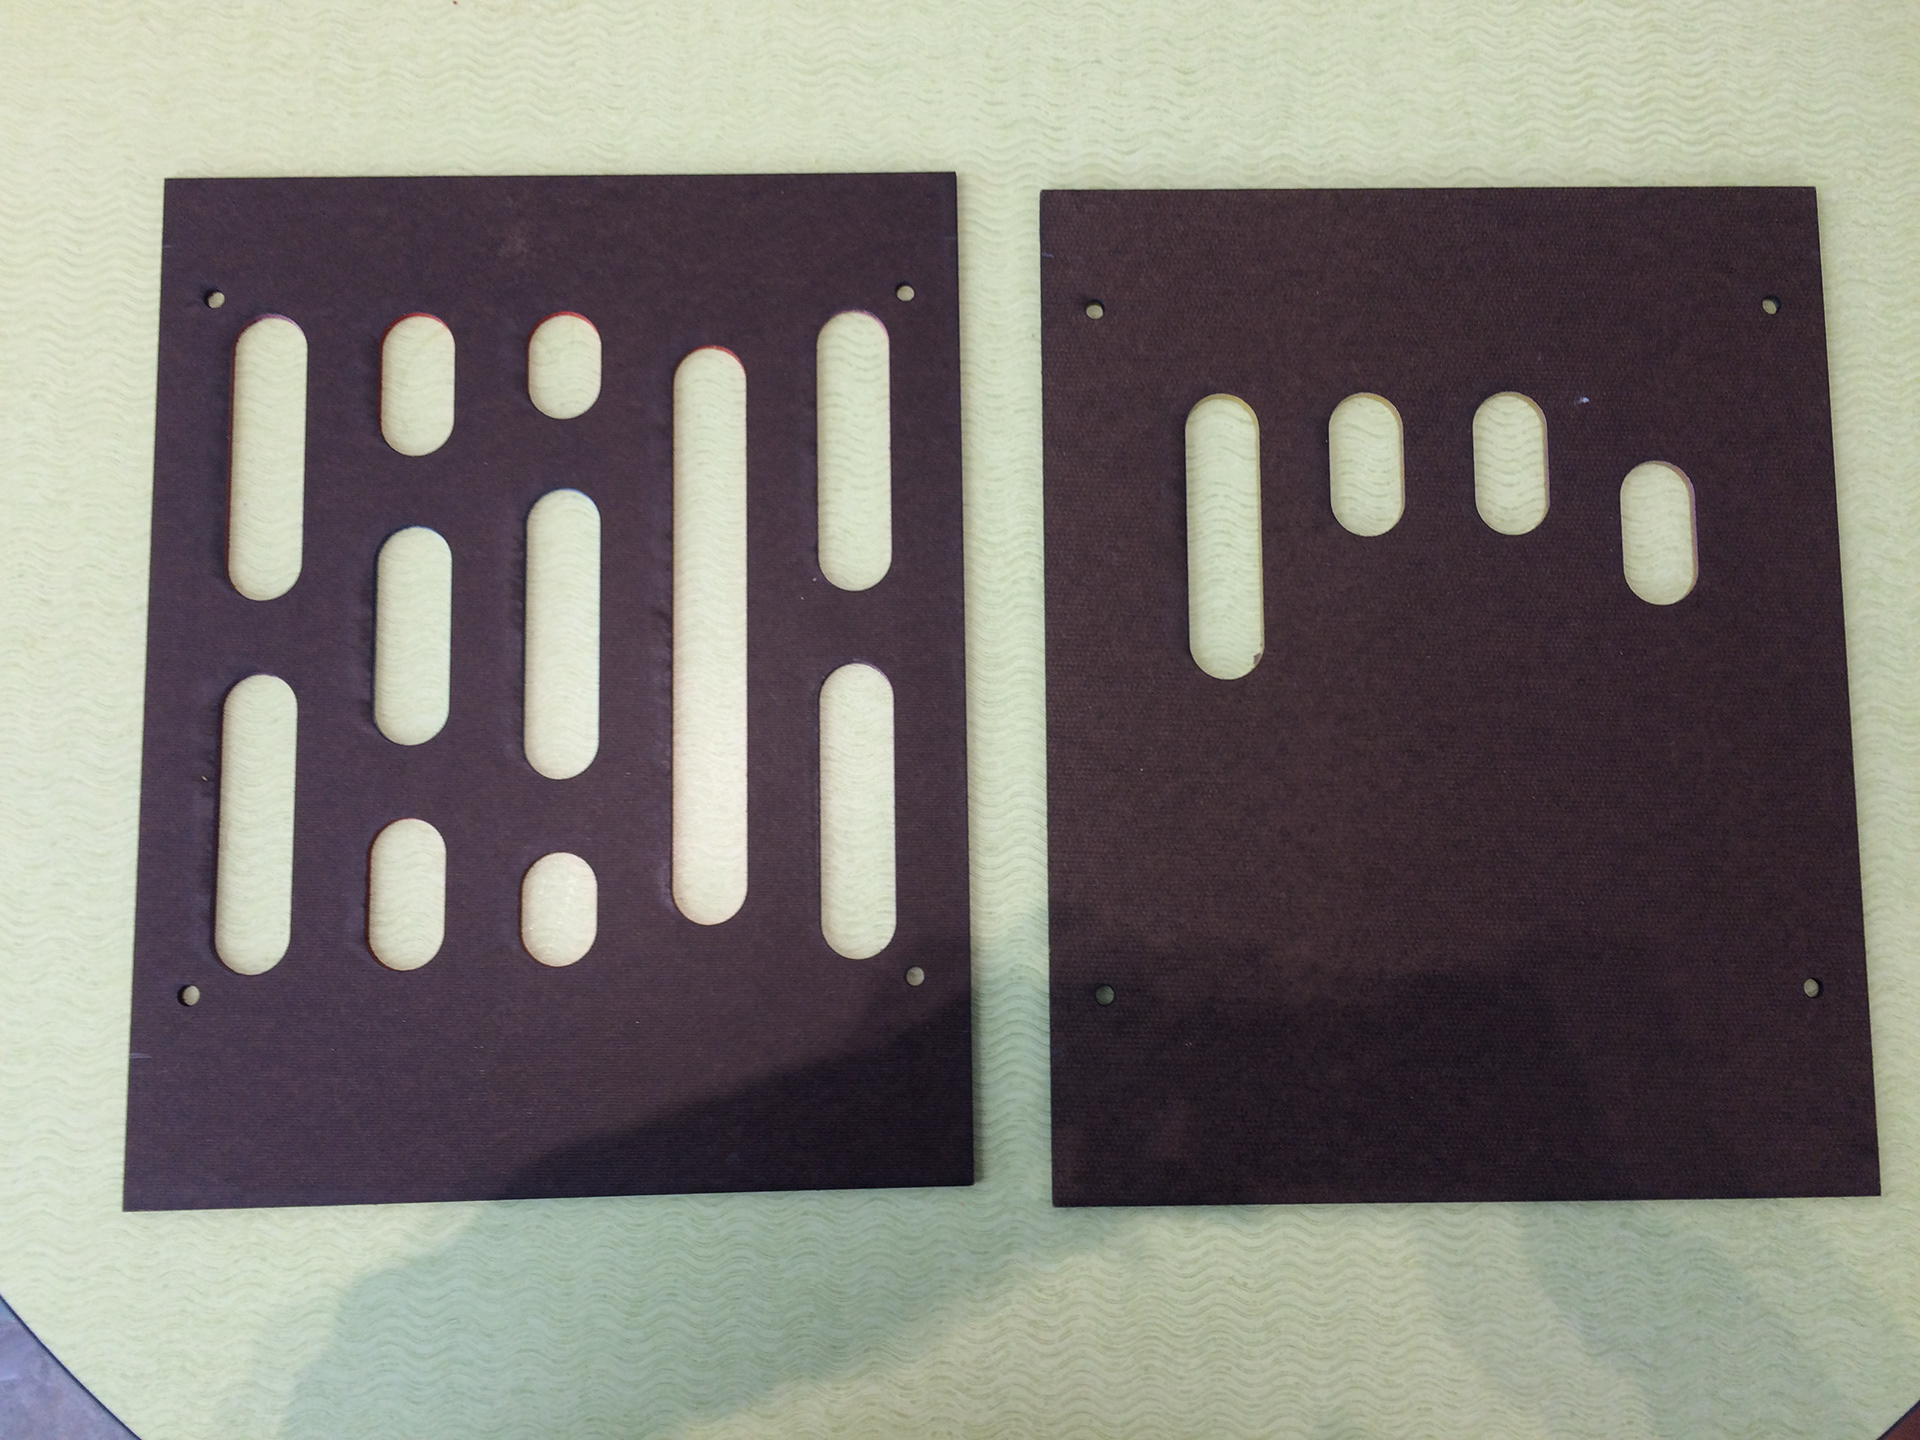
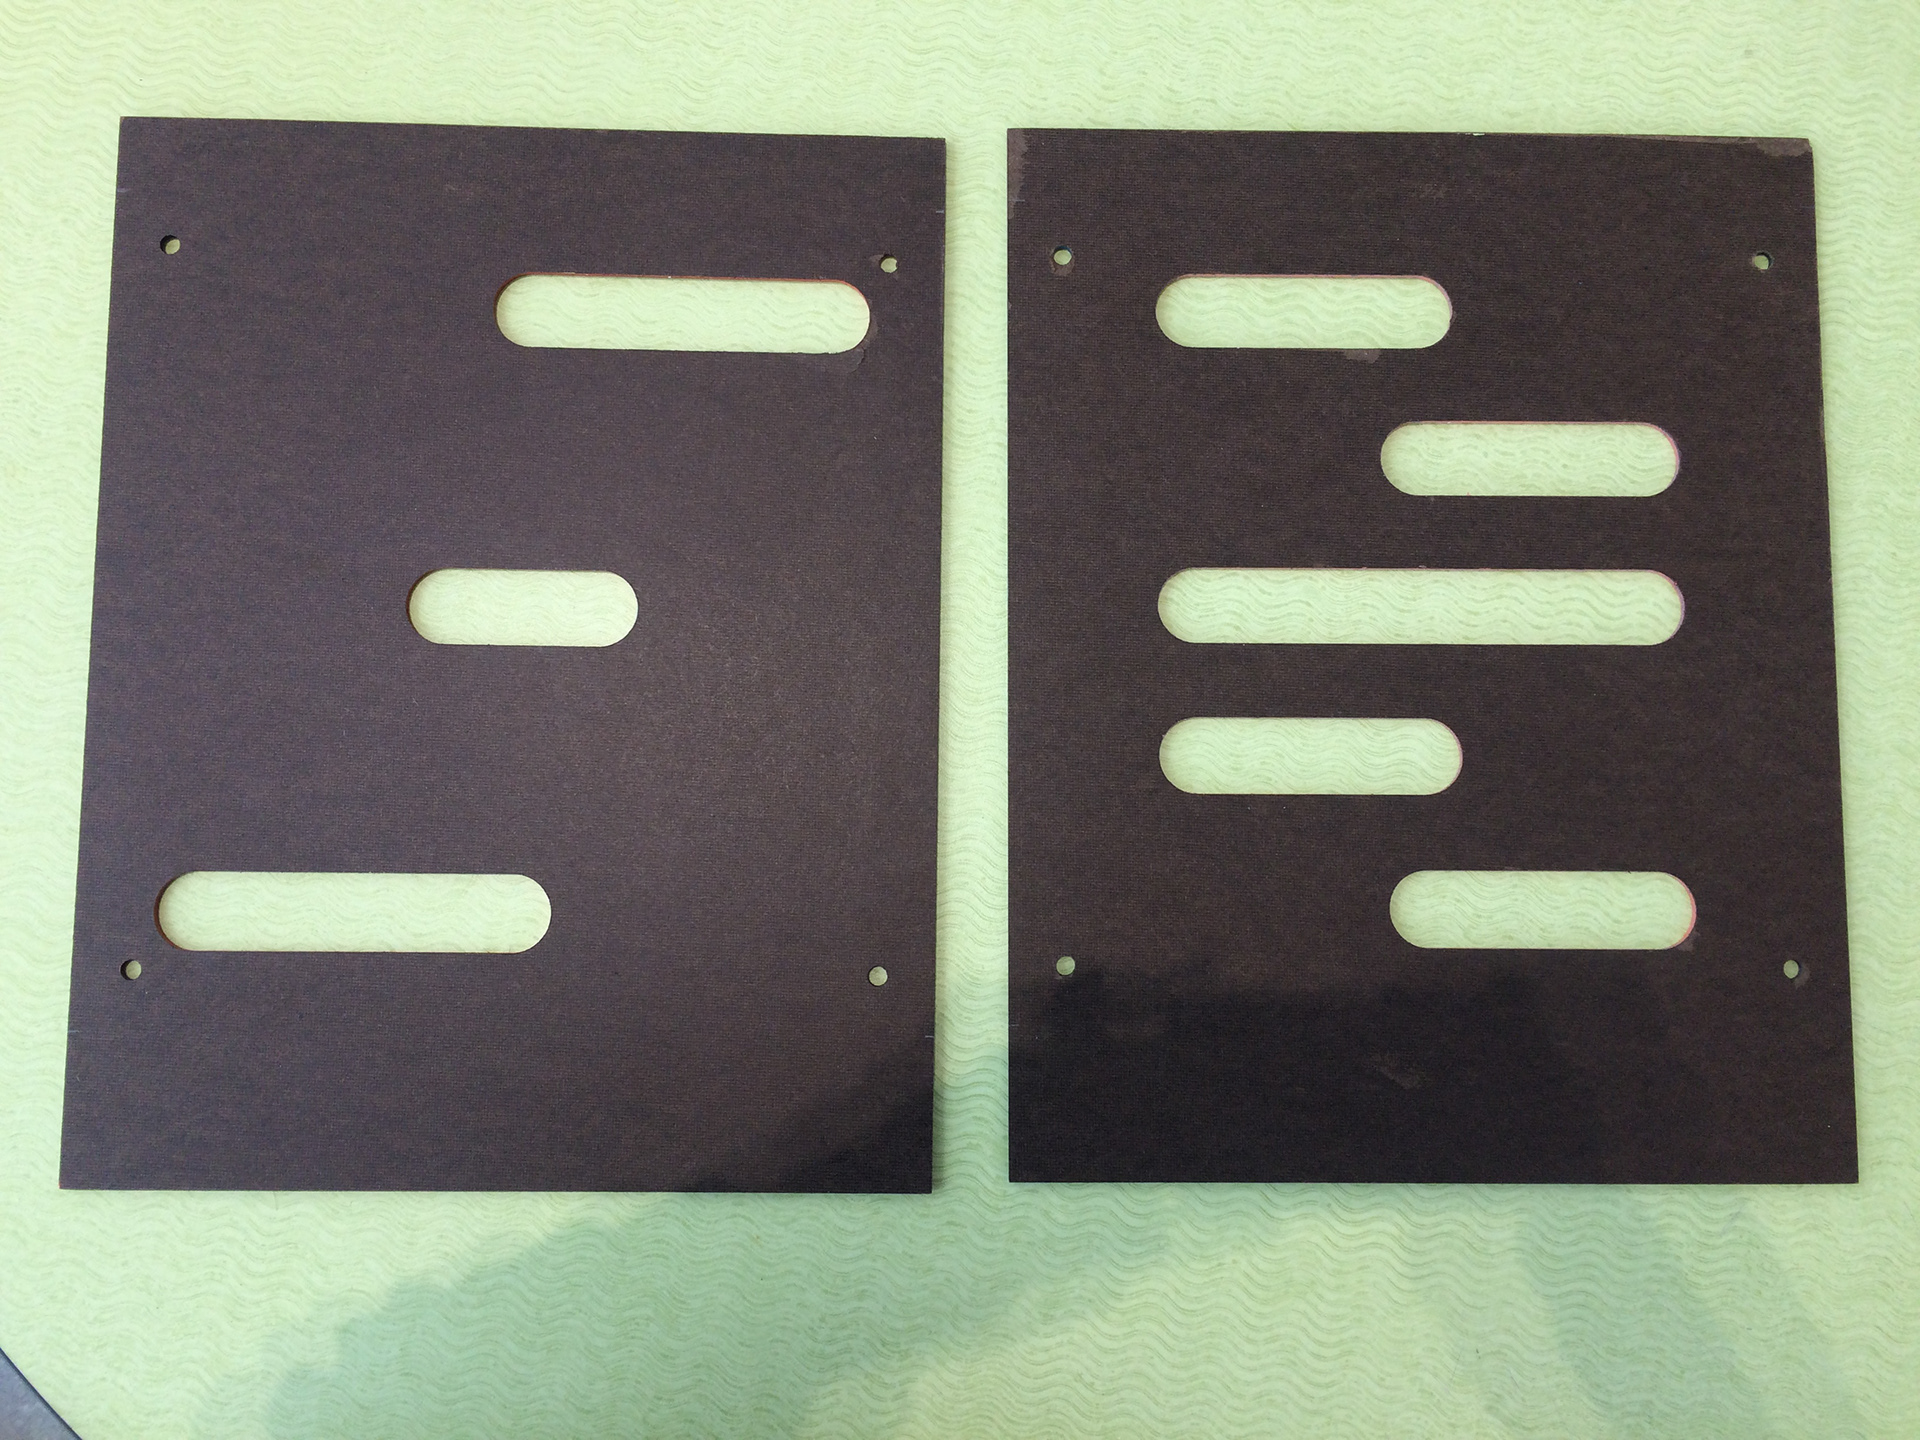
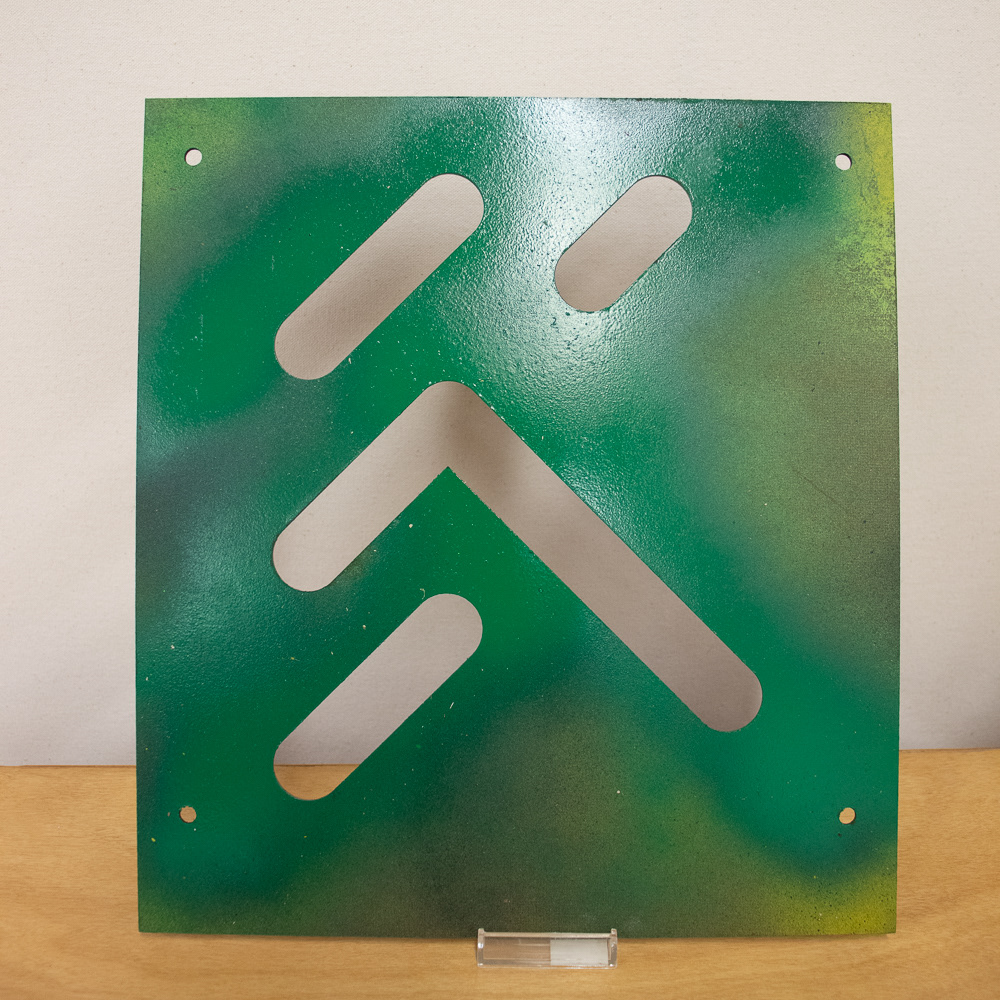
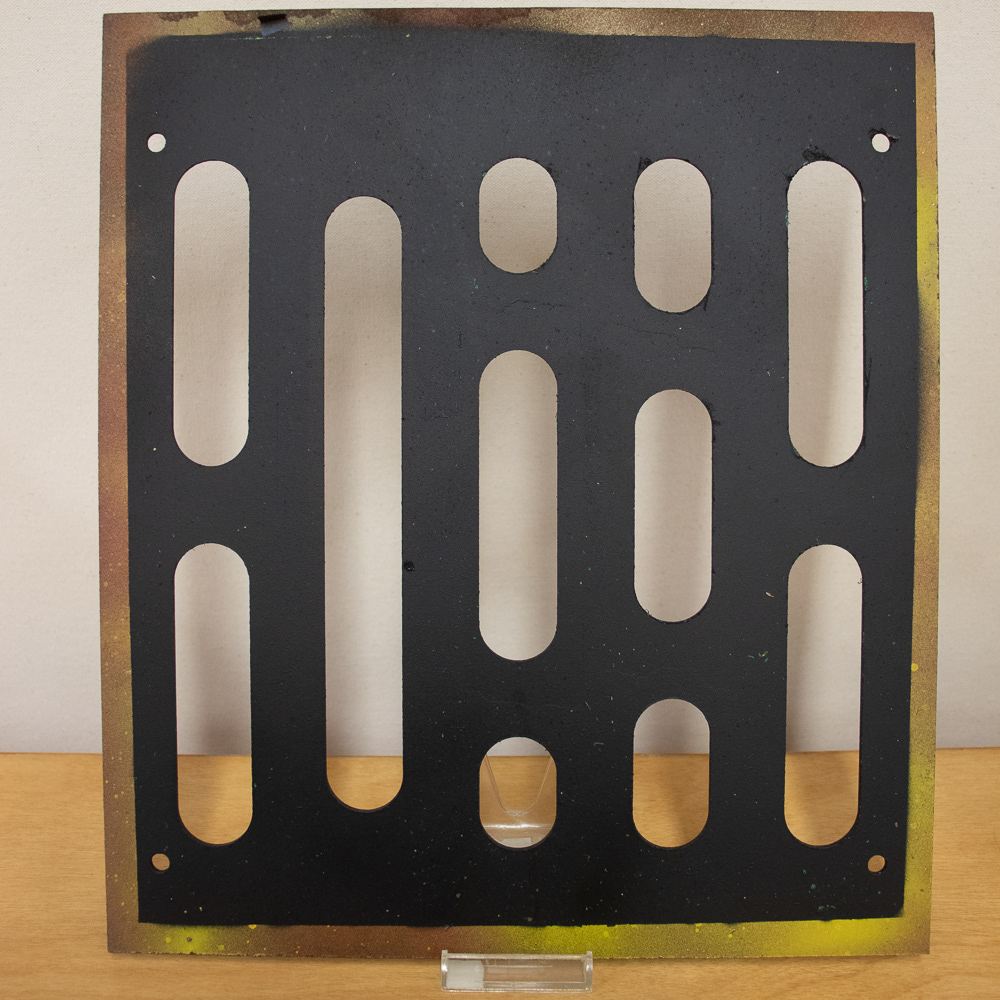
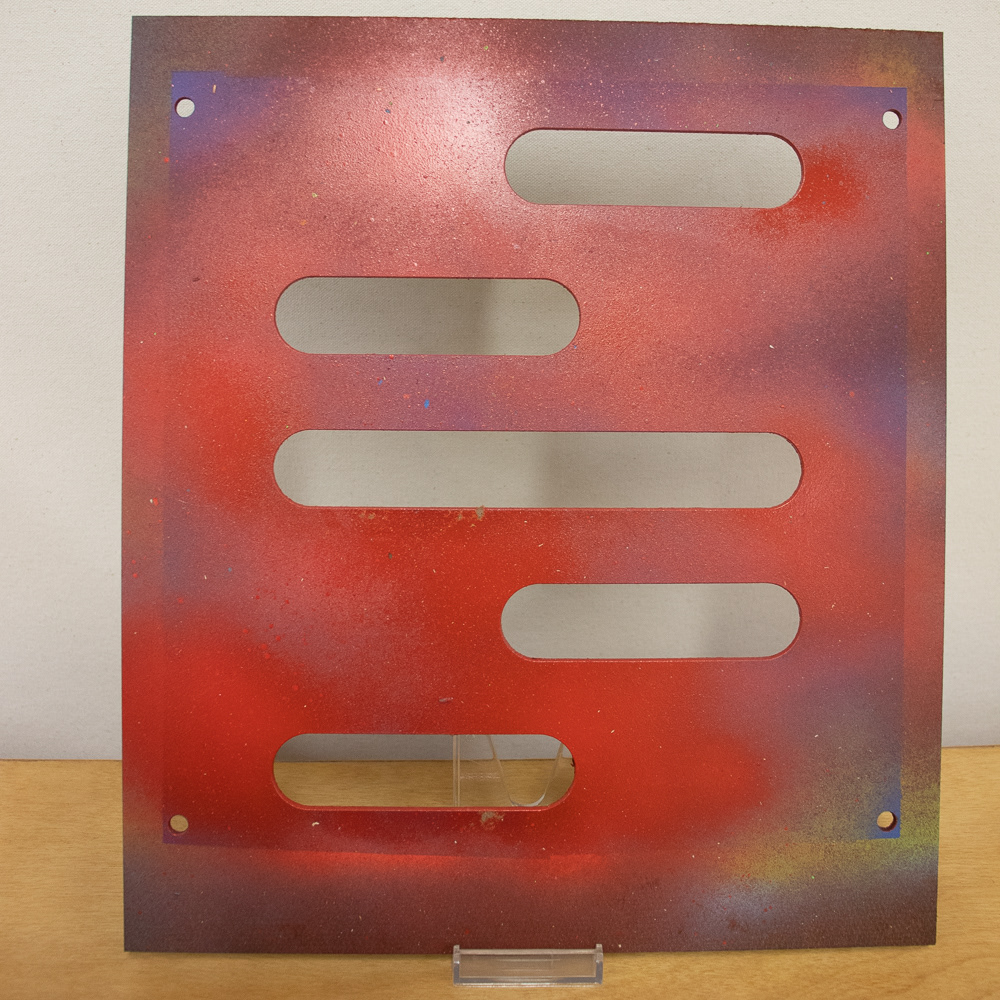
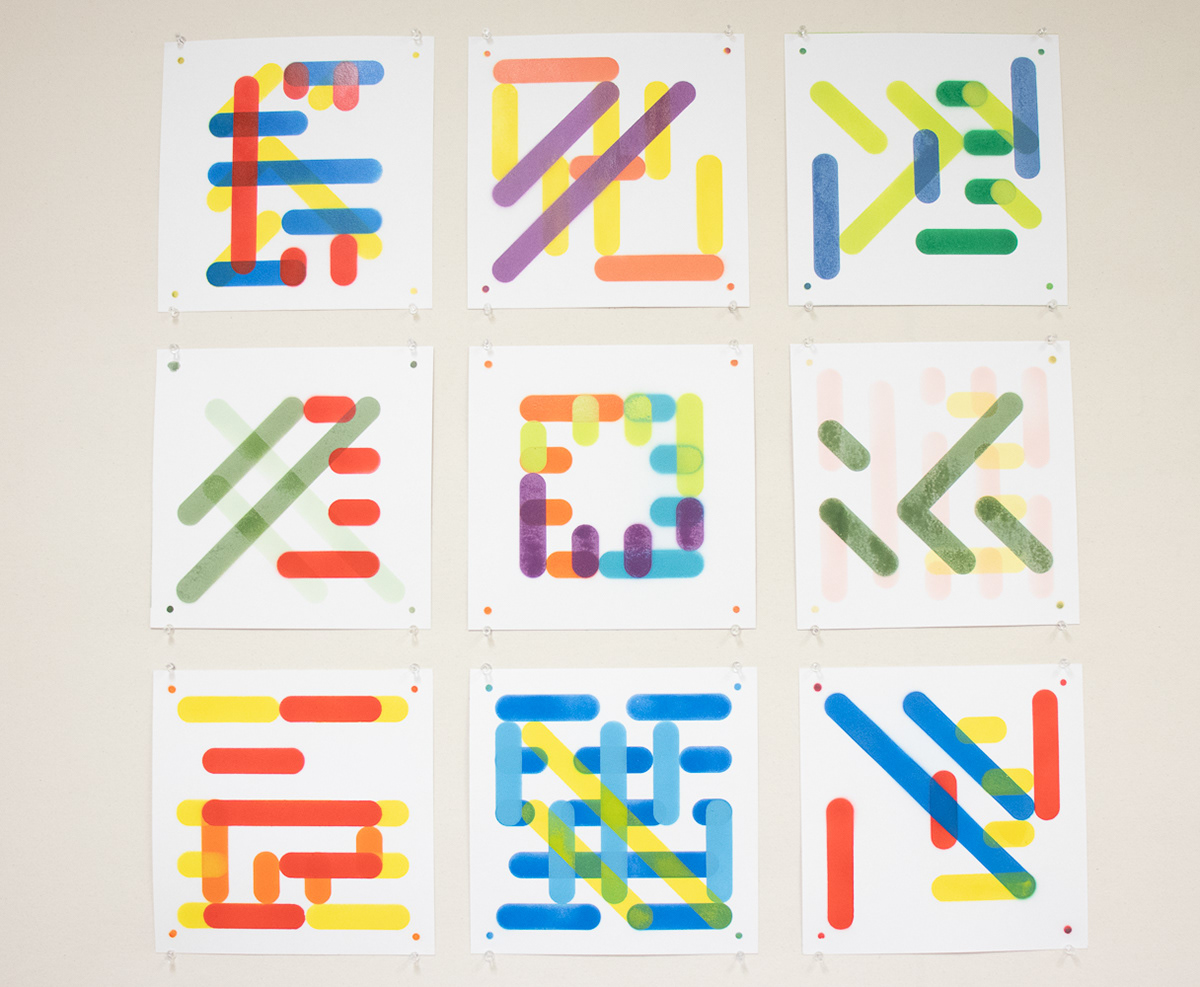
Once we were assigned our directions (Natalie Burns: Diagonal, Liam Wall: Vertical, and Susan Perry: Horizontal), we created multiple rough drafts of our stencils. We printed all of our roughs out, to see how they could all interact with one another and to narrow our choices down. We decided that there would be two stencils for each direction, and while looking at all of our roughs together, we decided that there should be one complicated, more detailed, stencil for each direction, and one simple, more minimal, stencil for each direction.
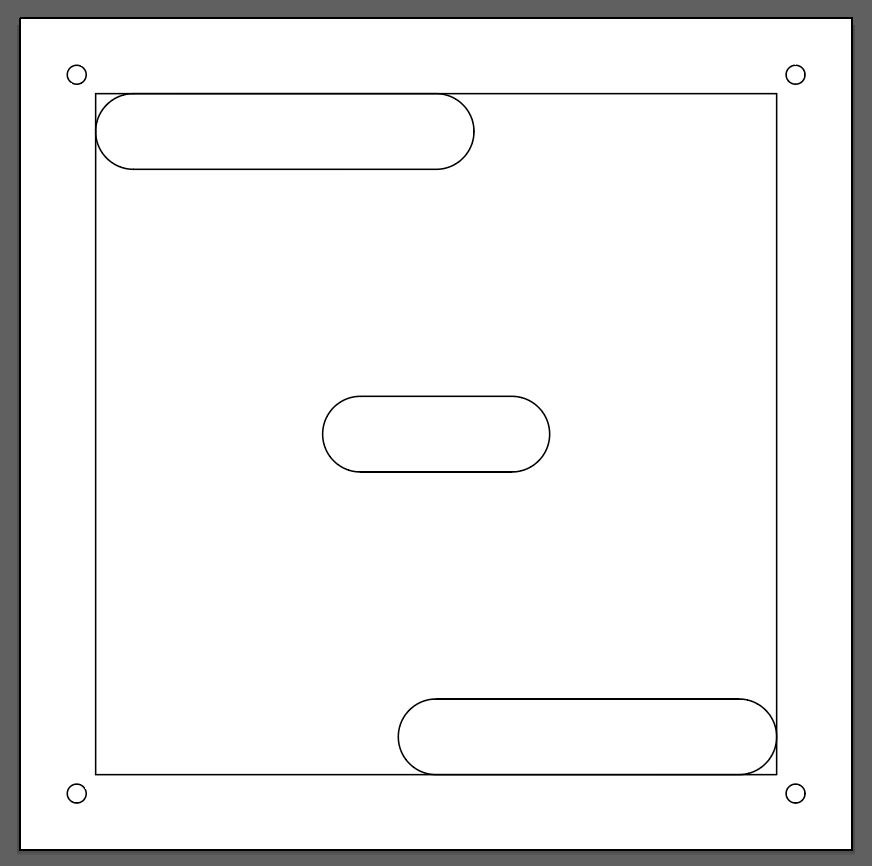
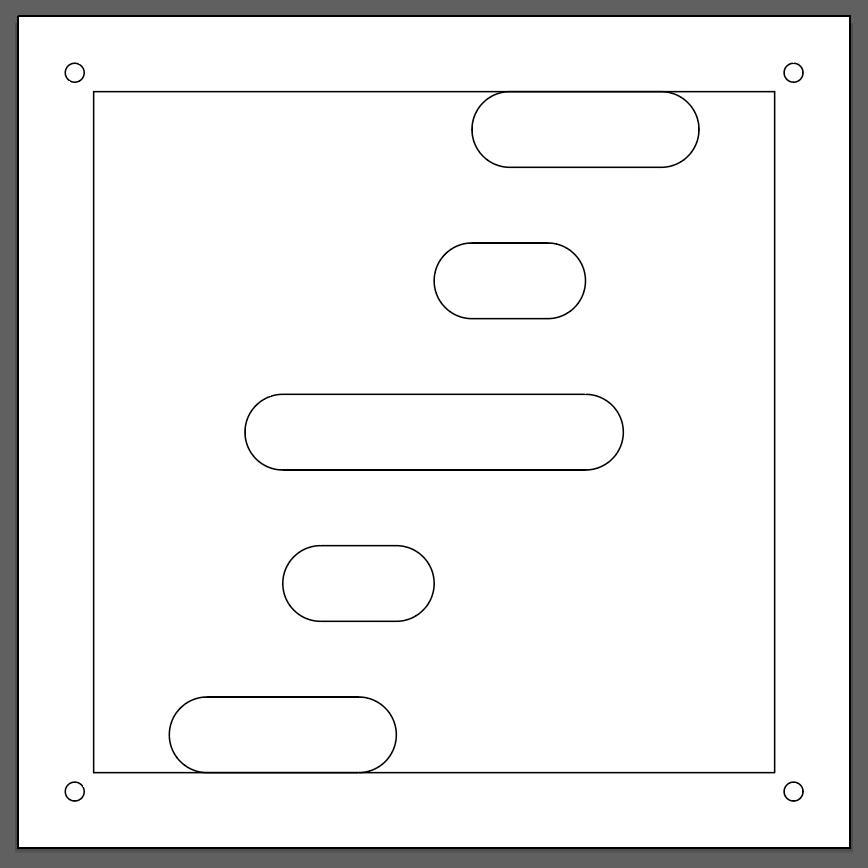
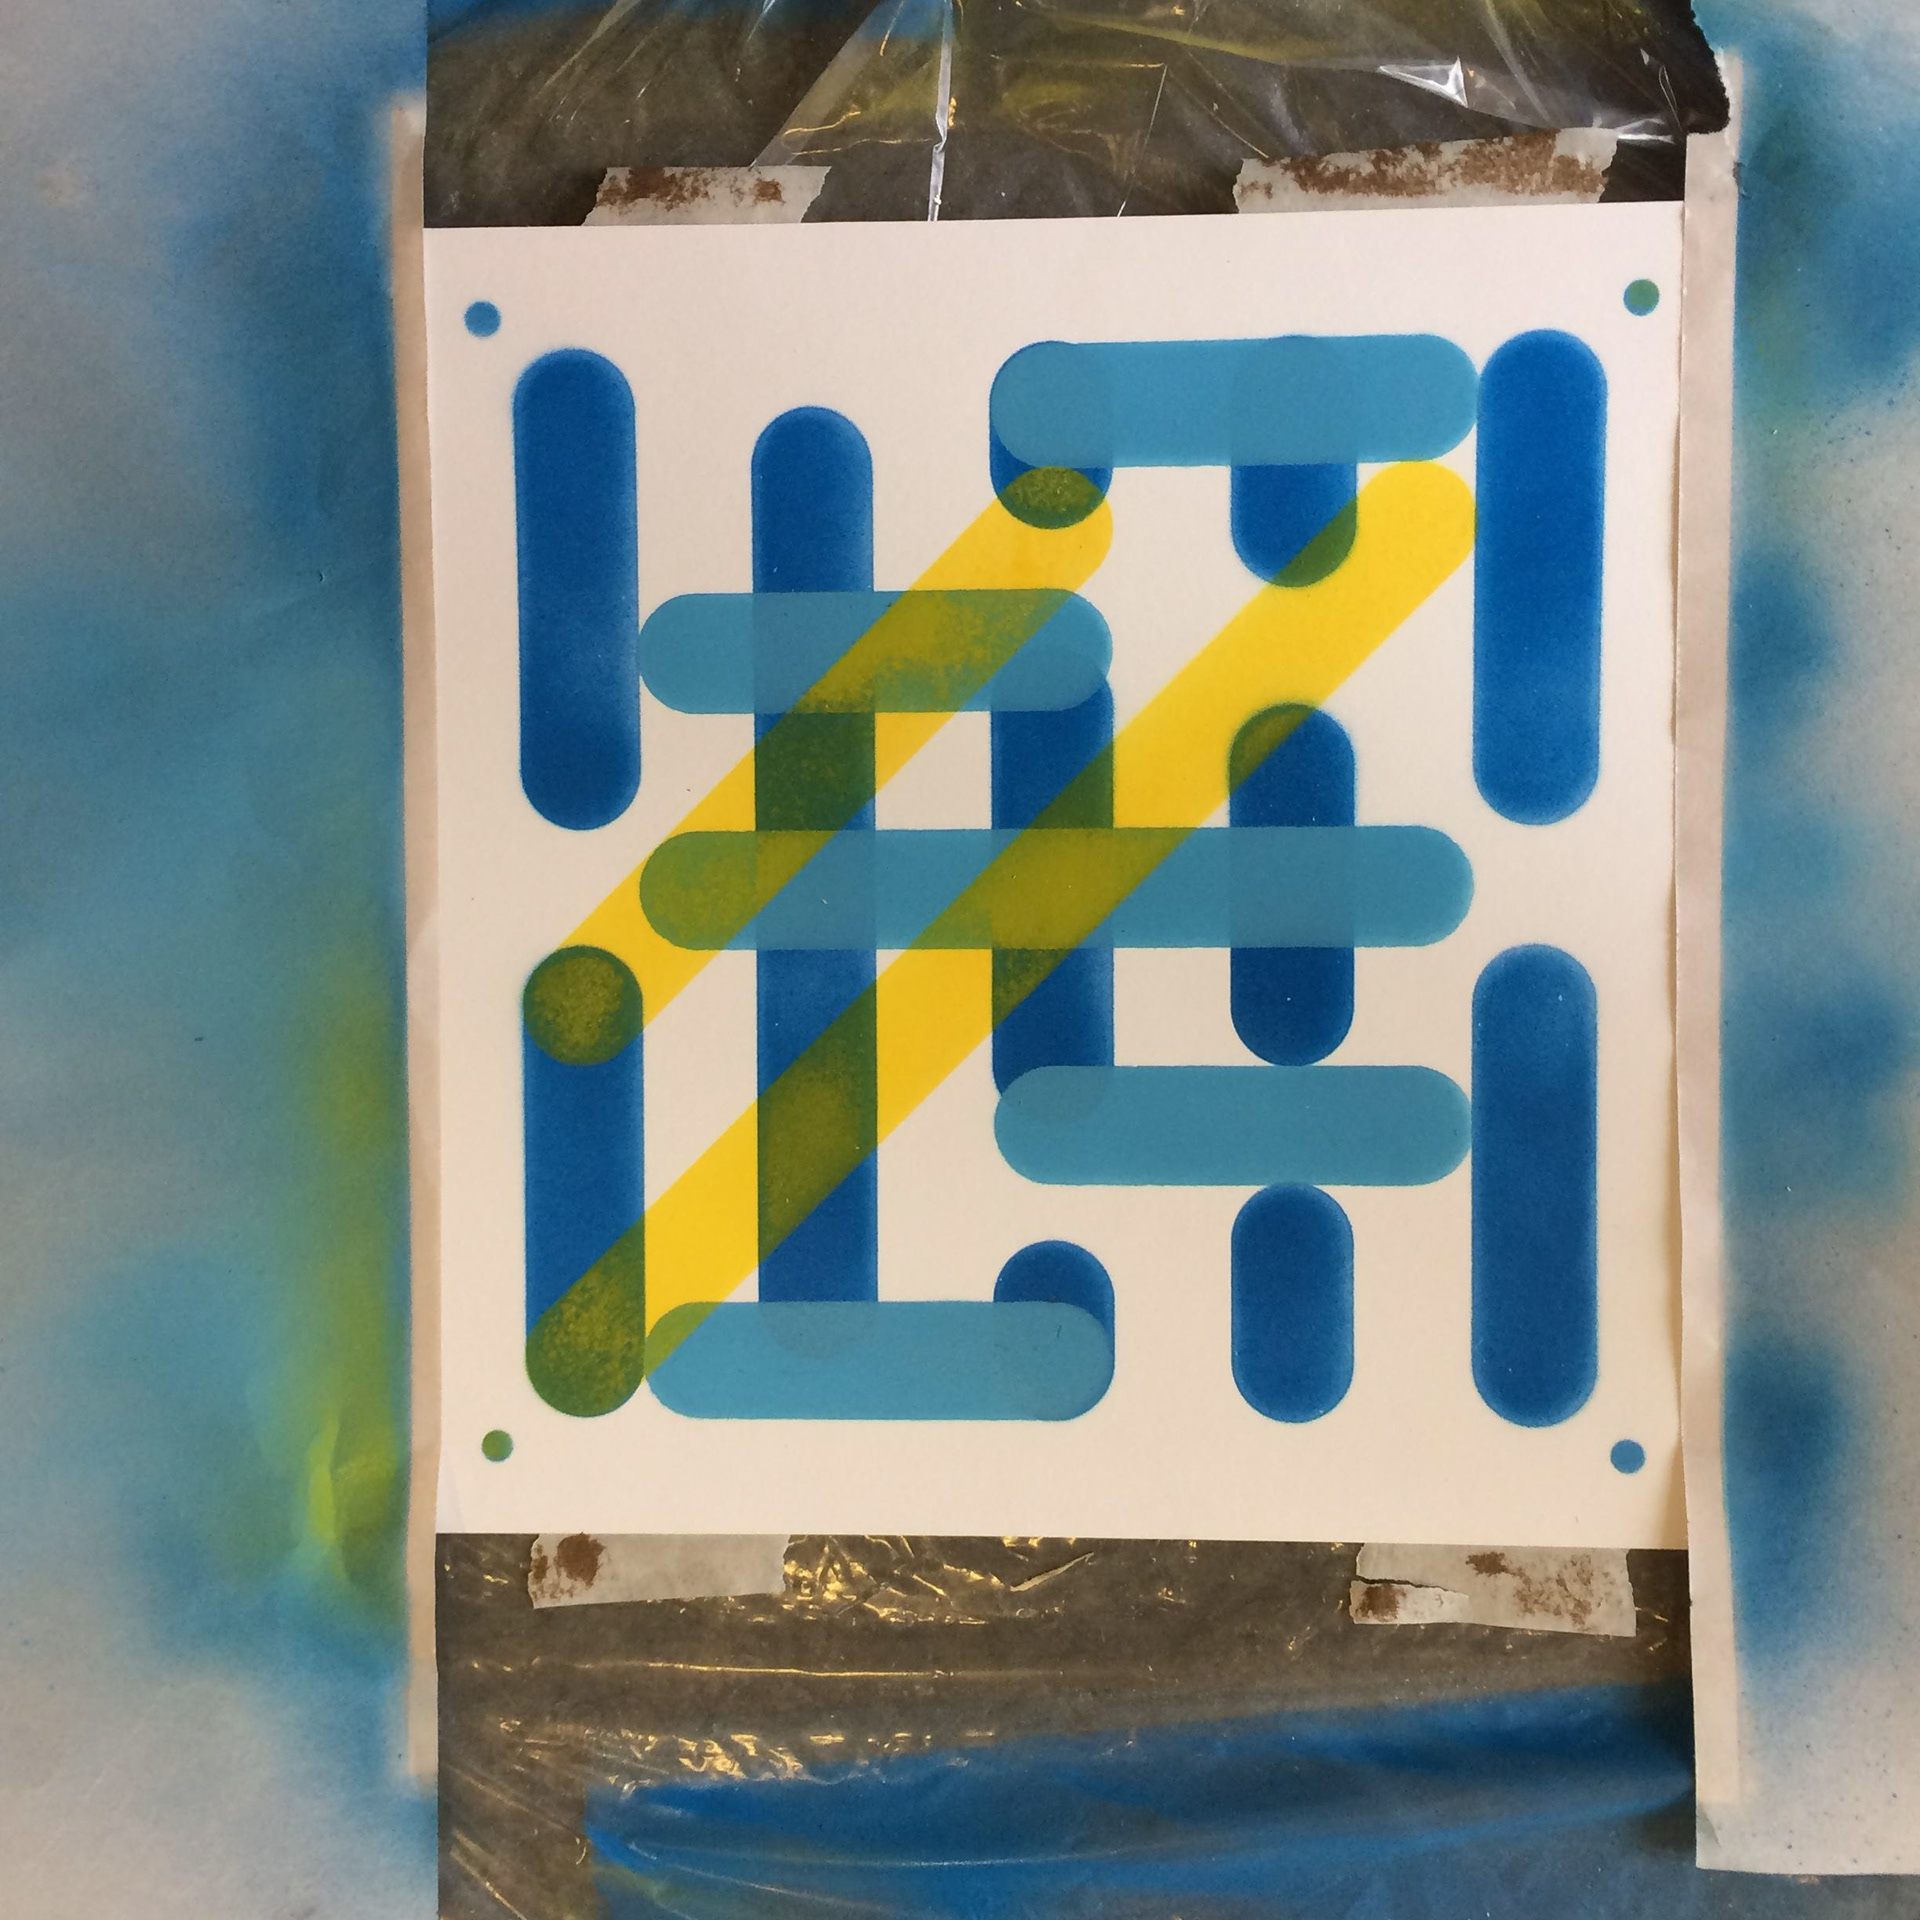
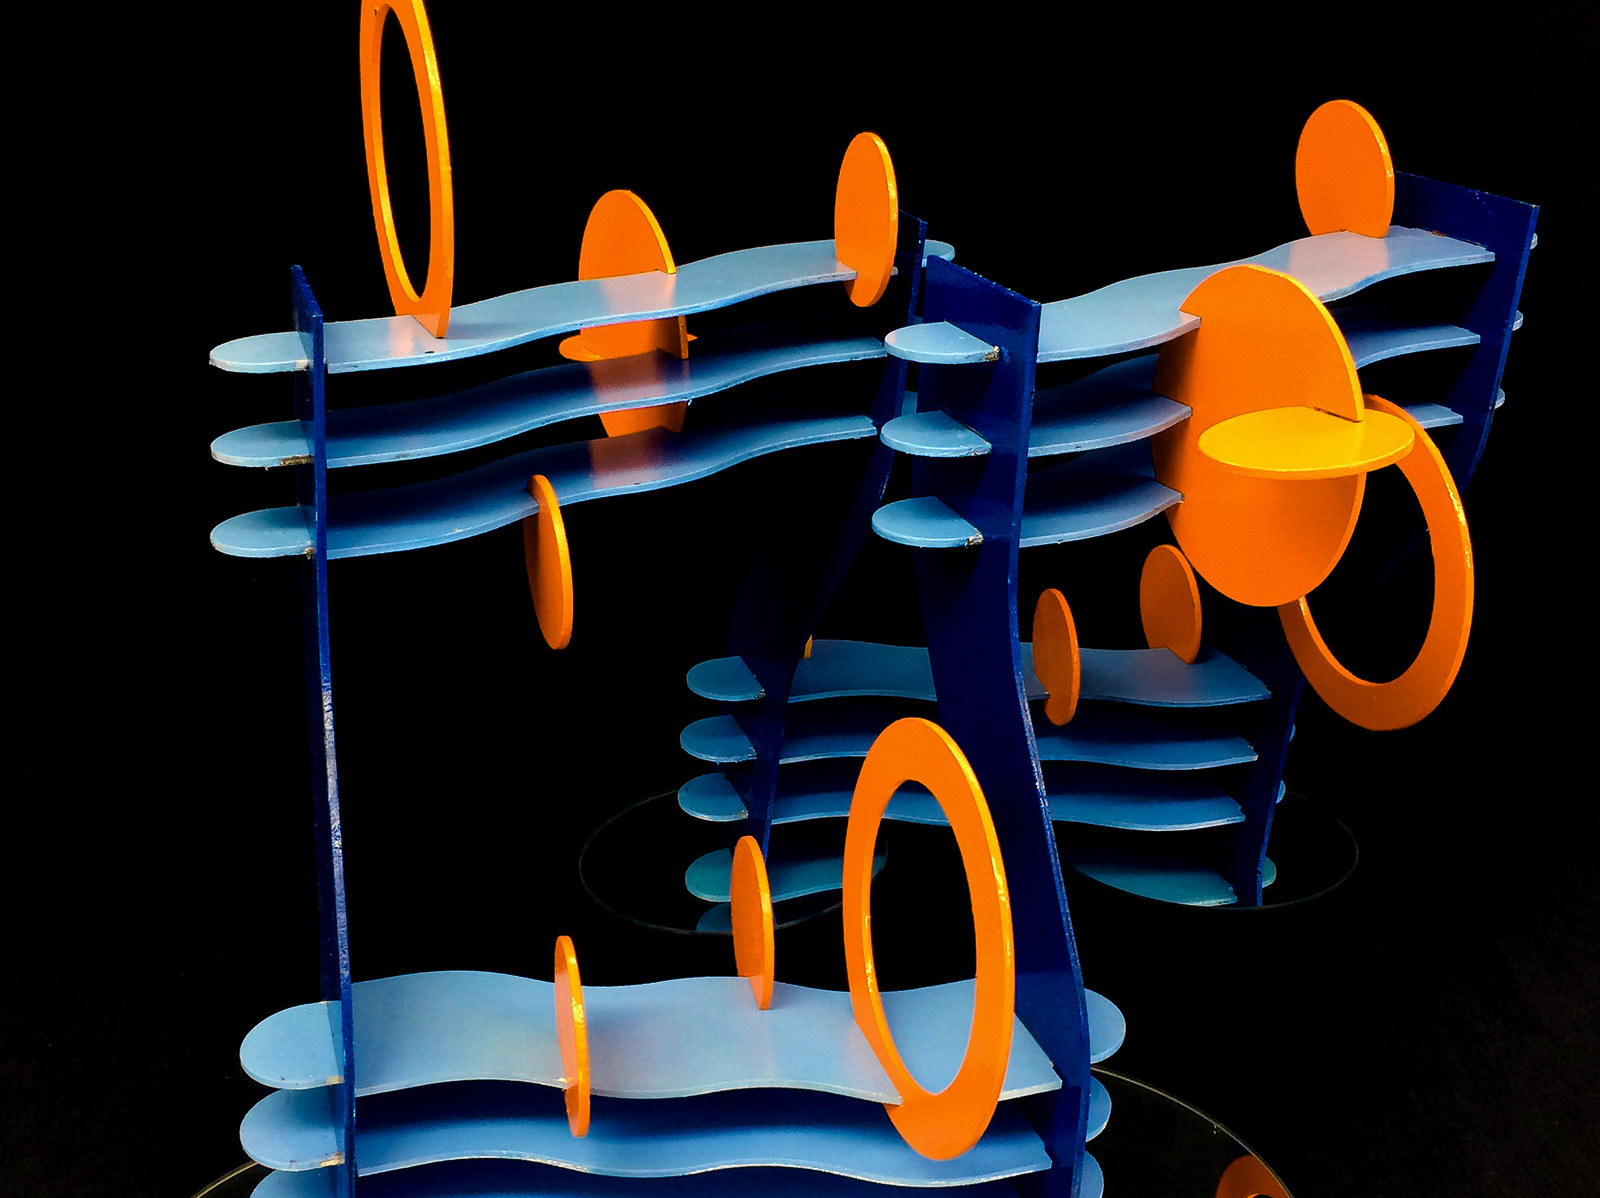
After we made our decisions as to which ones to finalize, we created the templates in Illustrator and used a laser cutter to cut the stencils out of masonite. We realized that registration marks (The circular shapes in the corners of the stencils and the compositions) were important to keeping the stencils aligned. The stencils were sized to create 9x9 inch compositions.
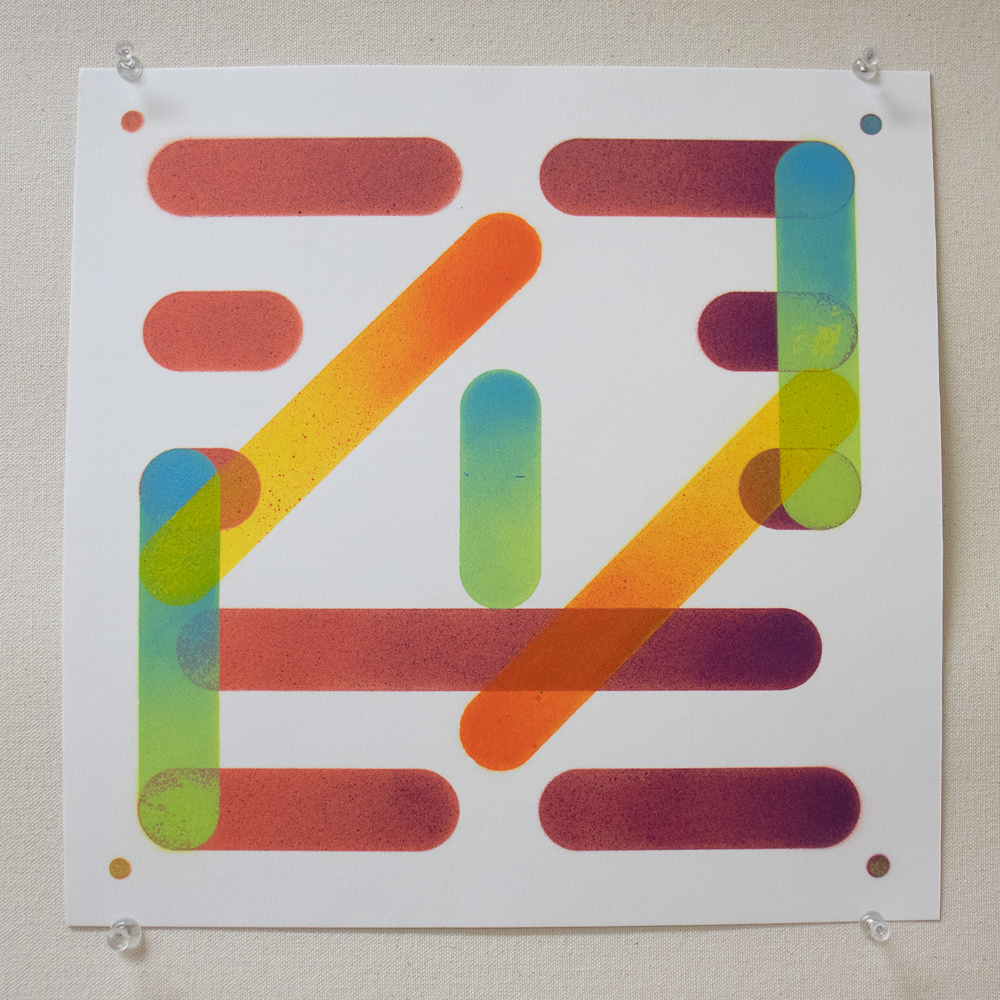
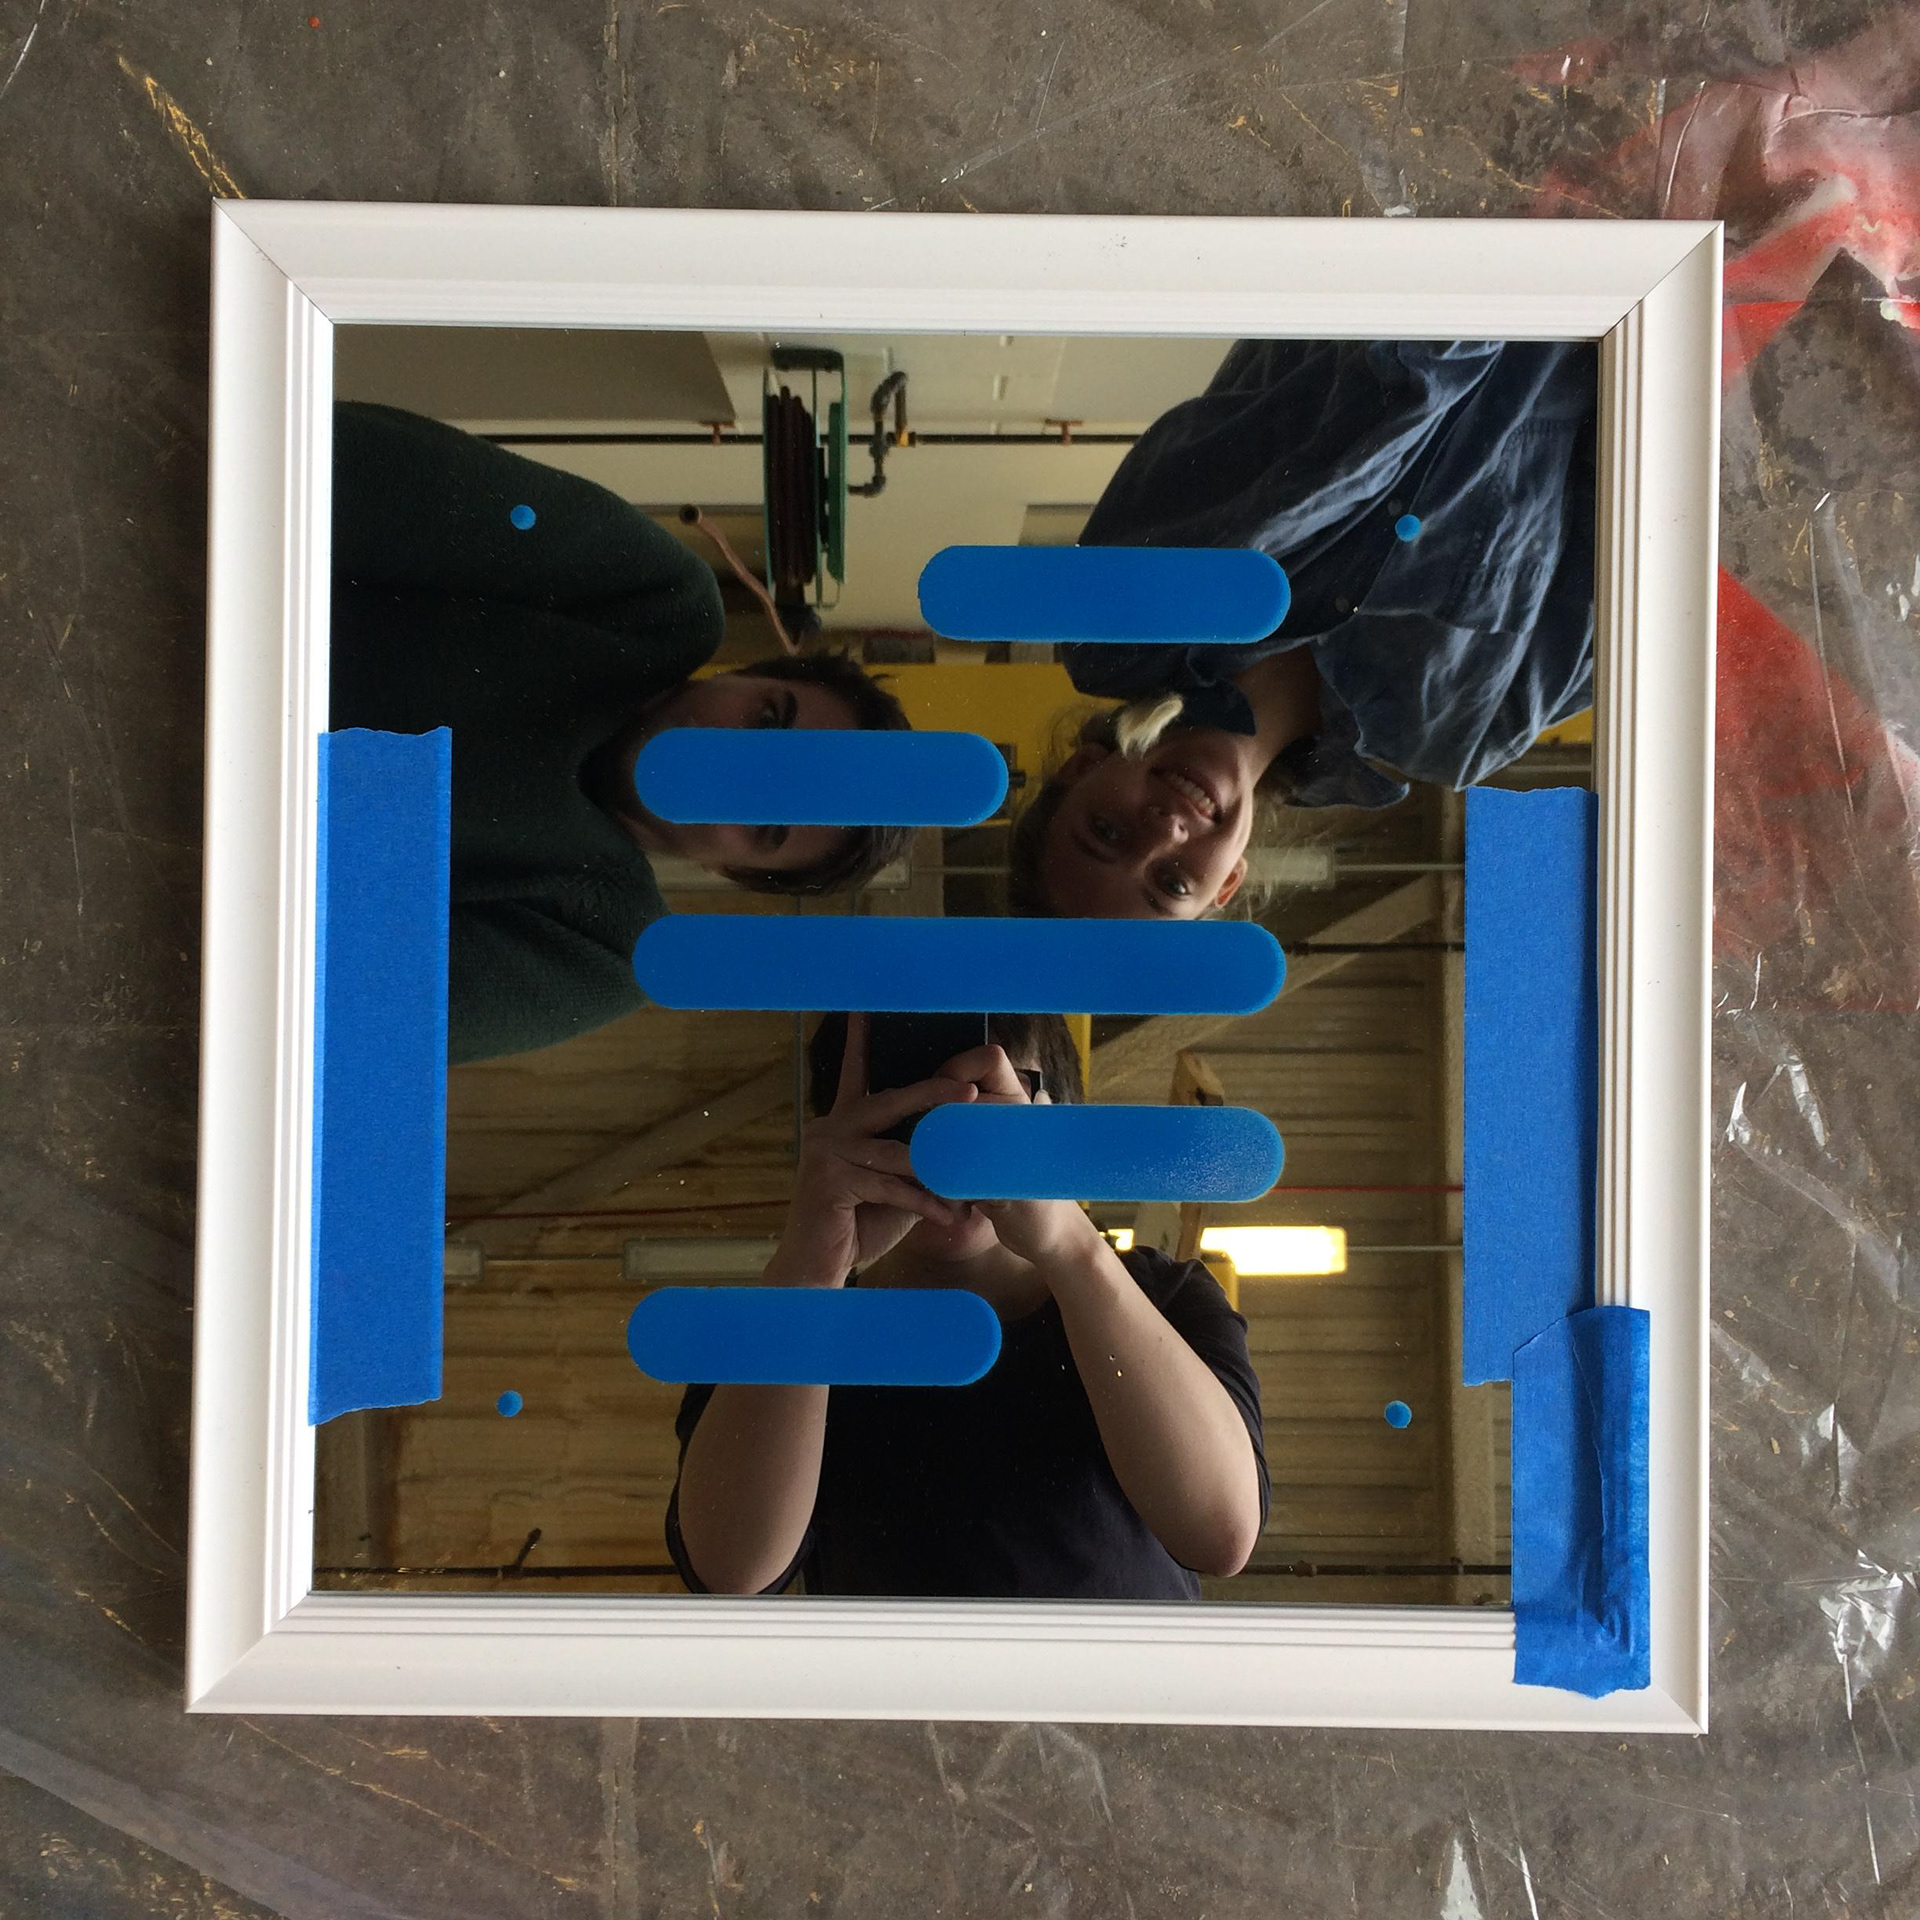
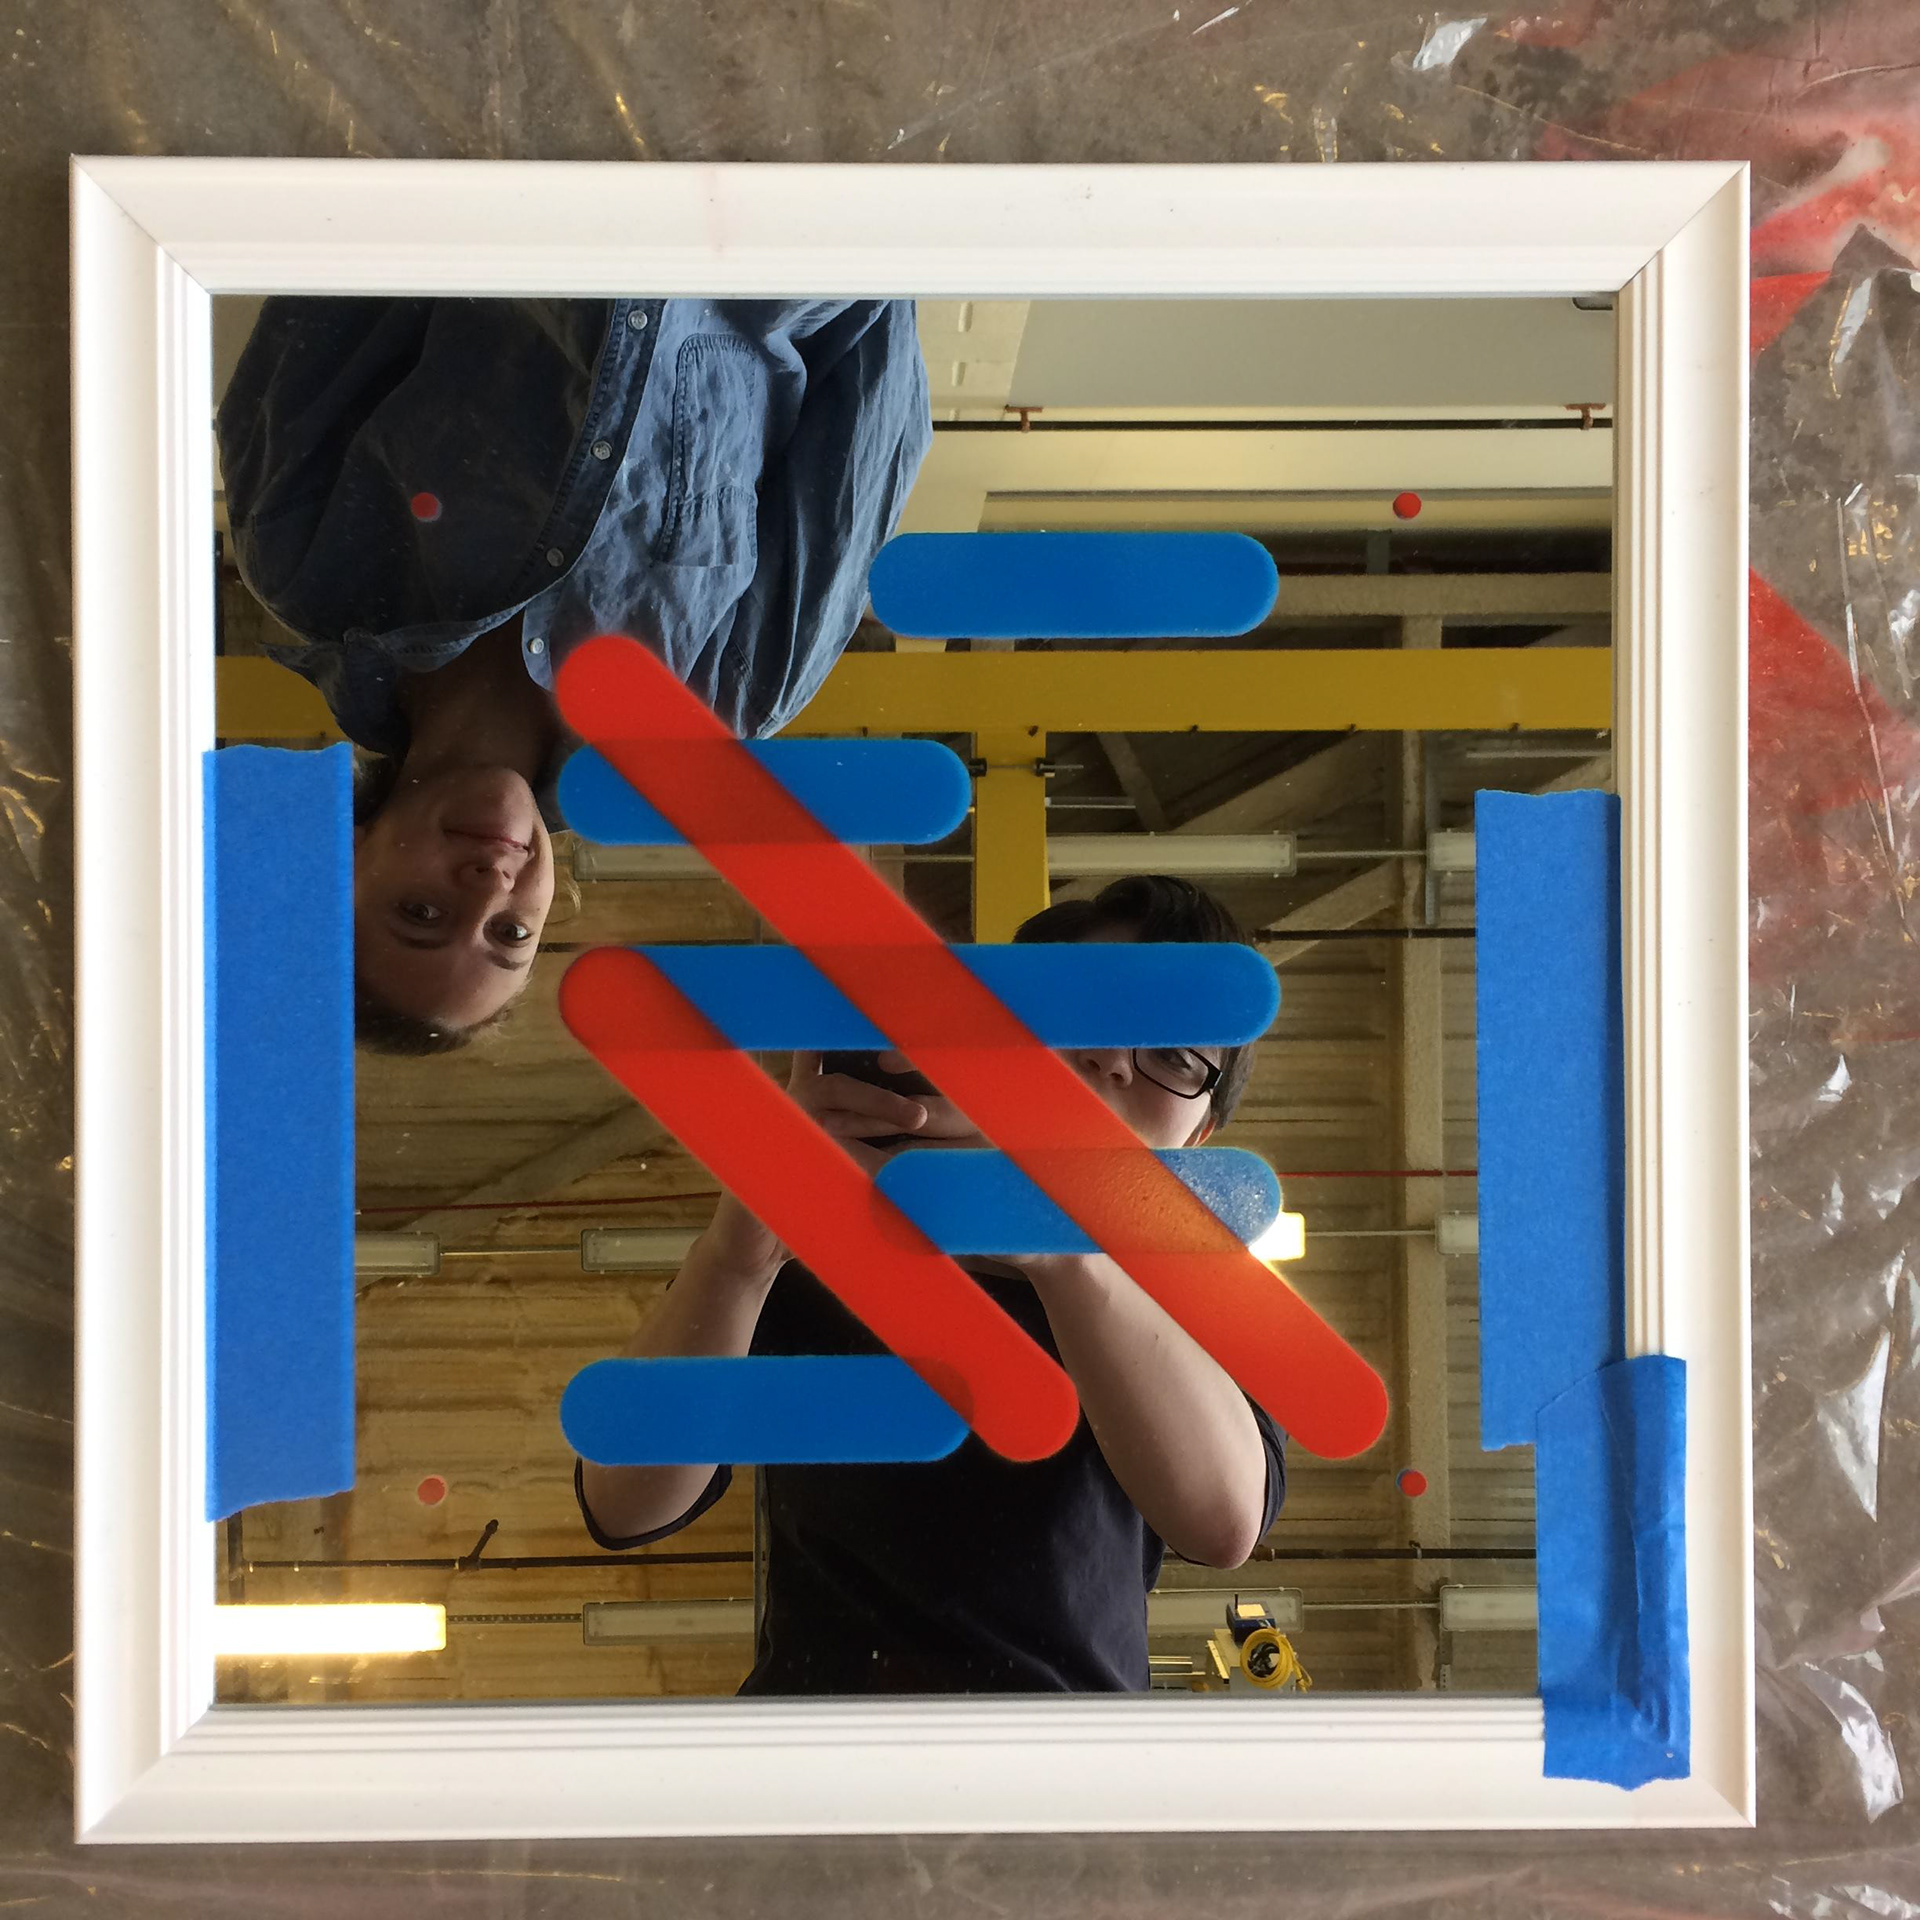
After the stencils were cut out, it was time to create. We used spray paint to create compositions, considering how we wanted the order of the colors, which colors to choose, and how the stencils would interact with one another. We experimented with many different materials, including bristol, rice paper, foam core, and even a mirror. We also experimented with techniques, like creating gradients with the spray paint and using the cut out pieces of the stencils in order to create negative stencils.
This project was very exciting and very rewarding.
Our best compositions were put on display in Alfred State's Hinkle Memorial Library Gallery.